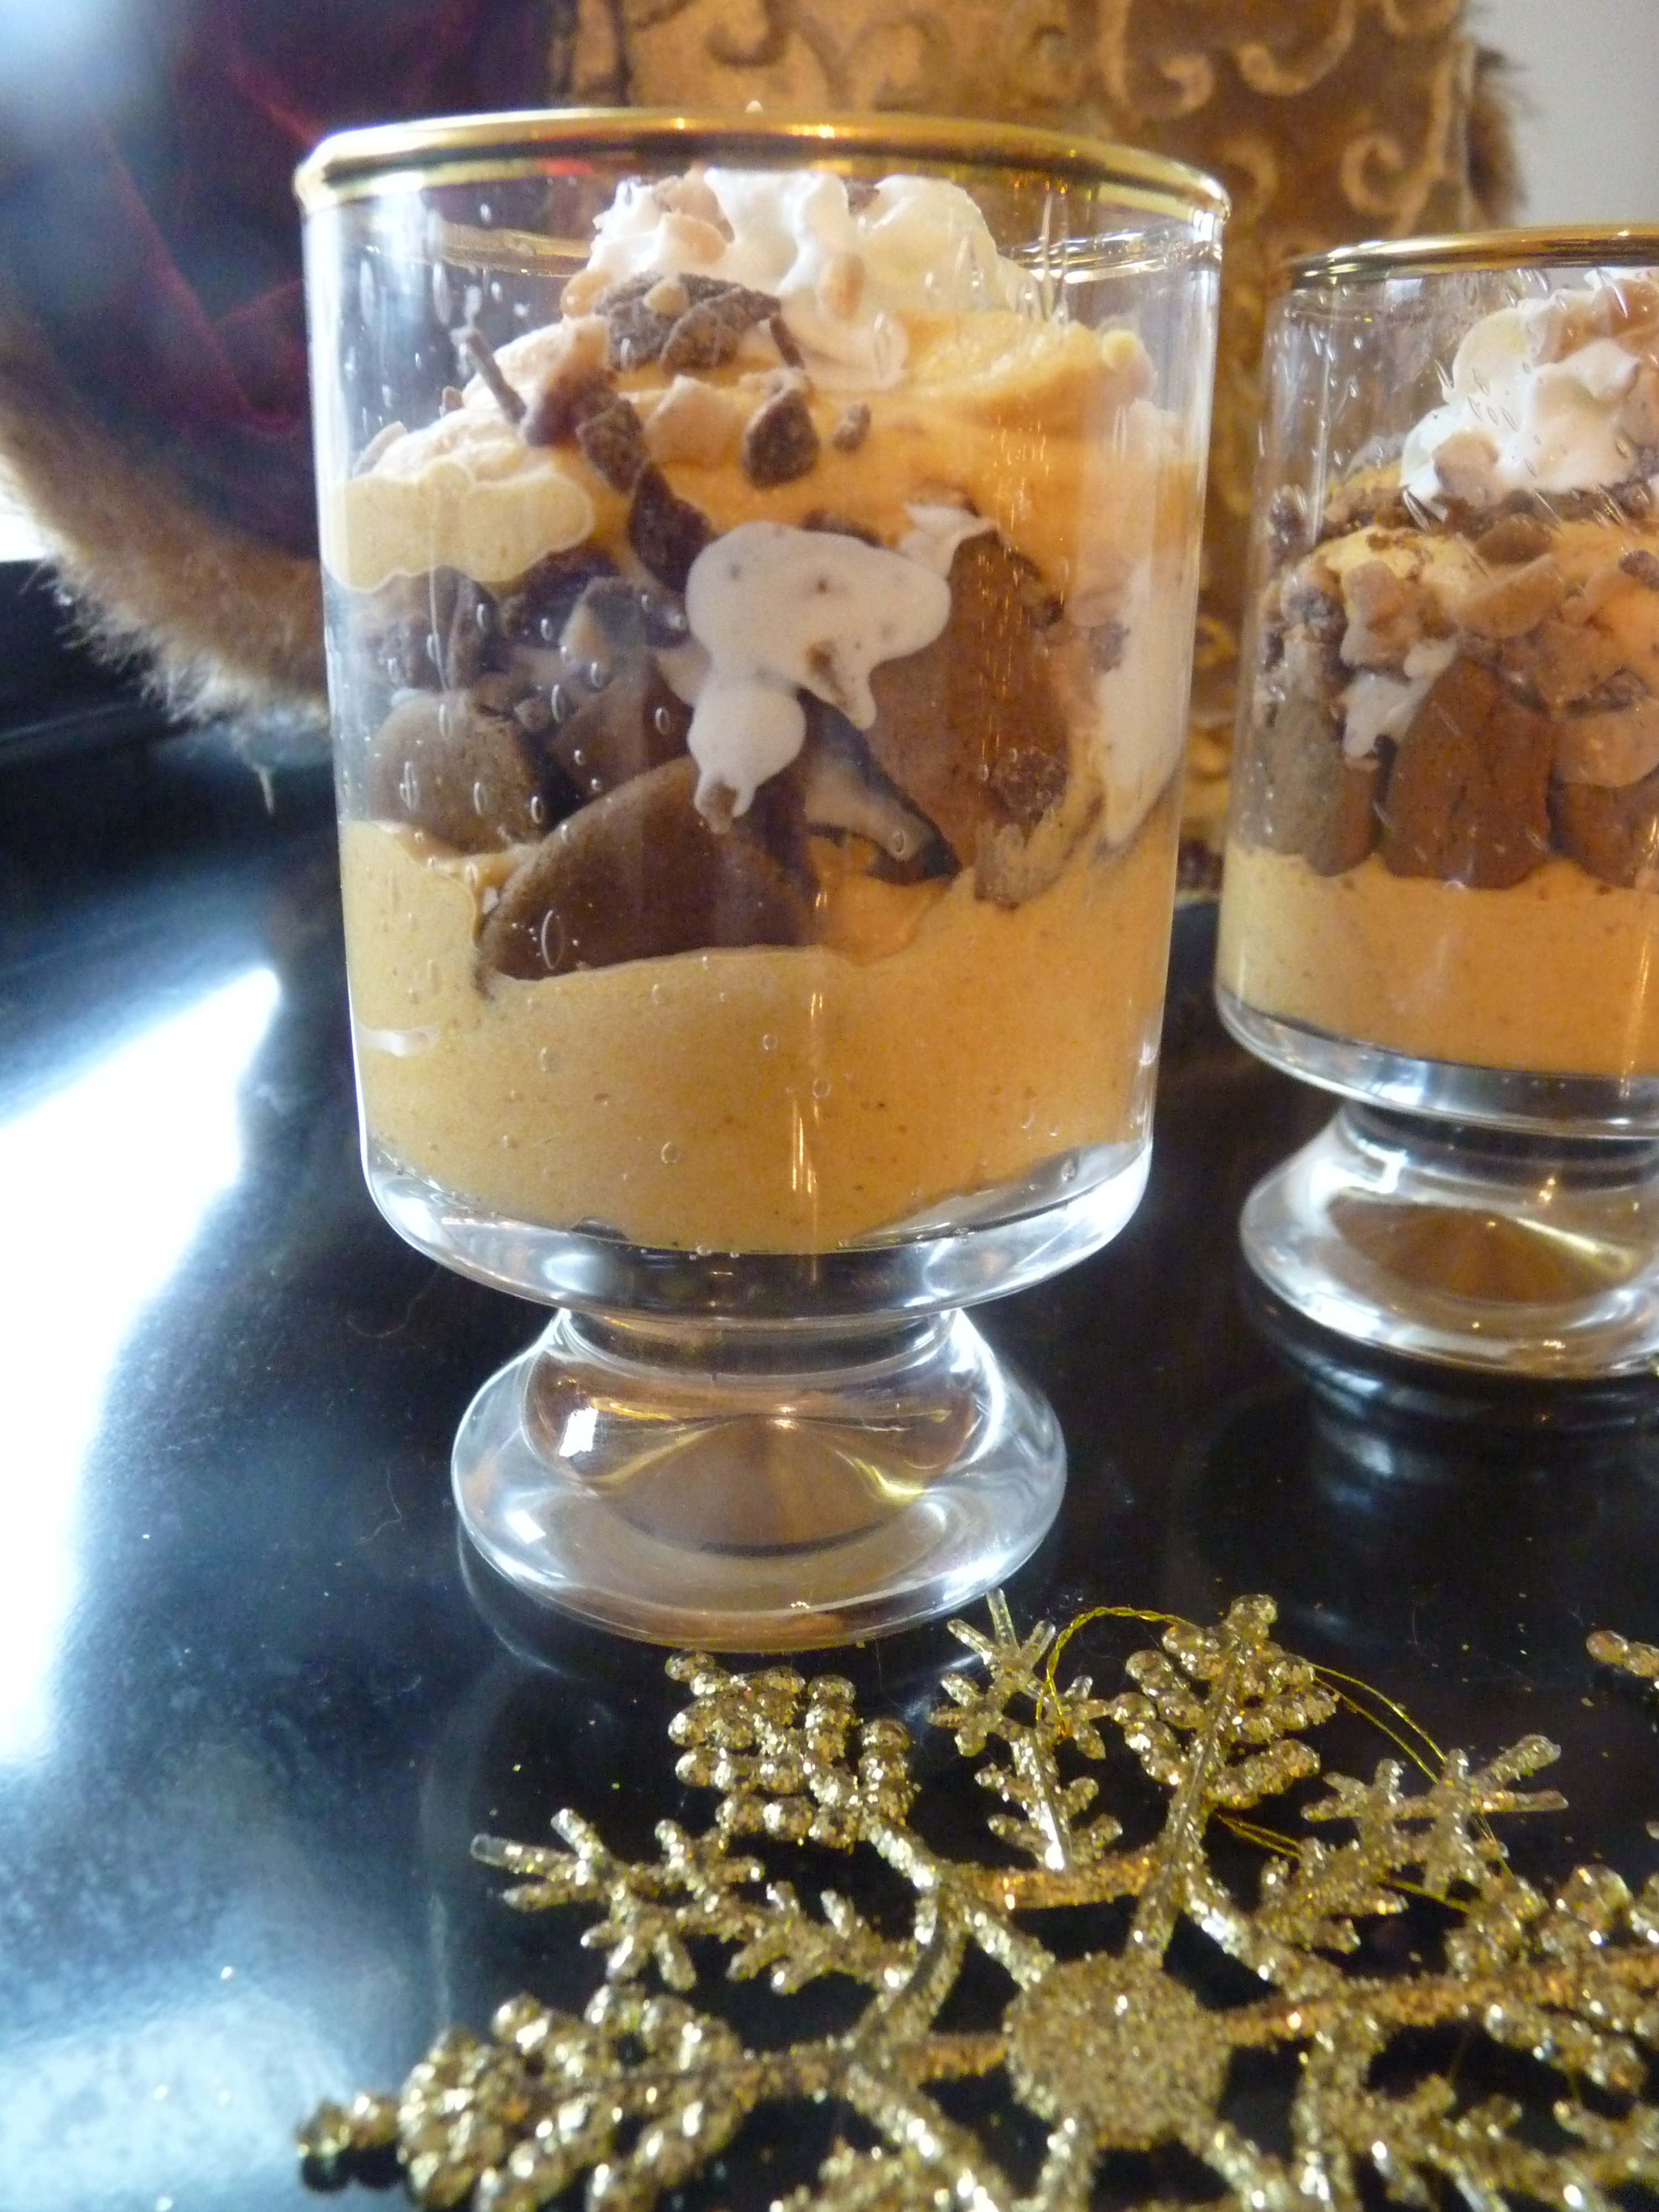
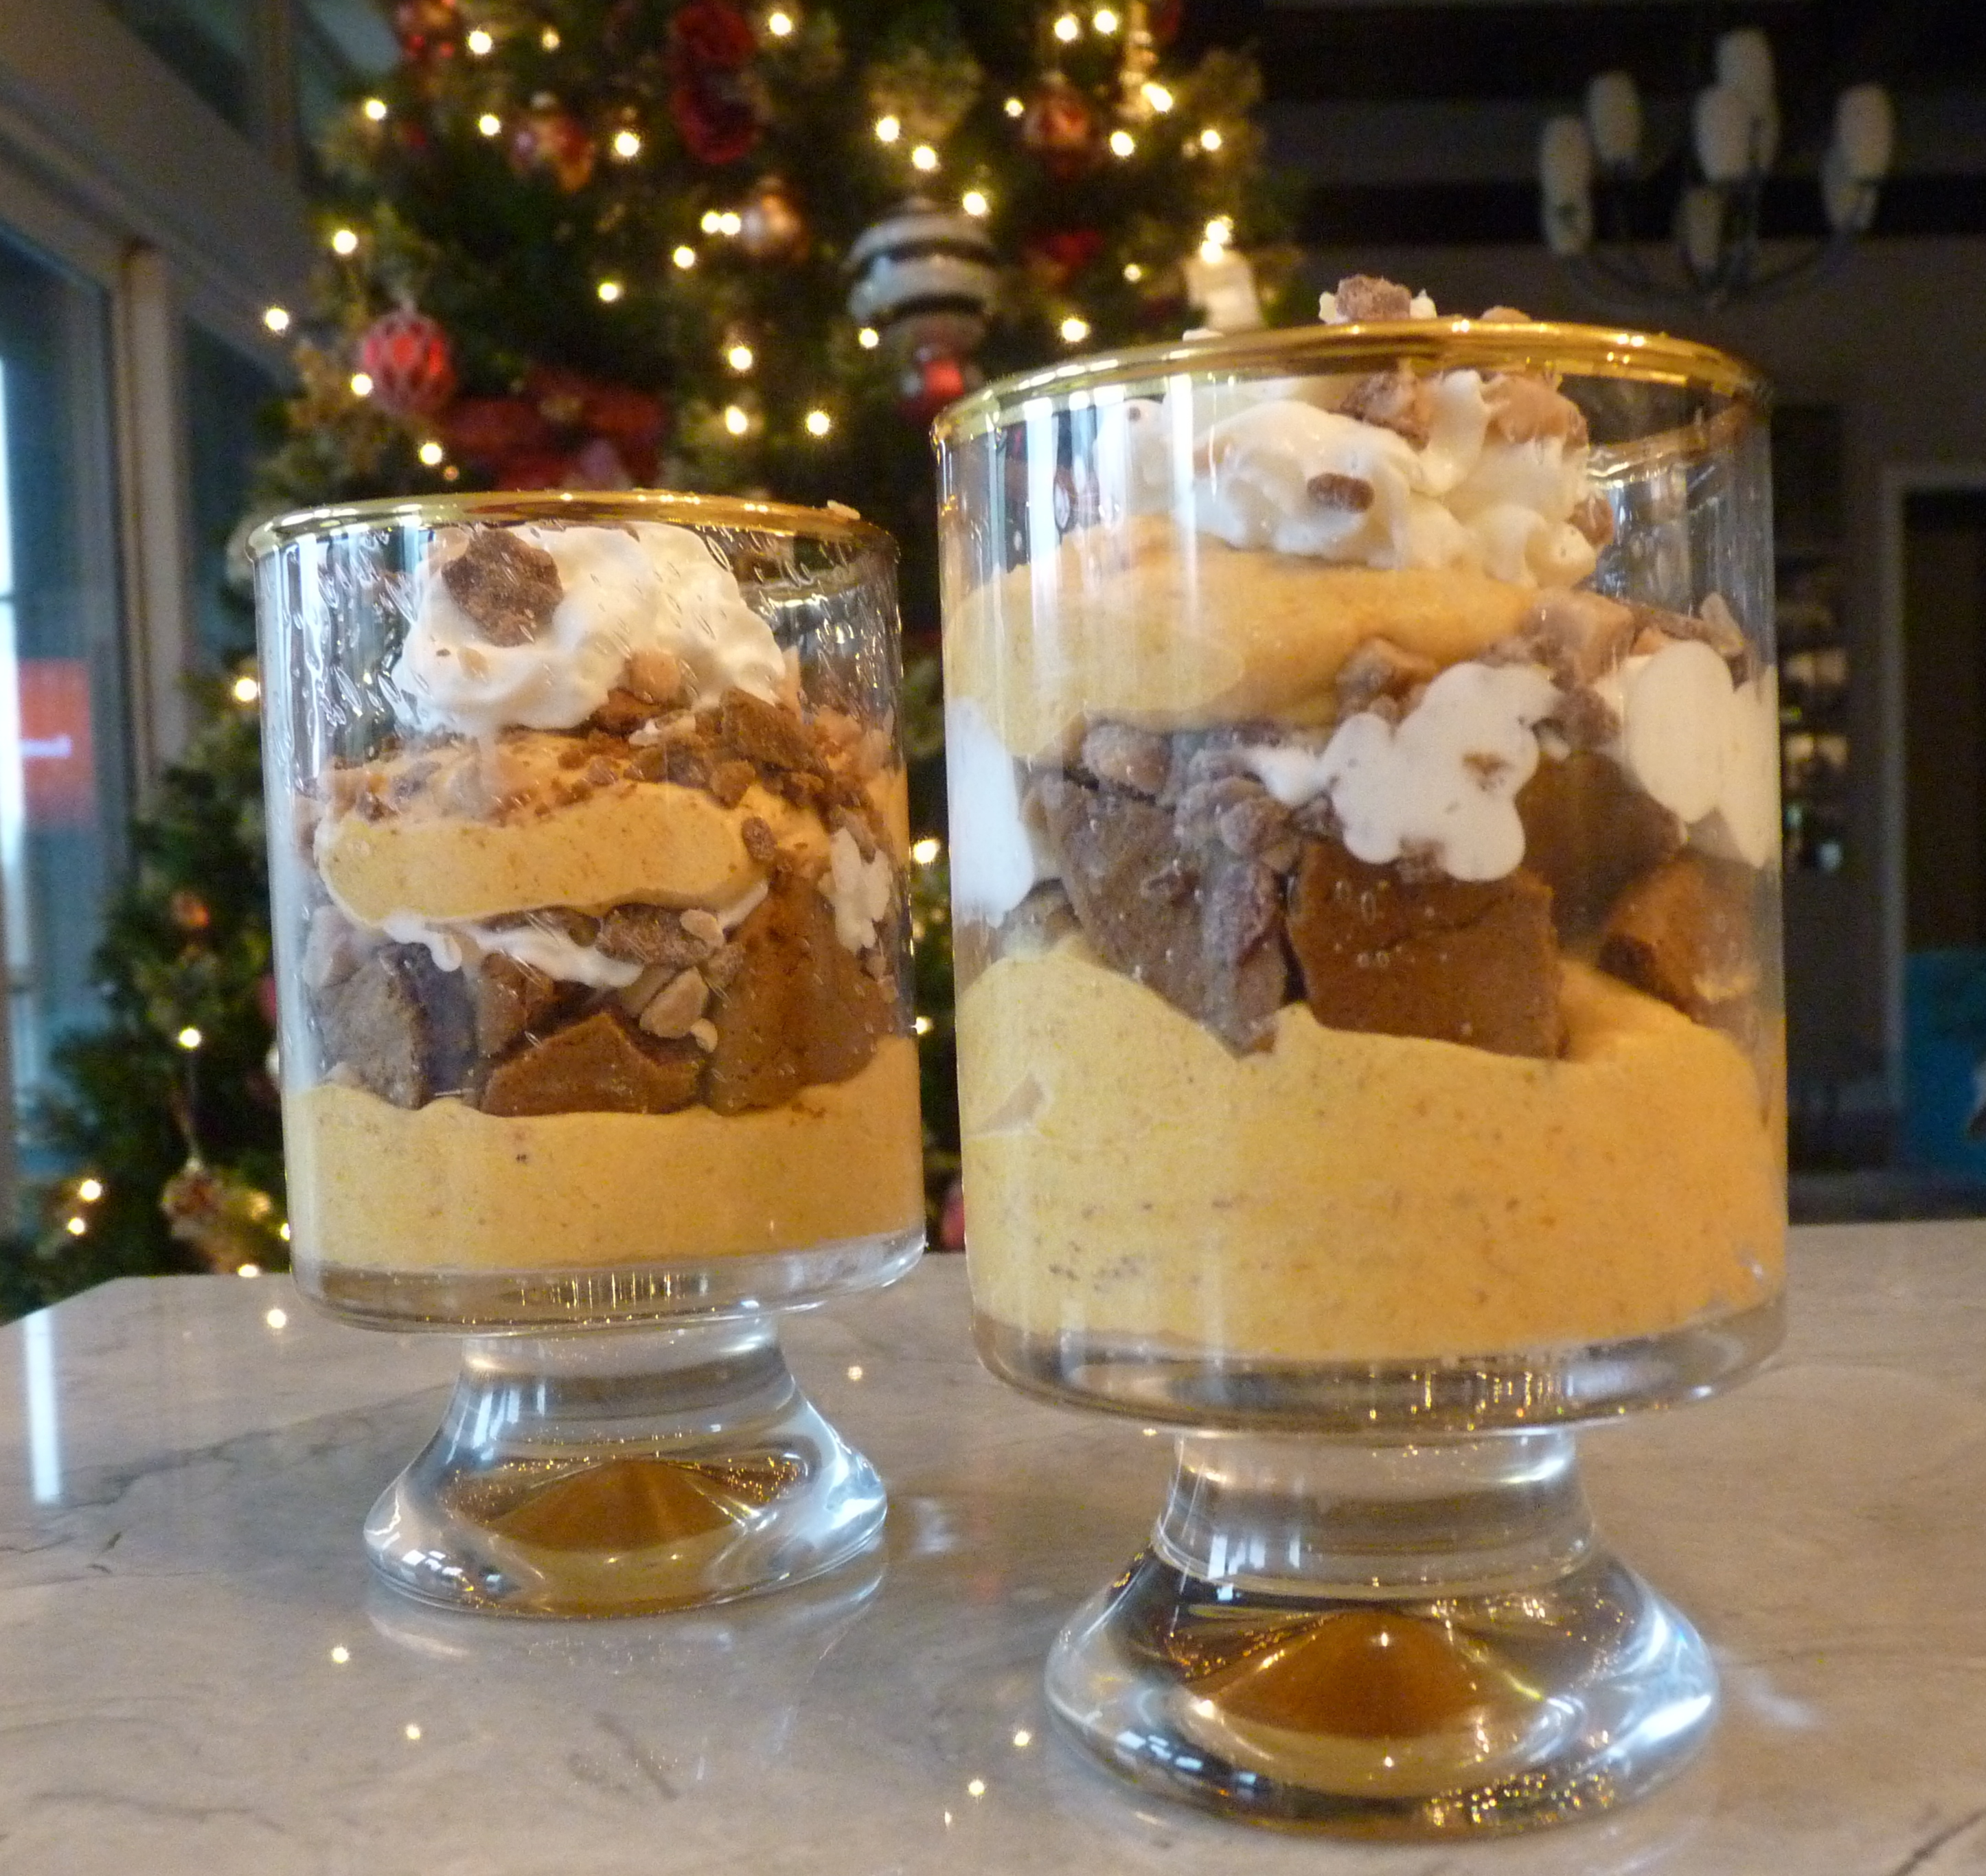
Warm and Gooey Butter Cake….yummmmm!
Omigosh! We are having a glorious few days of 60- to 70-degree weather in January! Last year was my first year here and we had an unrelenting winter. Not only was it unrelentingly cold and miserable, it 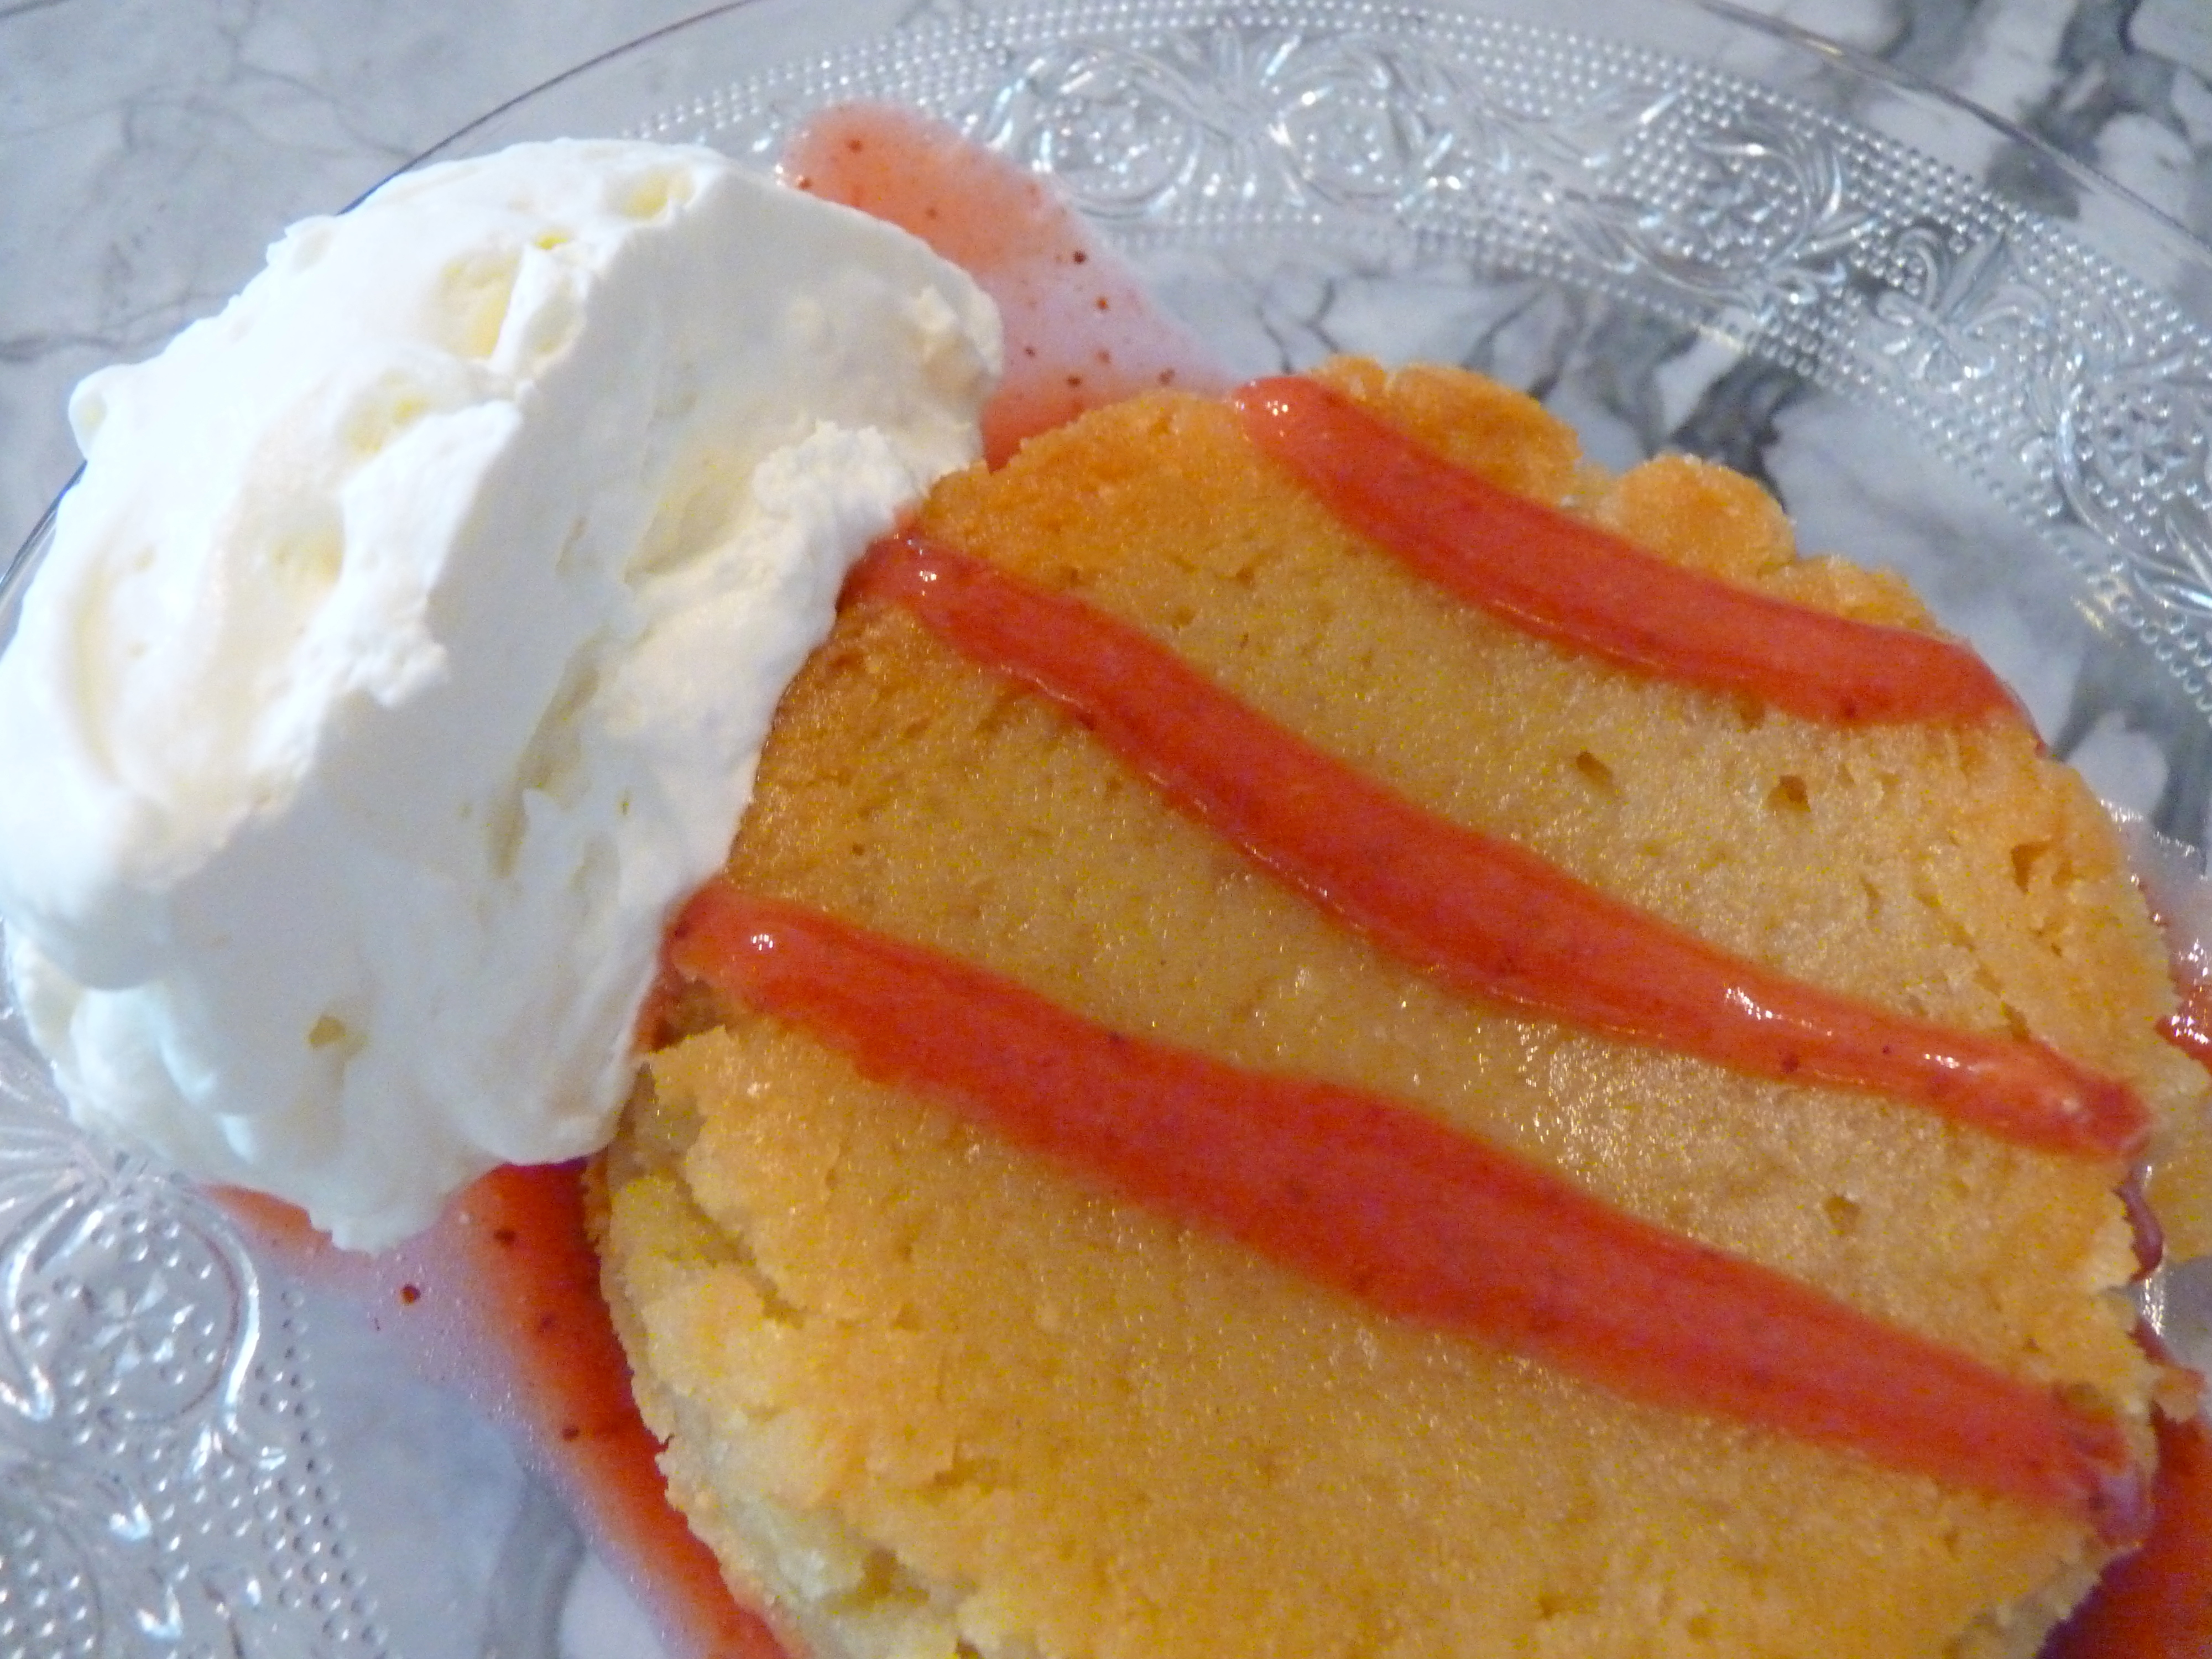 lasted forever. Today was around 70 degrees and I did my errands in sandals just to make the most of it. I think after this I will go out on the porch and read while there is still sunlight.
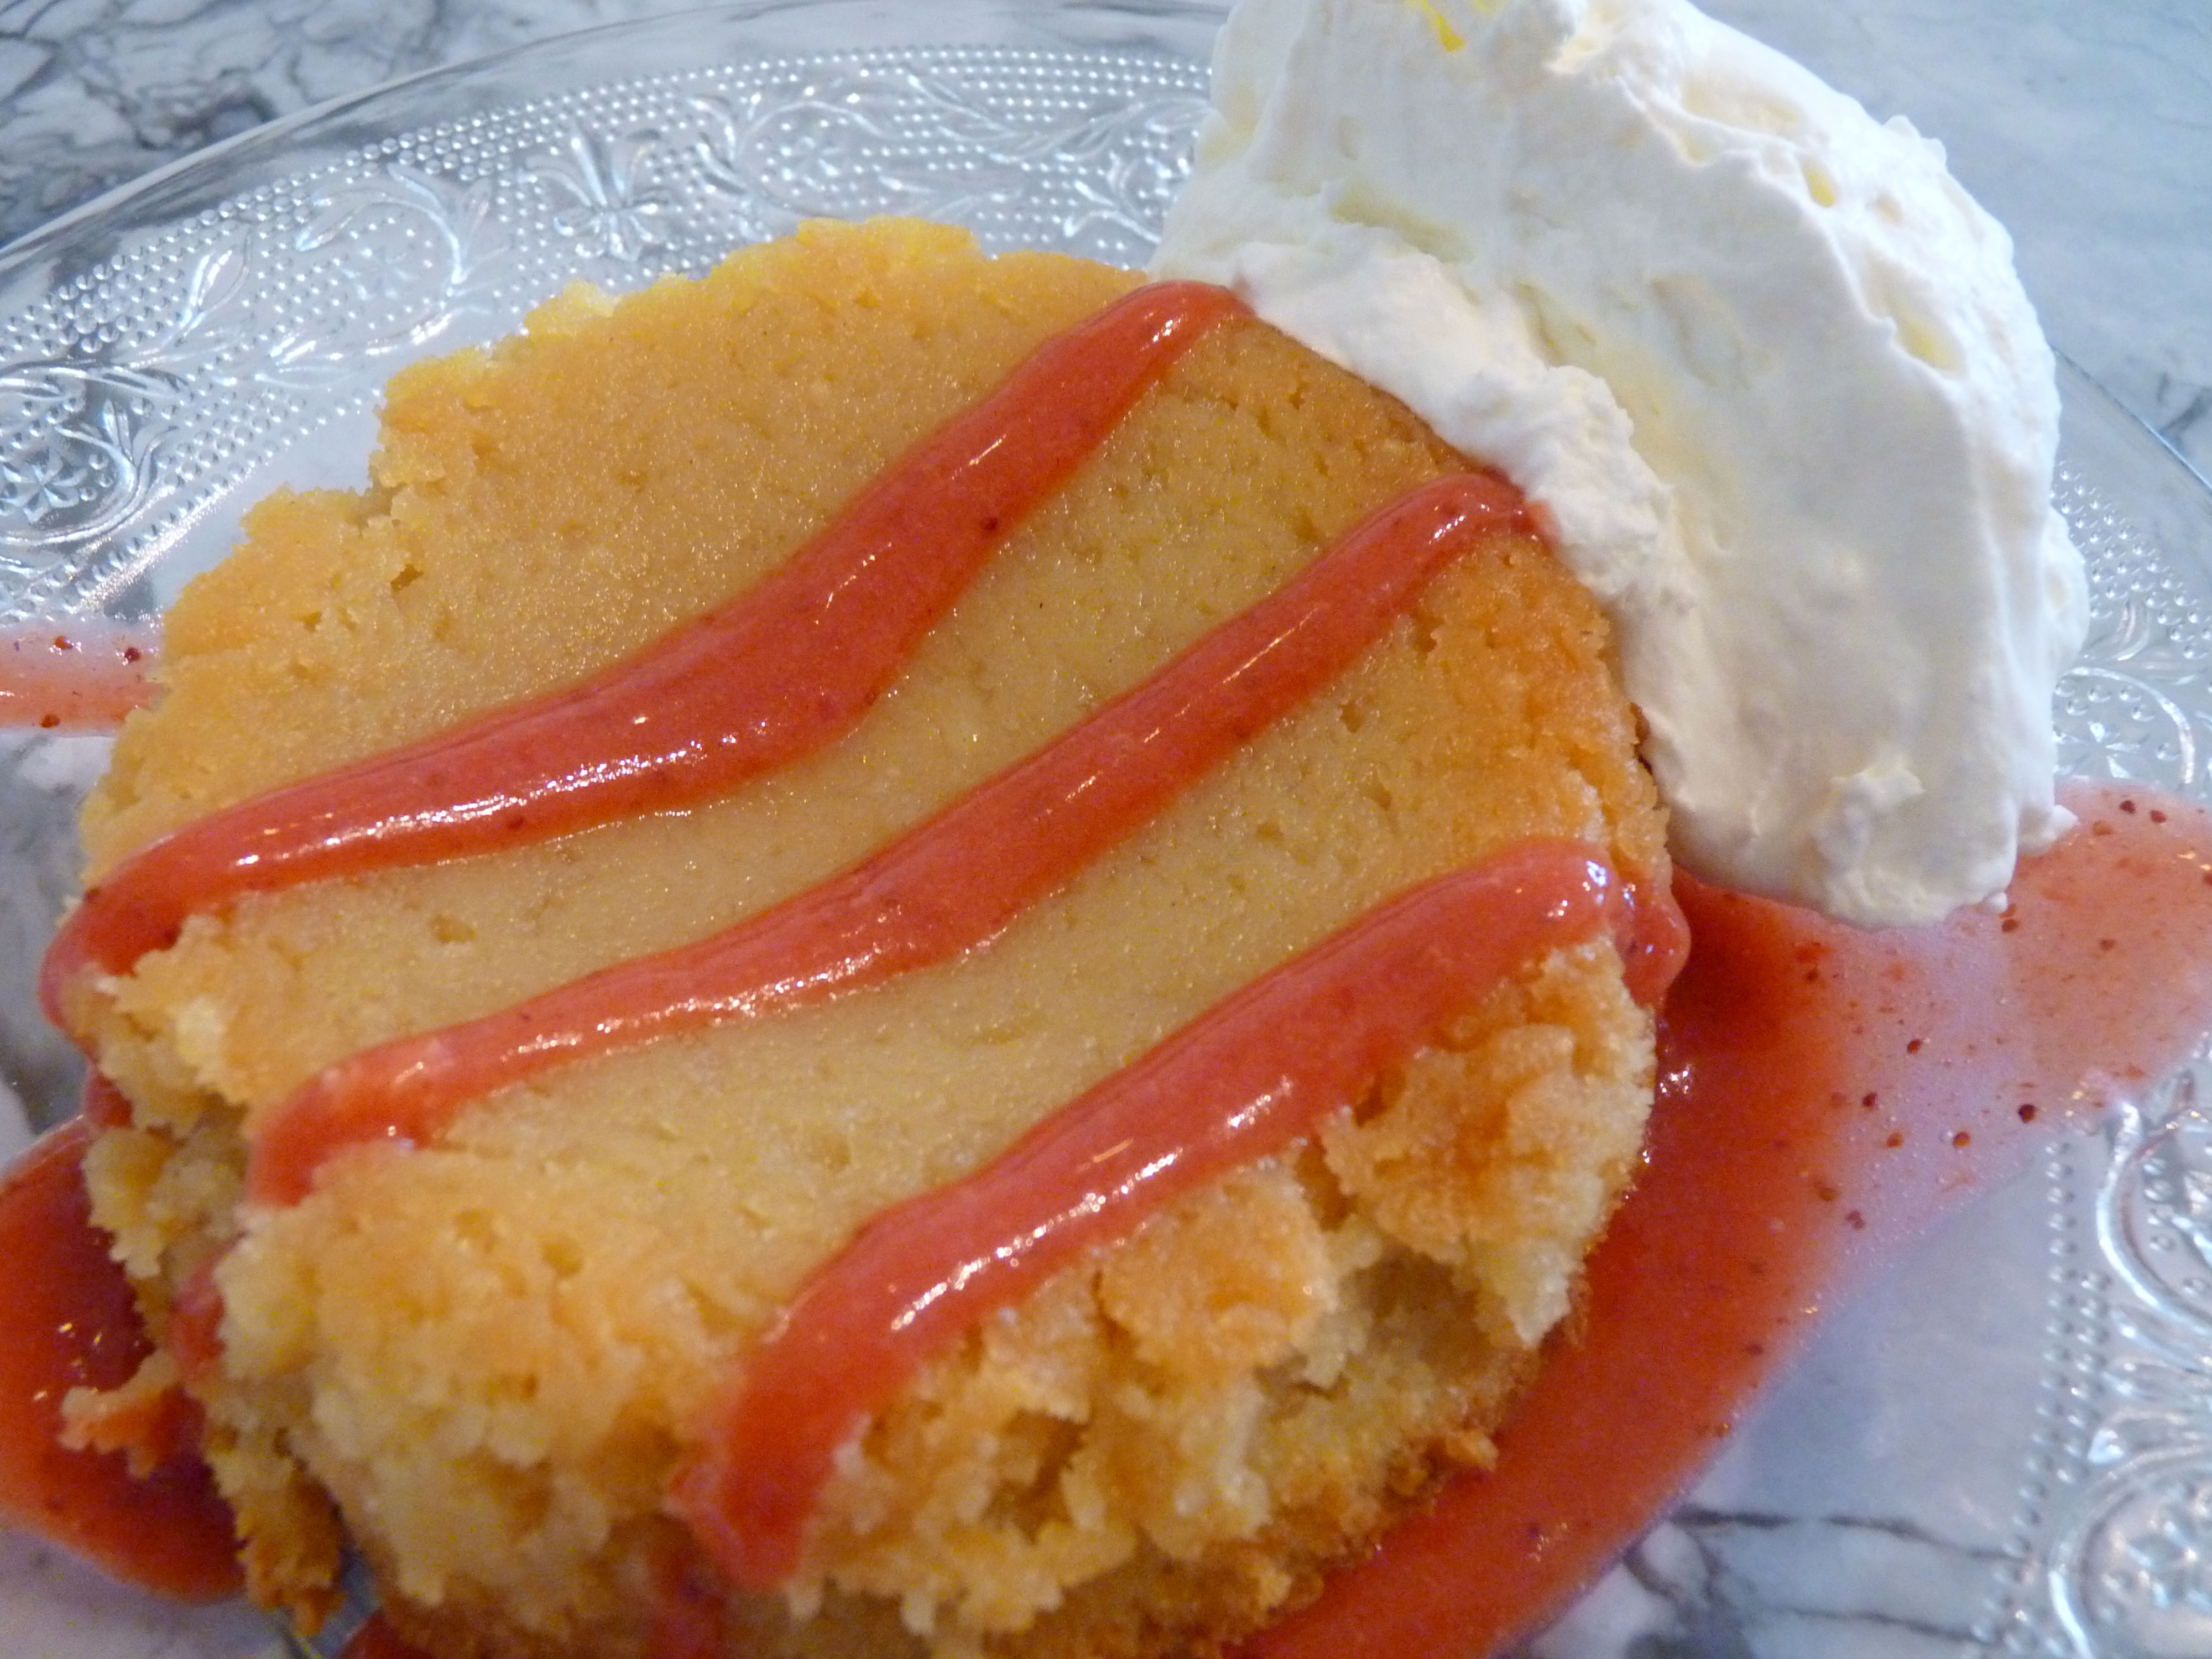
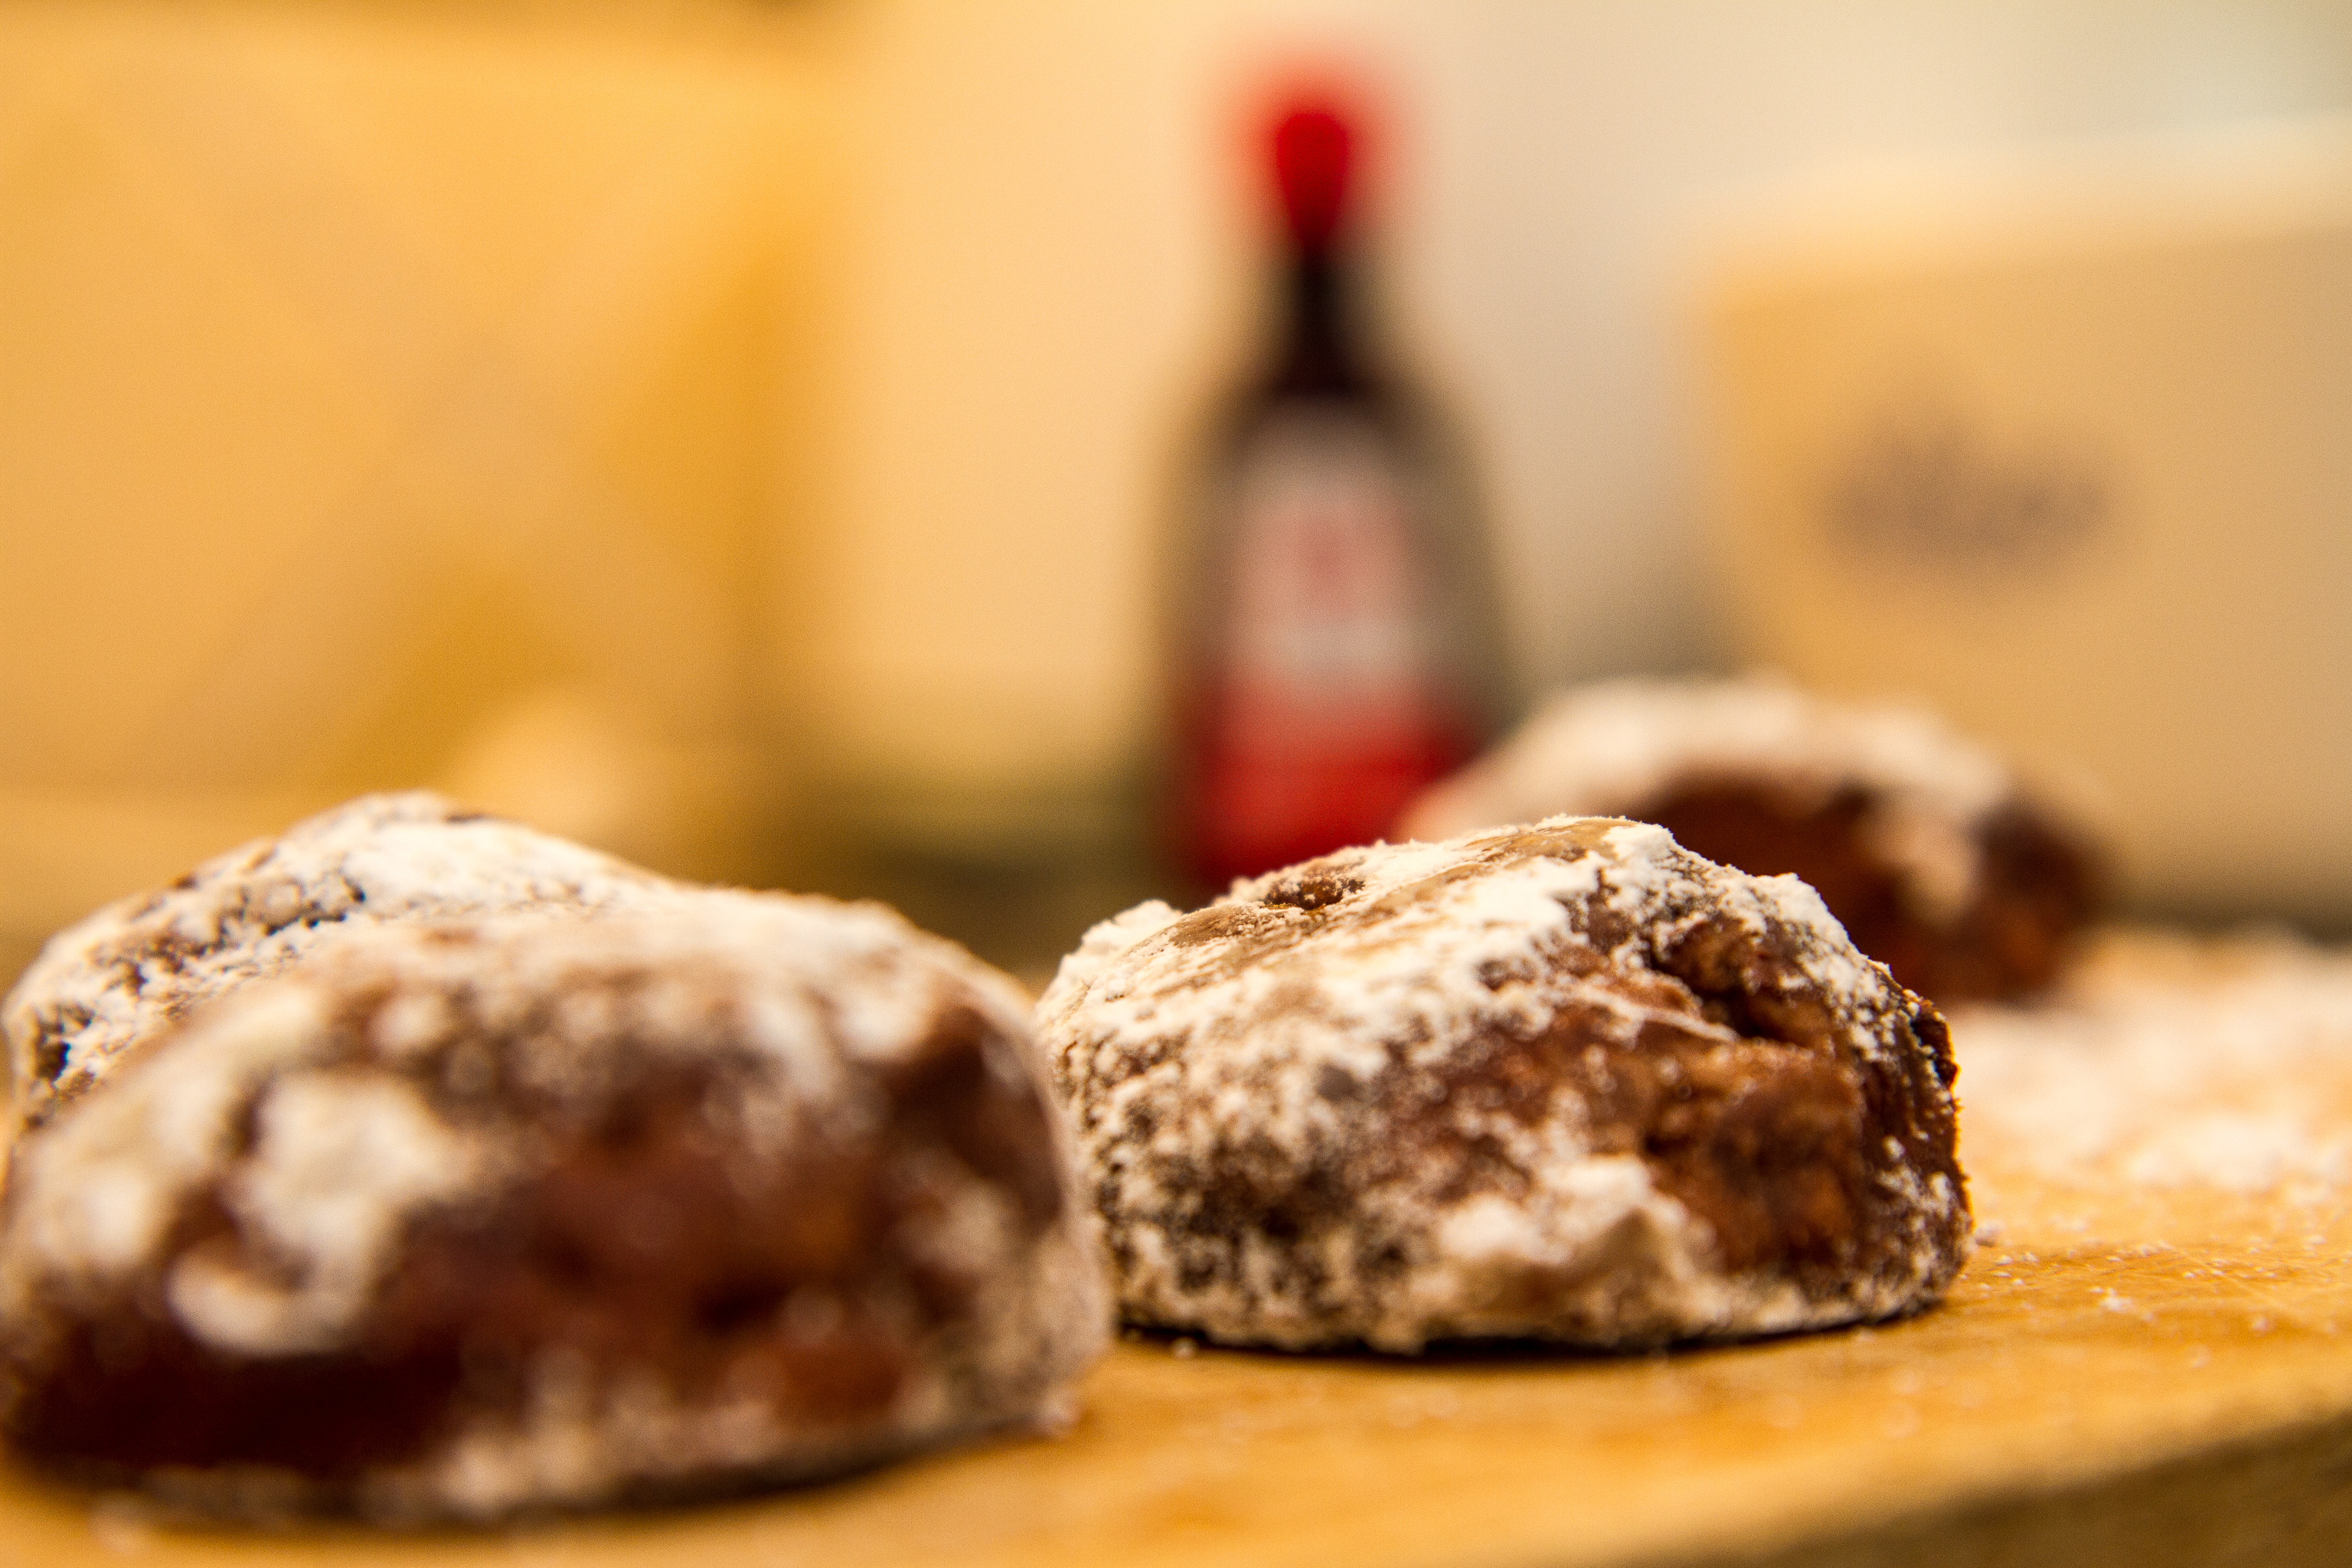
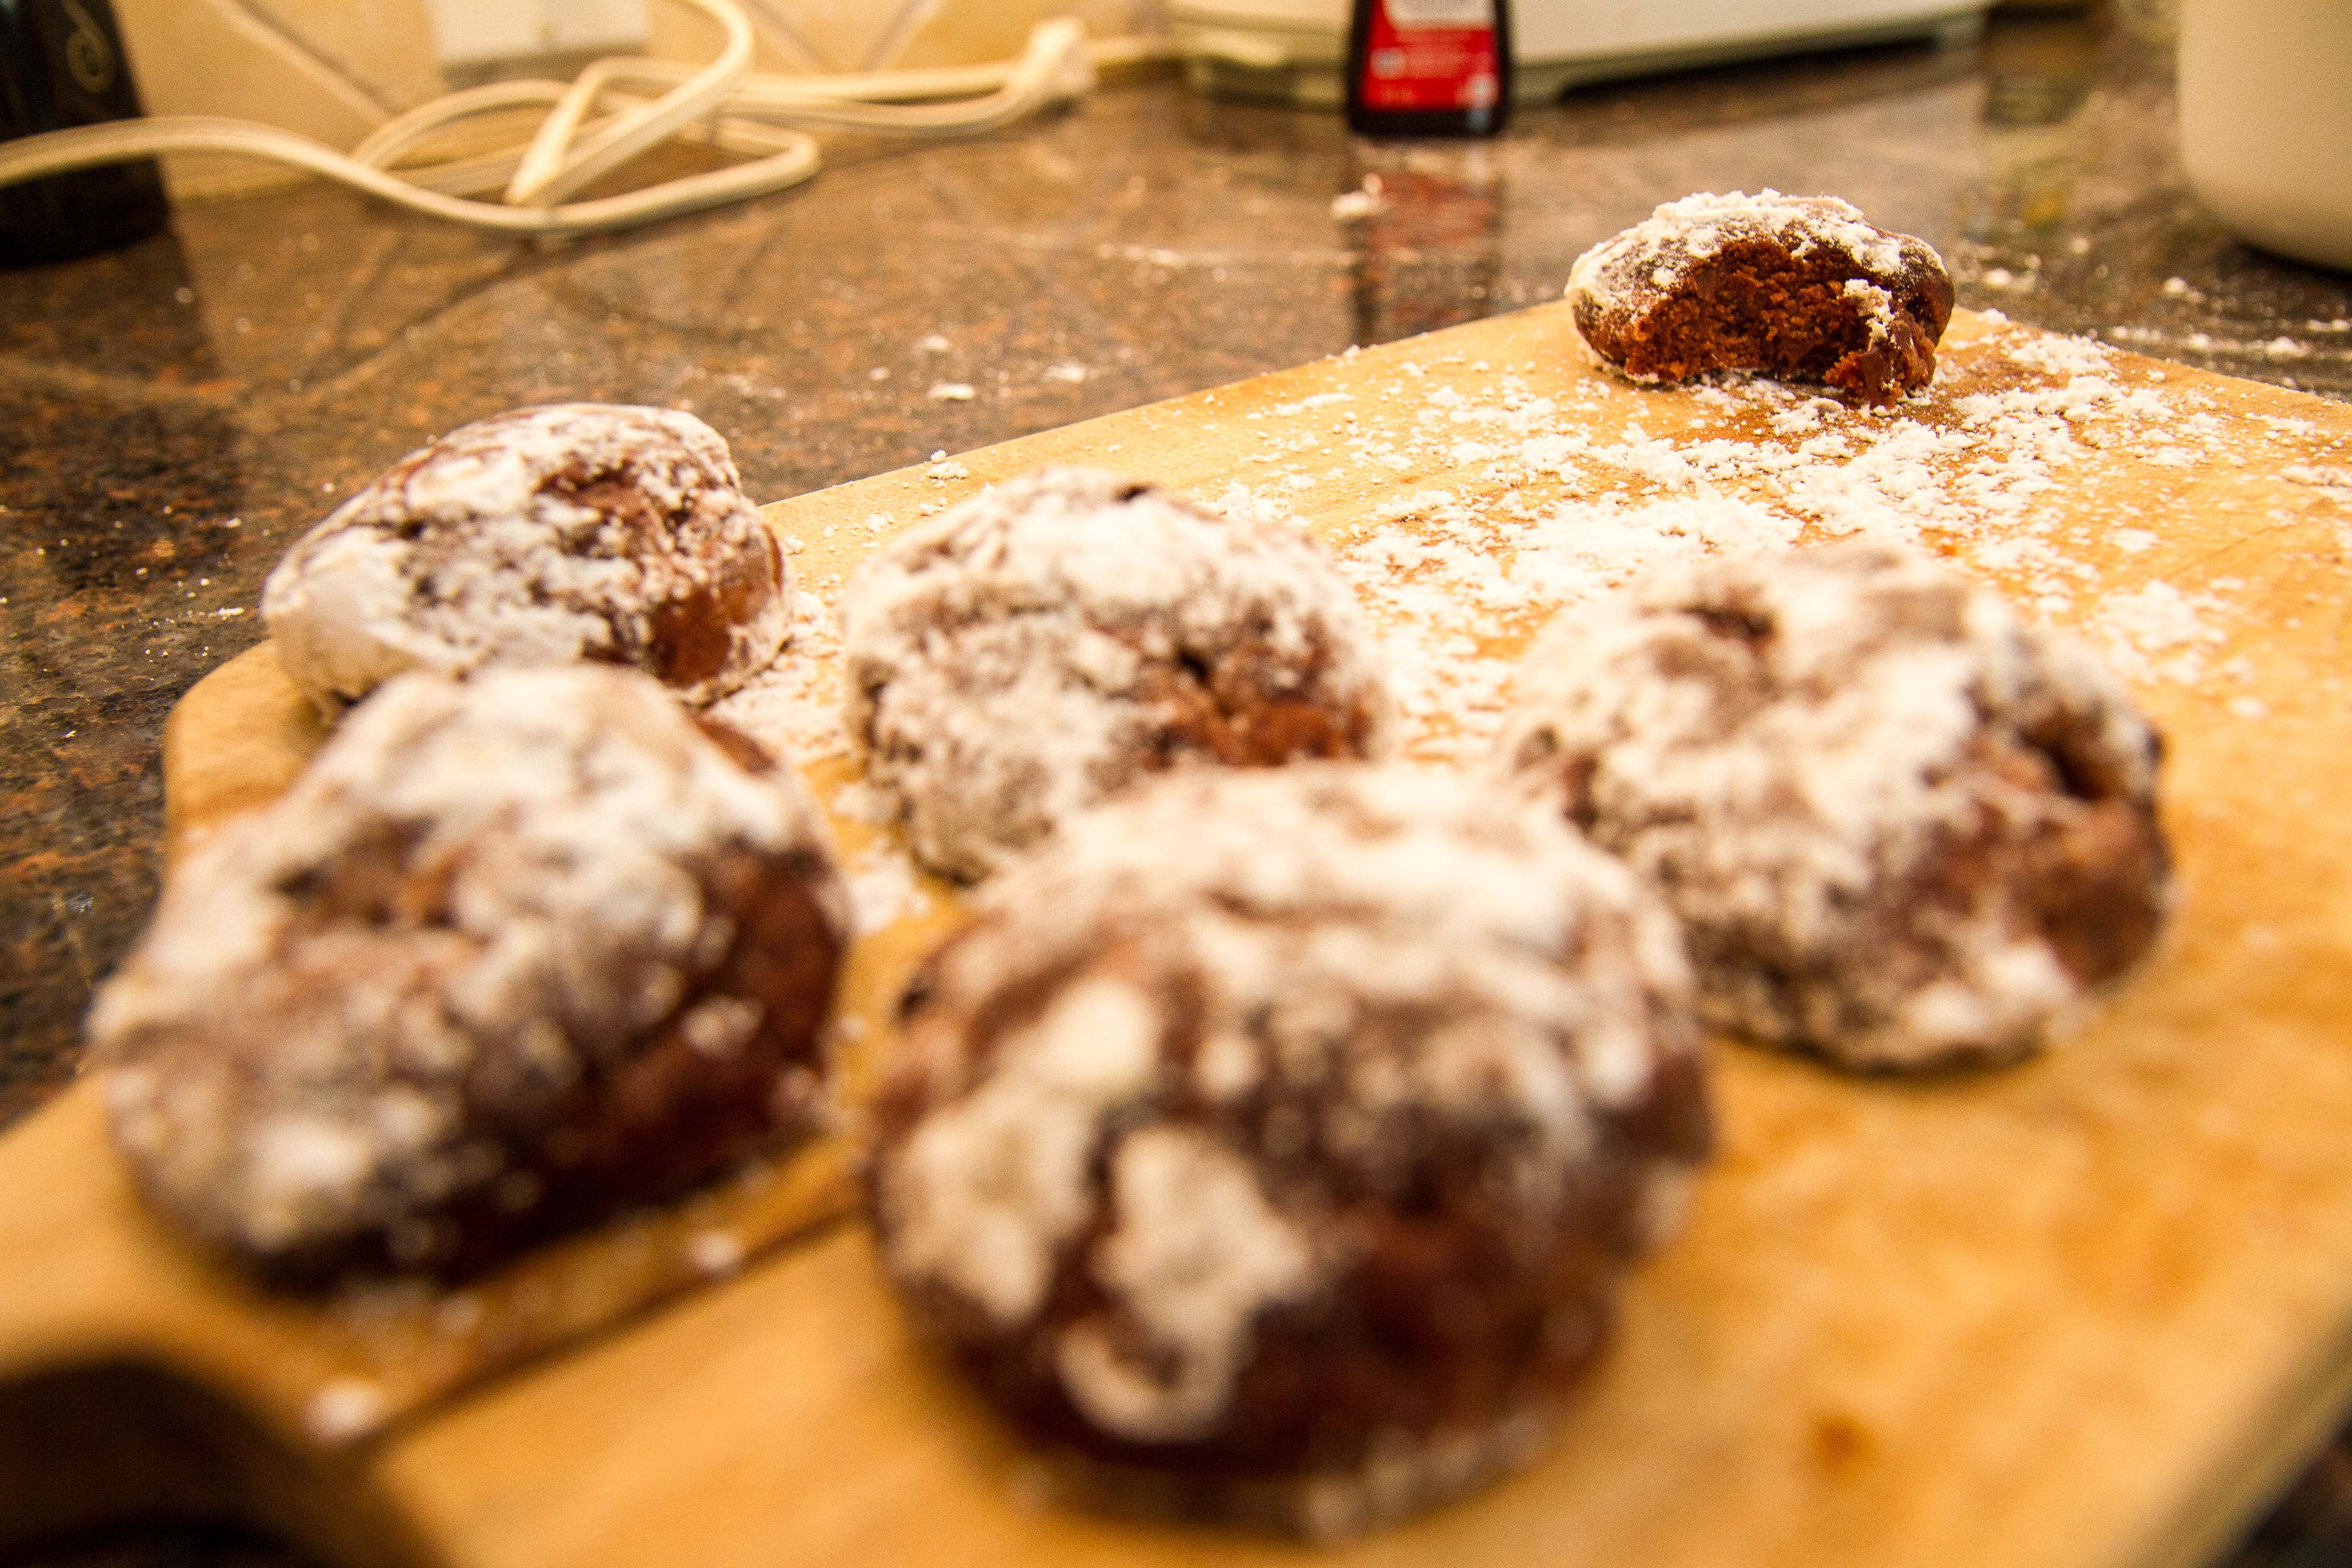
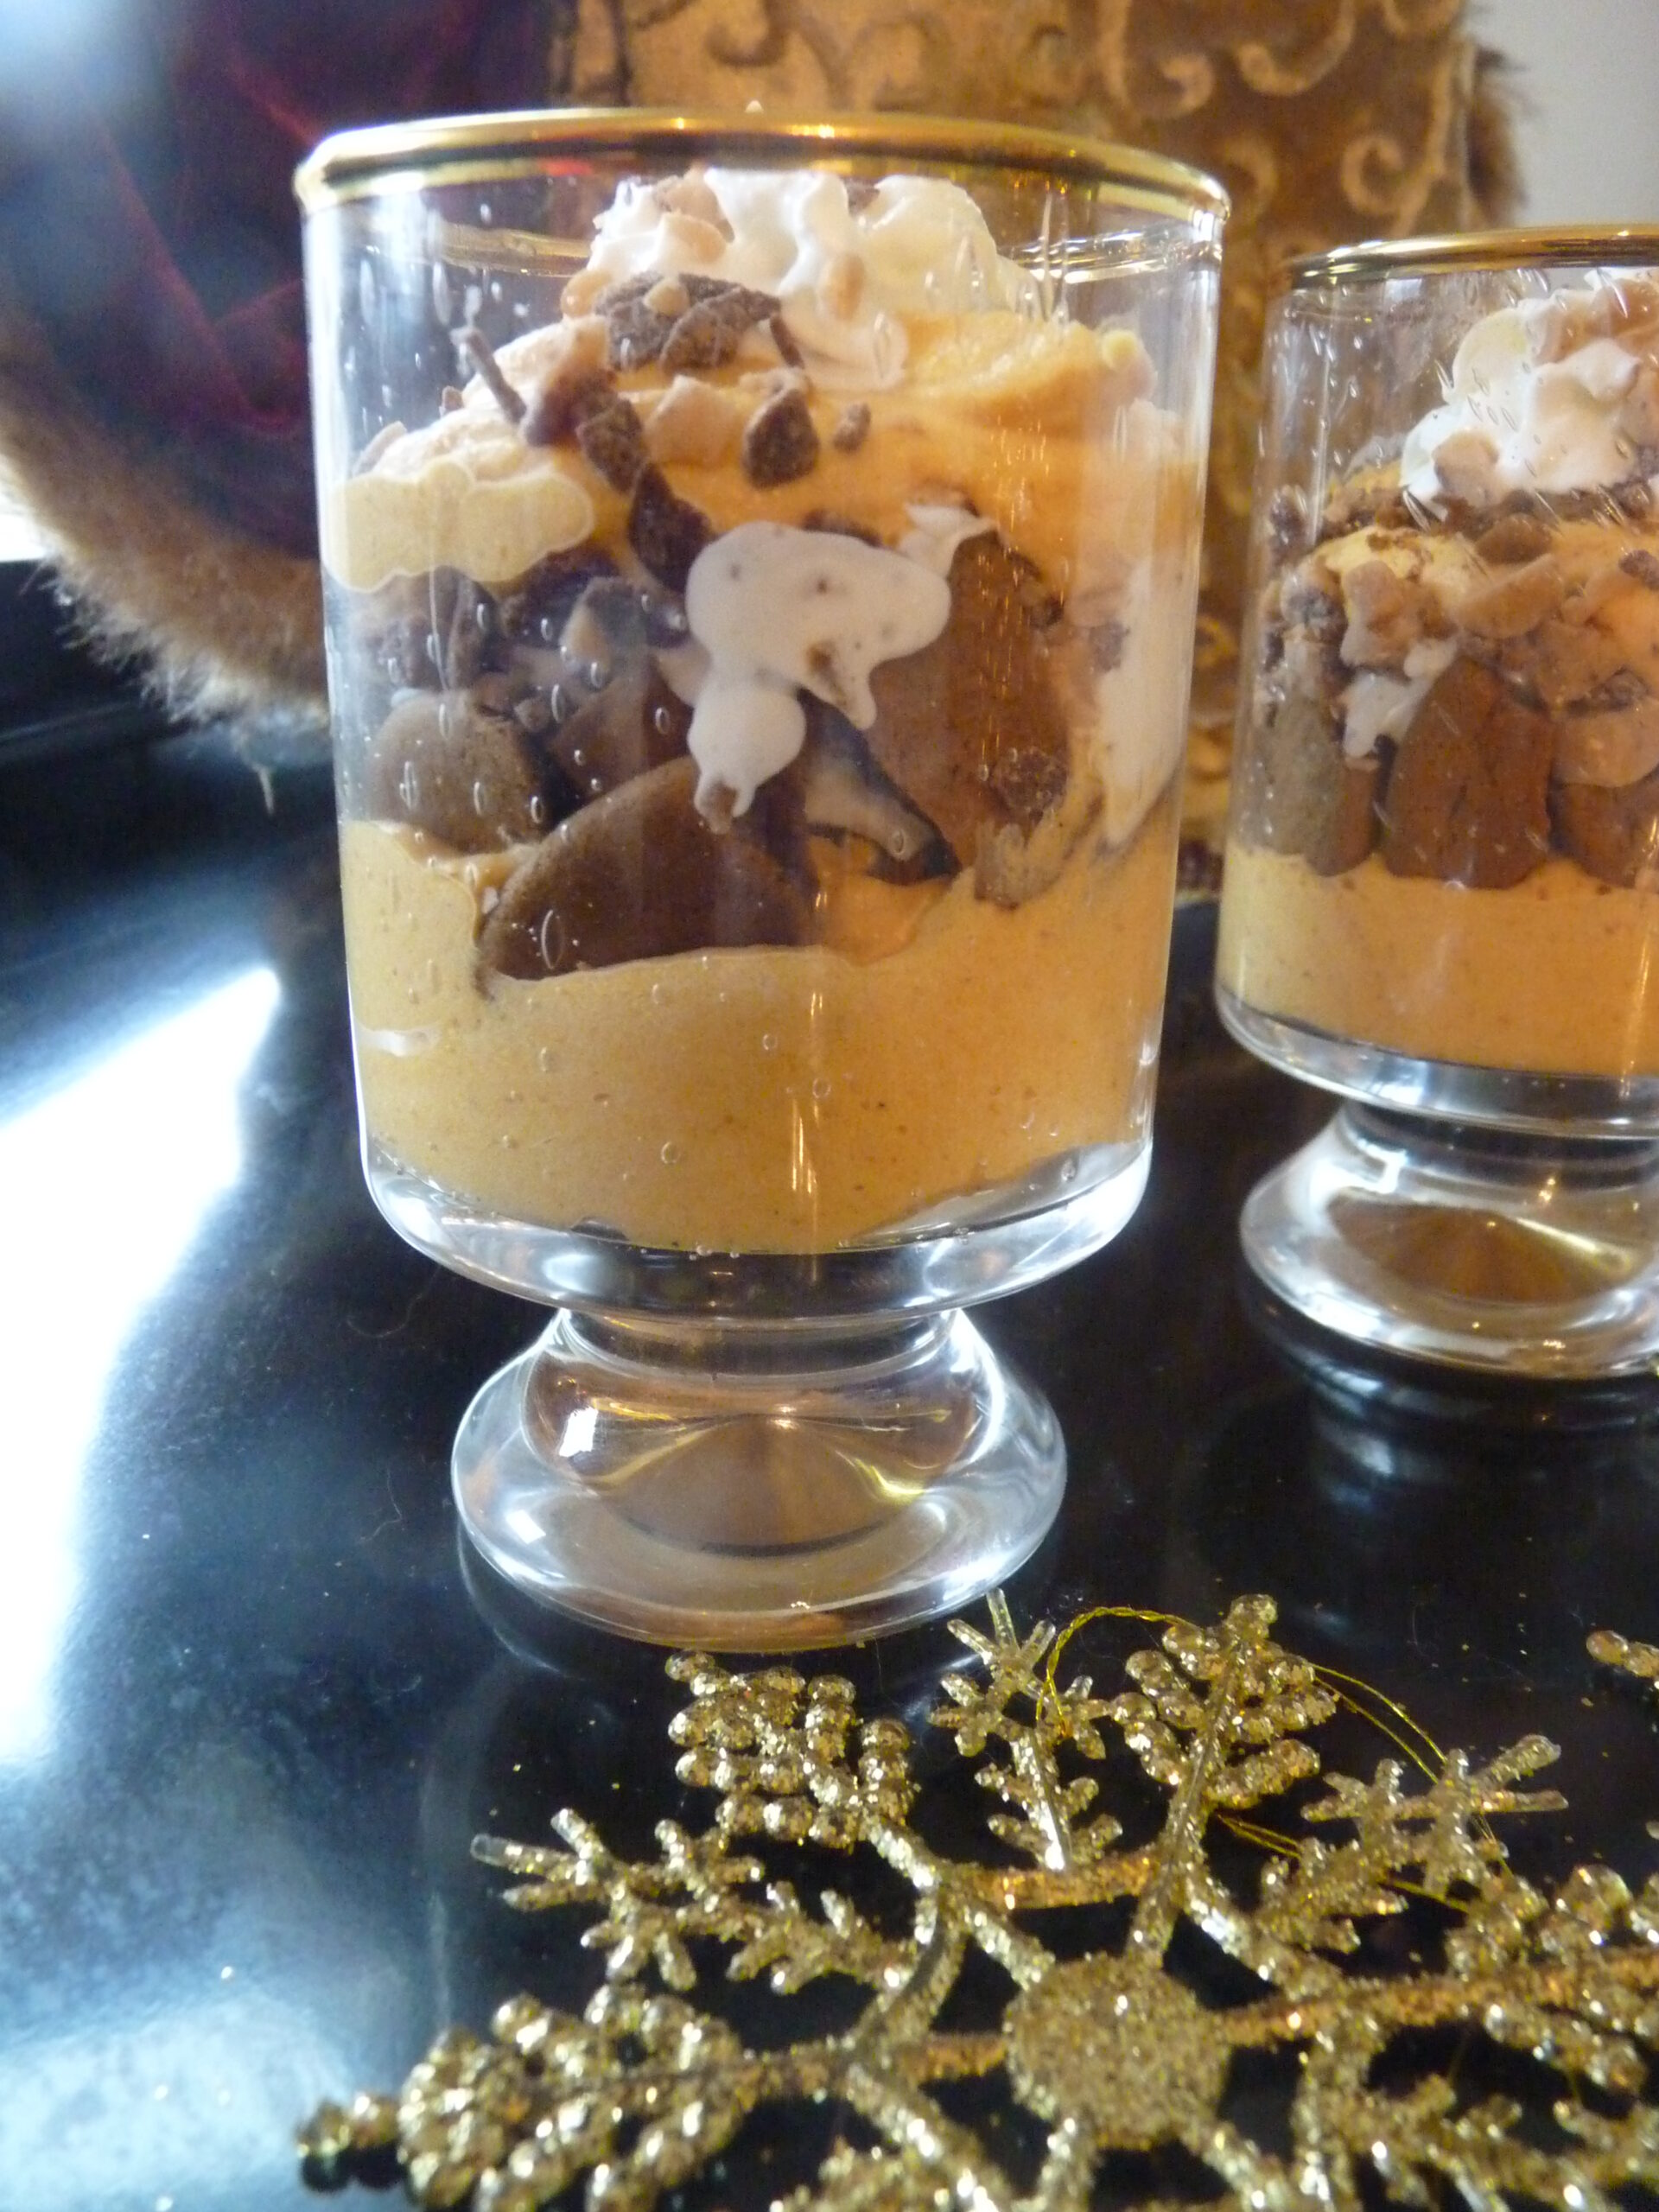
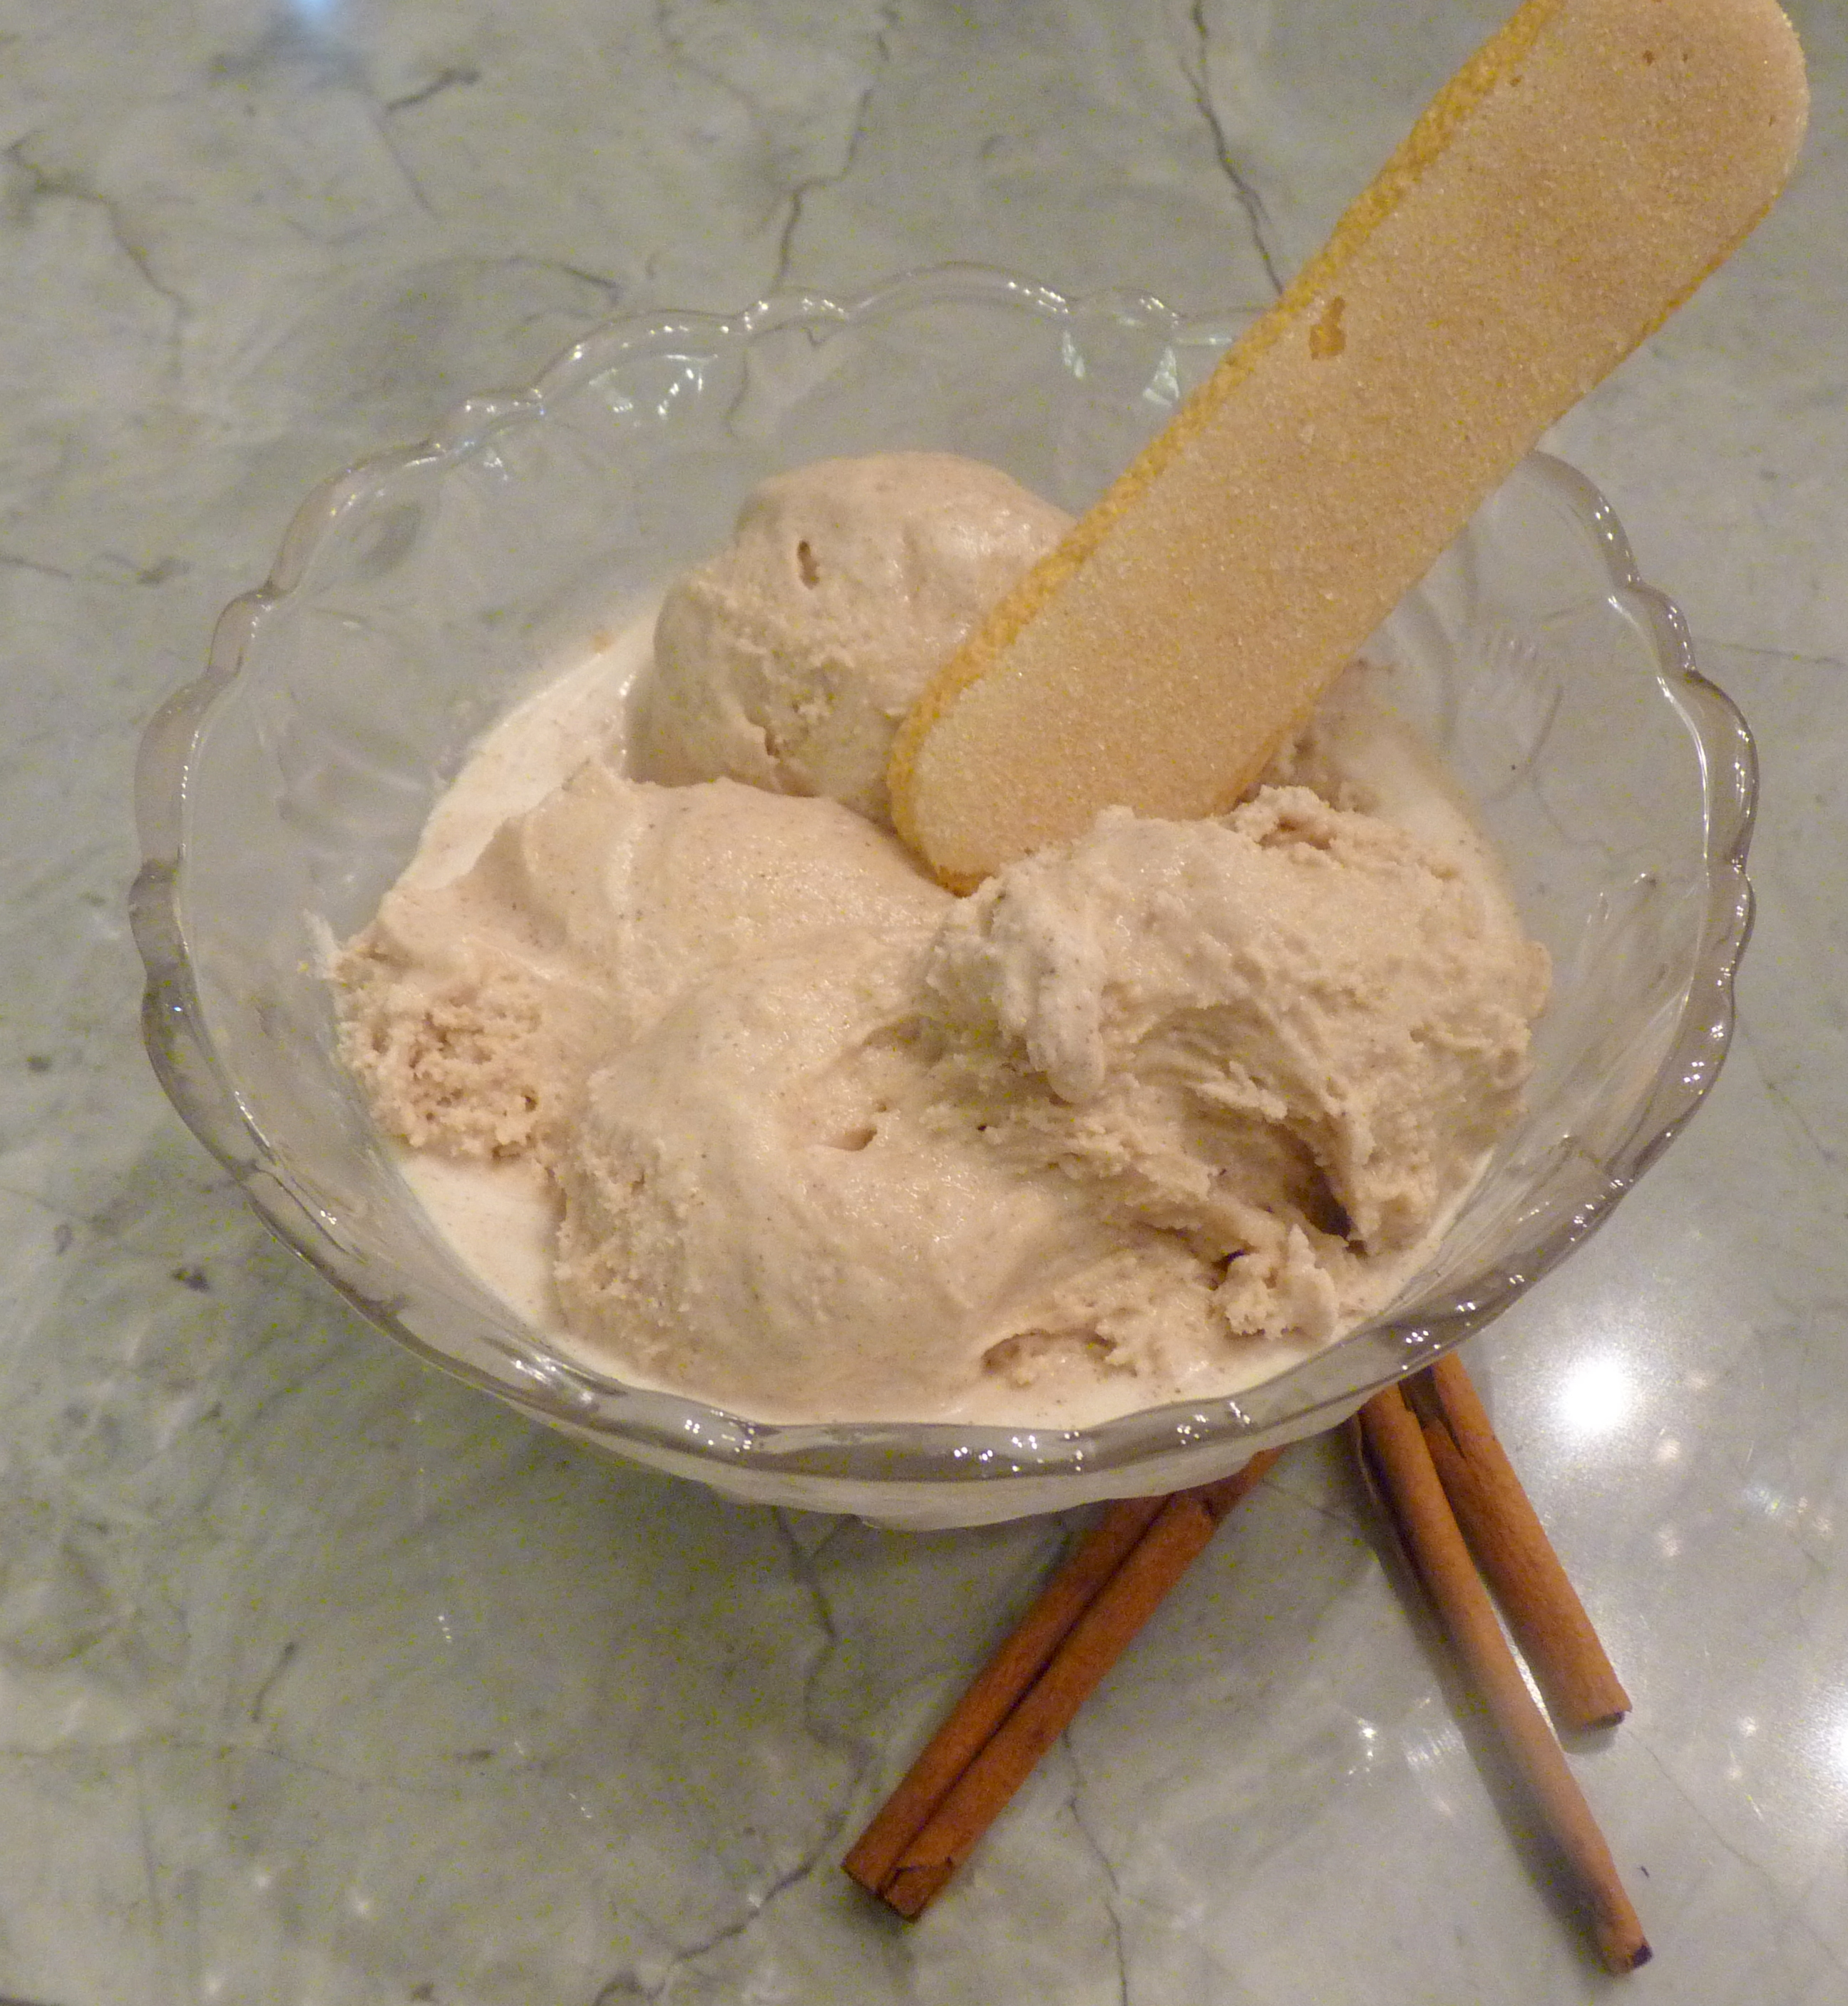
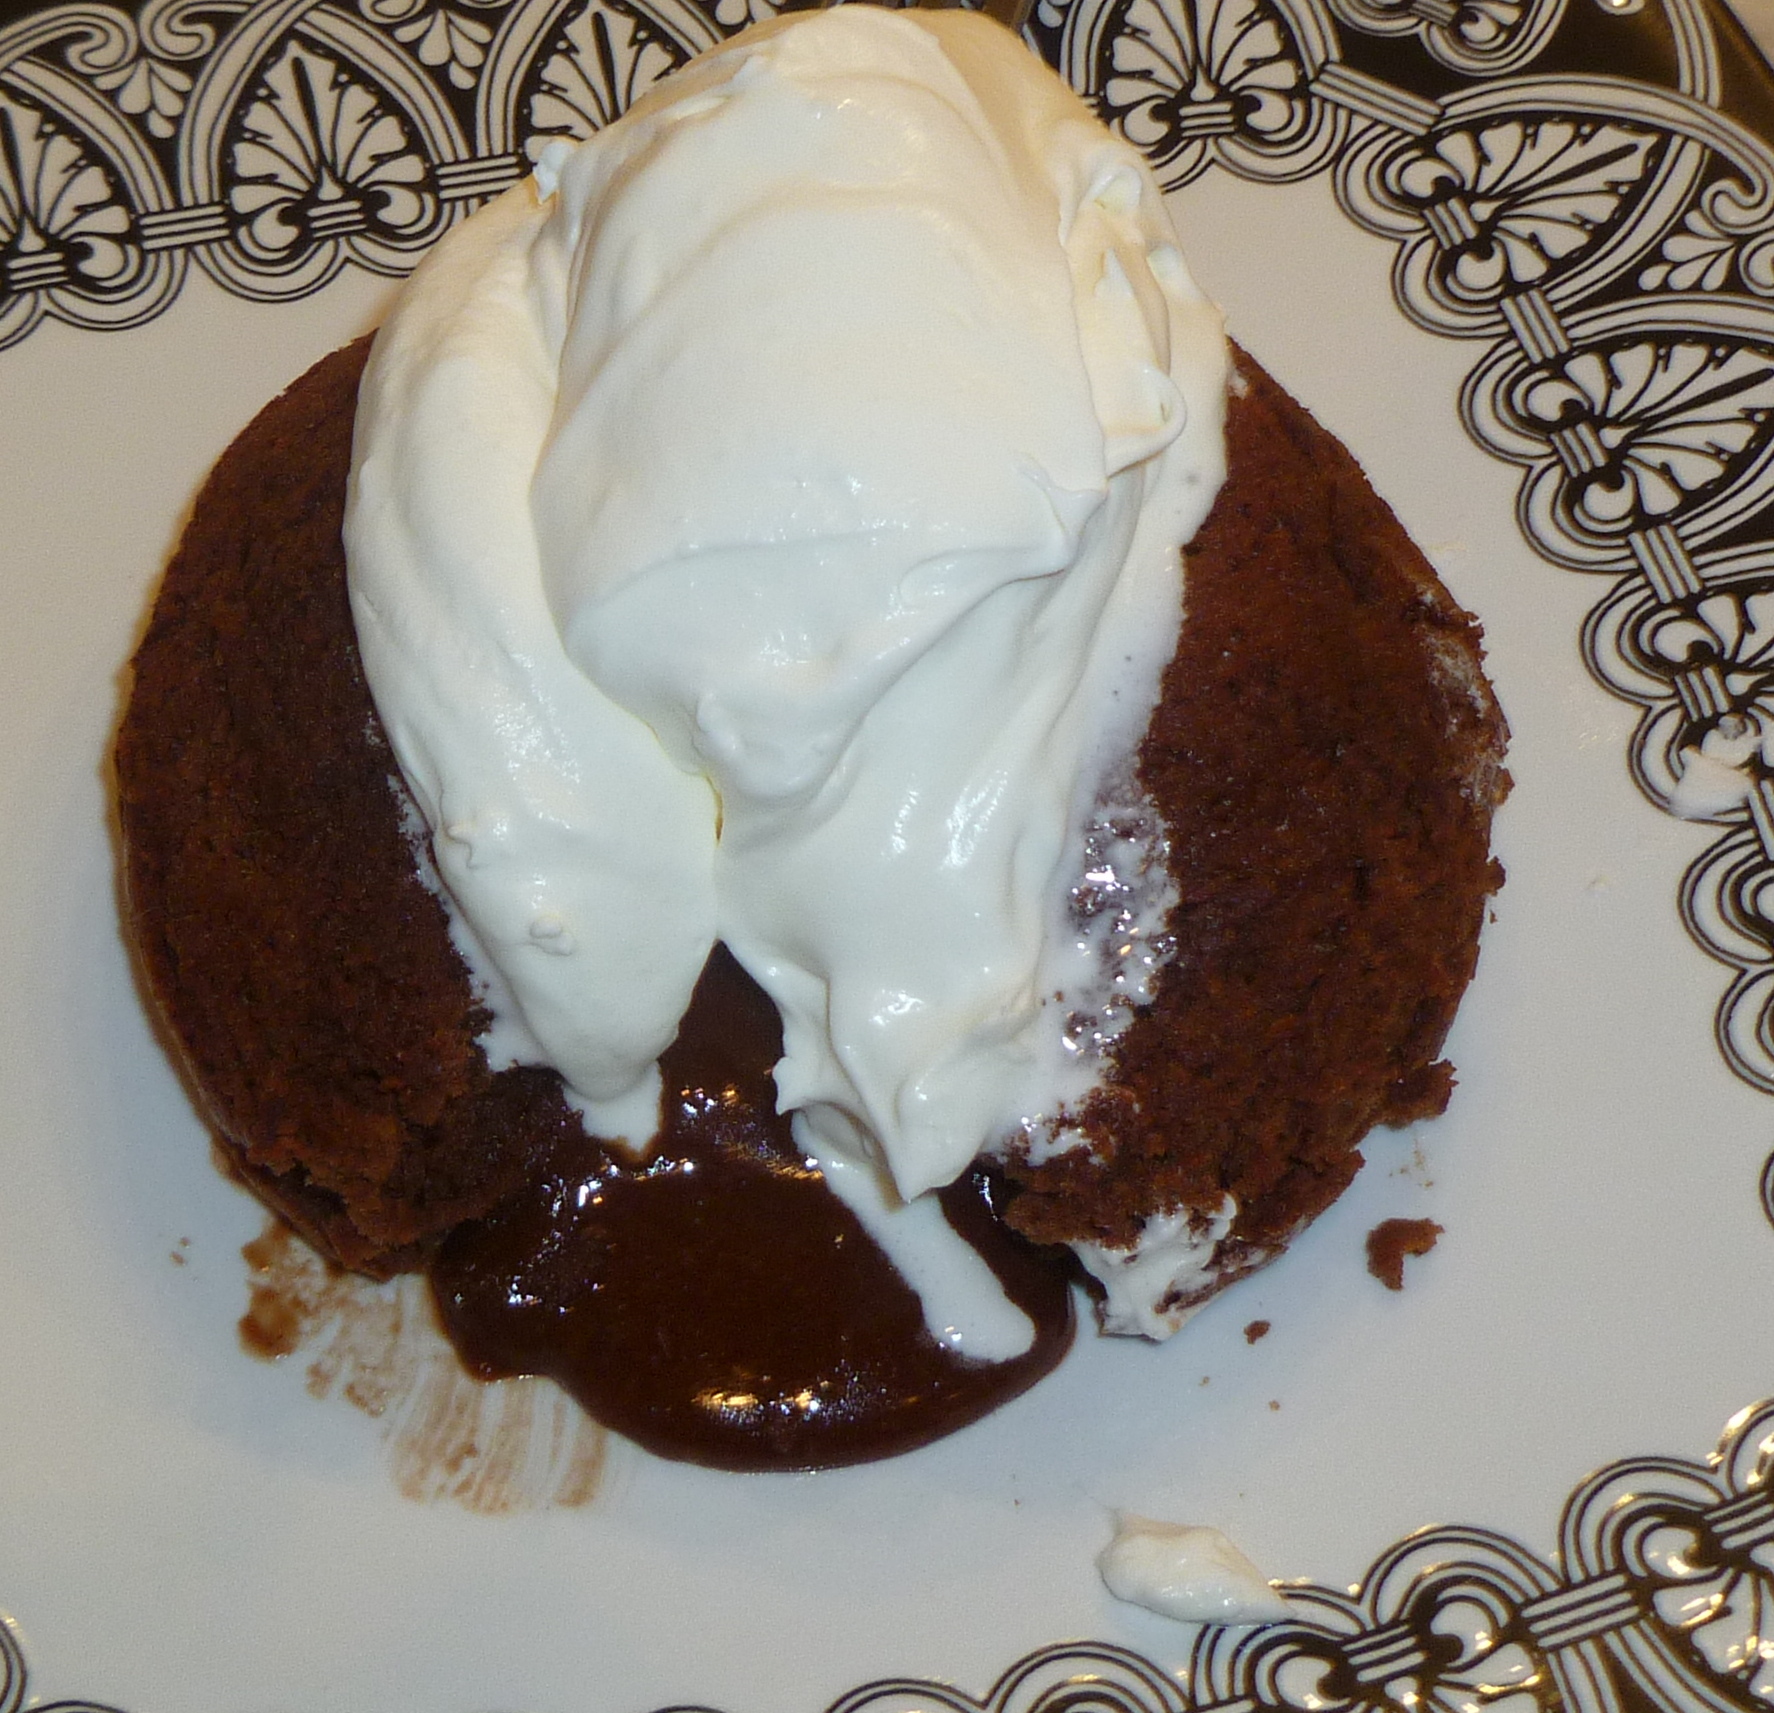
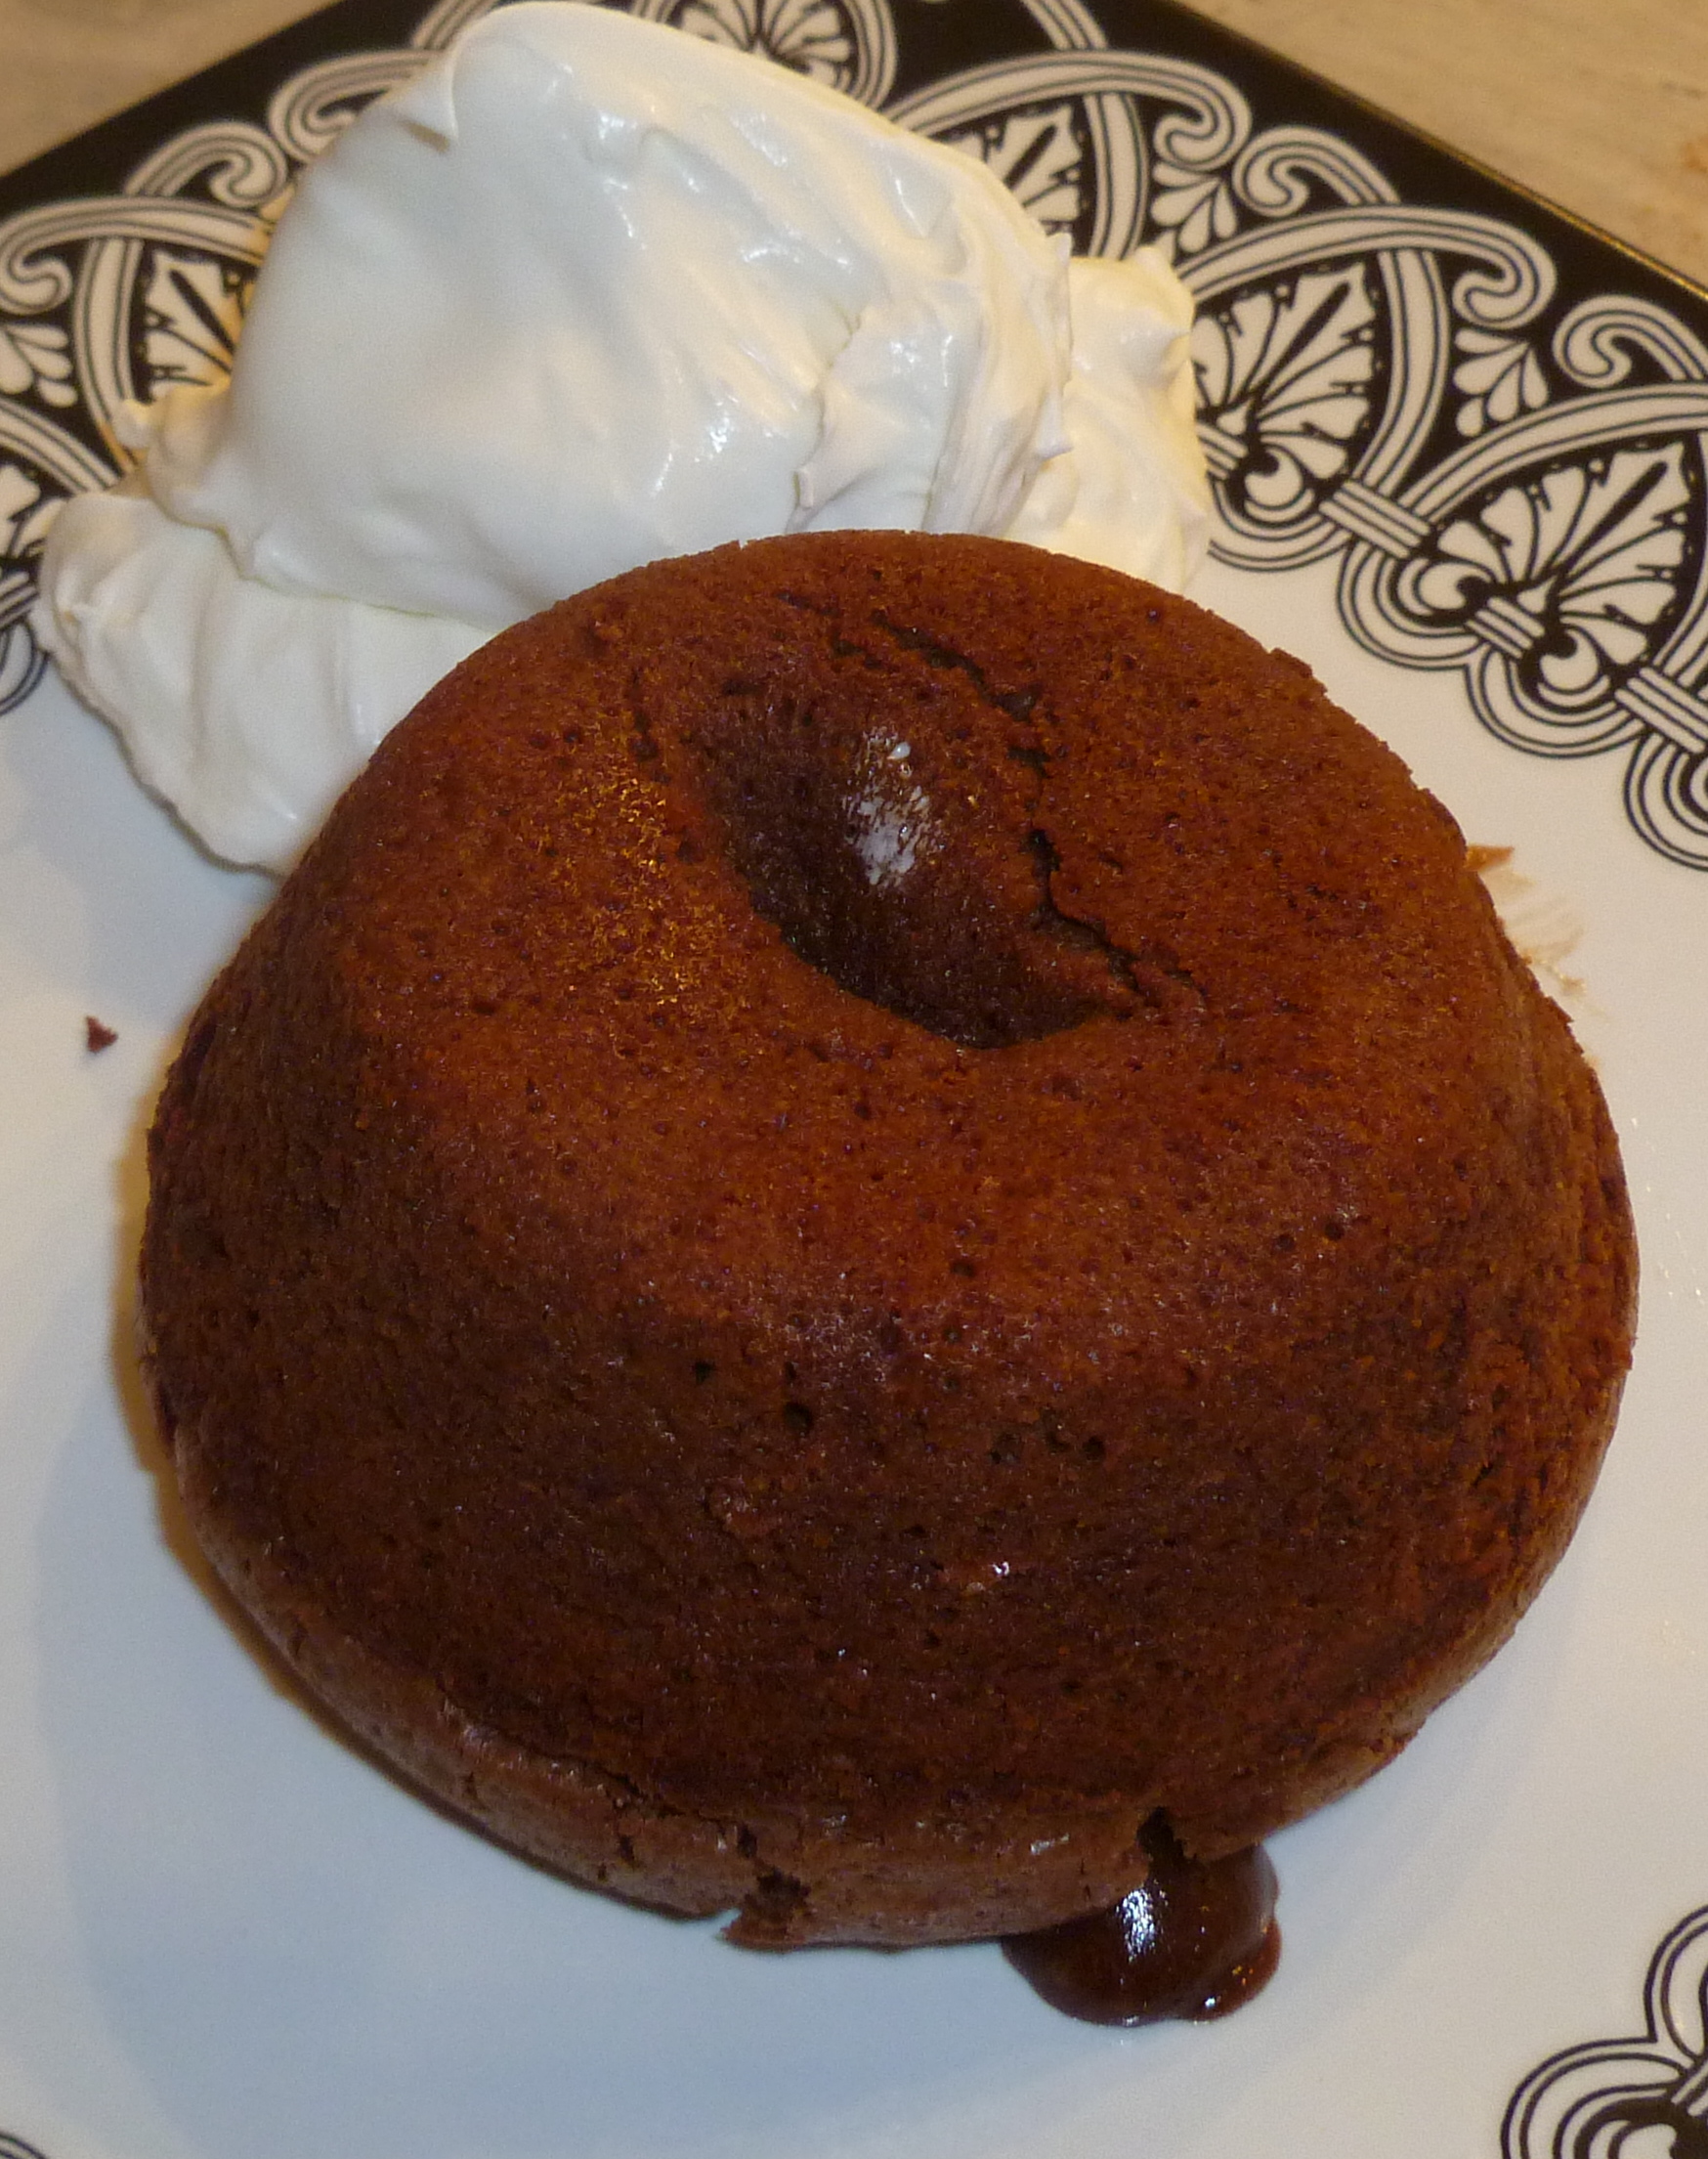
In a little over a week we are going to Vegas…hubbie work…me play. I am hoping the weather there will be great too, because I think we will be back into winter here. Not only great weather, but every year I look forward to two things: Shopping and Fine Dining! This year I had finally talked the hubs into taking me to L’Atelier de Joel Robuchon, but I waited too late. No reservations left. The next two choices were also booked. SAD! There are soooo many great places to eat there that, of course, we still ended up getting reservations for fabulous food. Last year when we were there, we ate at Mastro’s Ocean Club, one of my favorite meals while we were there. Every course was great. If you go, save room for dessert. My favorites were the chocolate pudding cake and their signature dessert, which is a warm butter cake. Since I have been subjected to looking for places to eat in Vegas, I developed a yen for the dessert we had at Mastro’s. We don’t have a location here, so I decided to try it for myself. I think this is really close. I used the gluten-free flour that I love (link on the side) and am always worried that the recipe will fail, but it never does. You really cannot tell the difference from this gluten-free flour and all-purpose flour. I made it for a couple of ladies, and it was a hit! Yummmmmm ! I think these would make an excellent Valentine’s Day treat, especially with red berries.
INGREDIENTS
- Cake Batter
2 cups (4 sticks) unsalted butter, room temperature
4 ounces cream cheese, room temperature
2 cups granulated sugar or Baker’s sugar
2 large eggs, room temperature
1/2 teaspoon sea salt
1 1/2 cups gluten-free flour (or all-purpose flour)
1 1/2 teaspoons vanilla extract
Cream Cheese Layer
- 4 ounces cream cheese, room temperature
1 egg, room temperature
1/3 cup granulated sugar
1/2 teaspoon vanilla extract
PREPARATION
1. Preheat oven to 325.
2. Spray five 500 mL (5-1/2 inch diameter) ramekins with baking spray. (this is the size they use where I had it. You could also use mini springform pans, or if you want smaller cakes you could use 8 ounce ramekins).
3. Prepare the cake batter
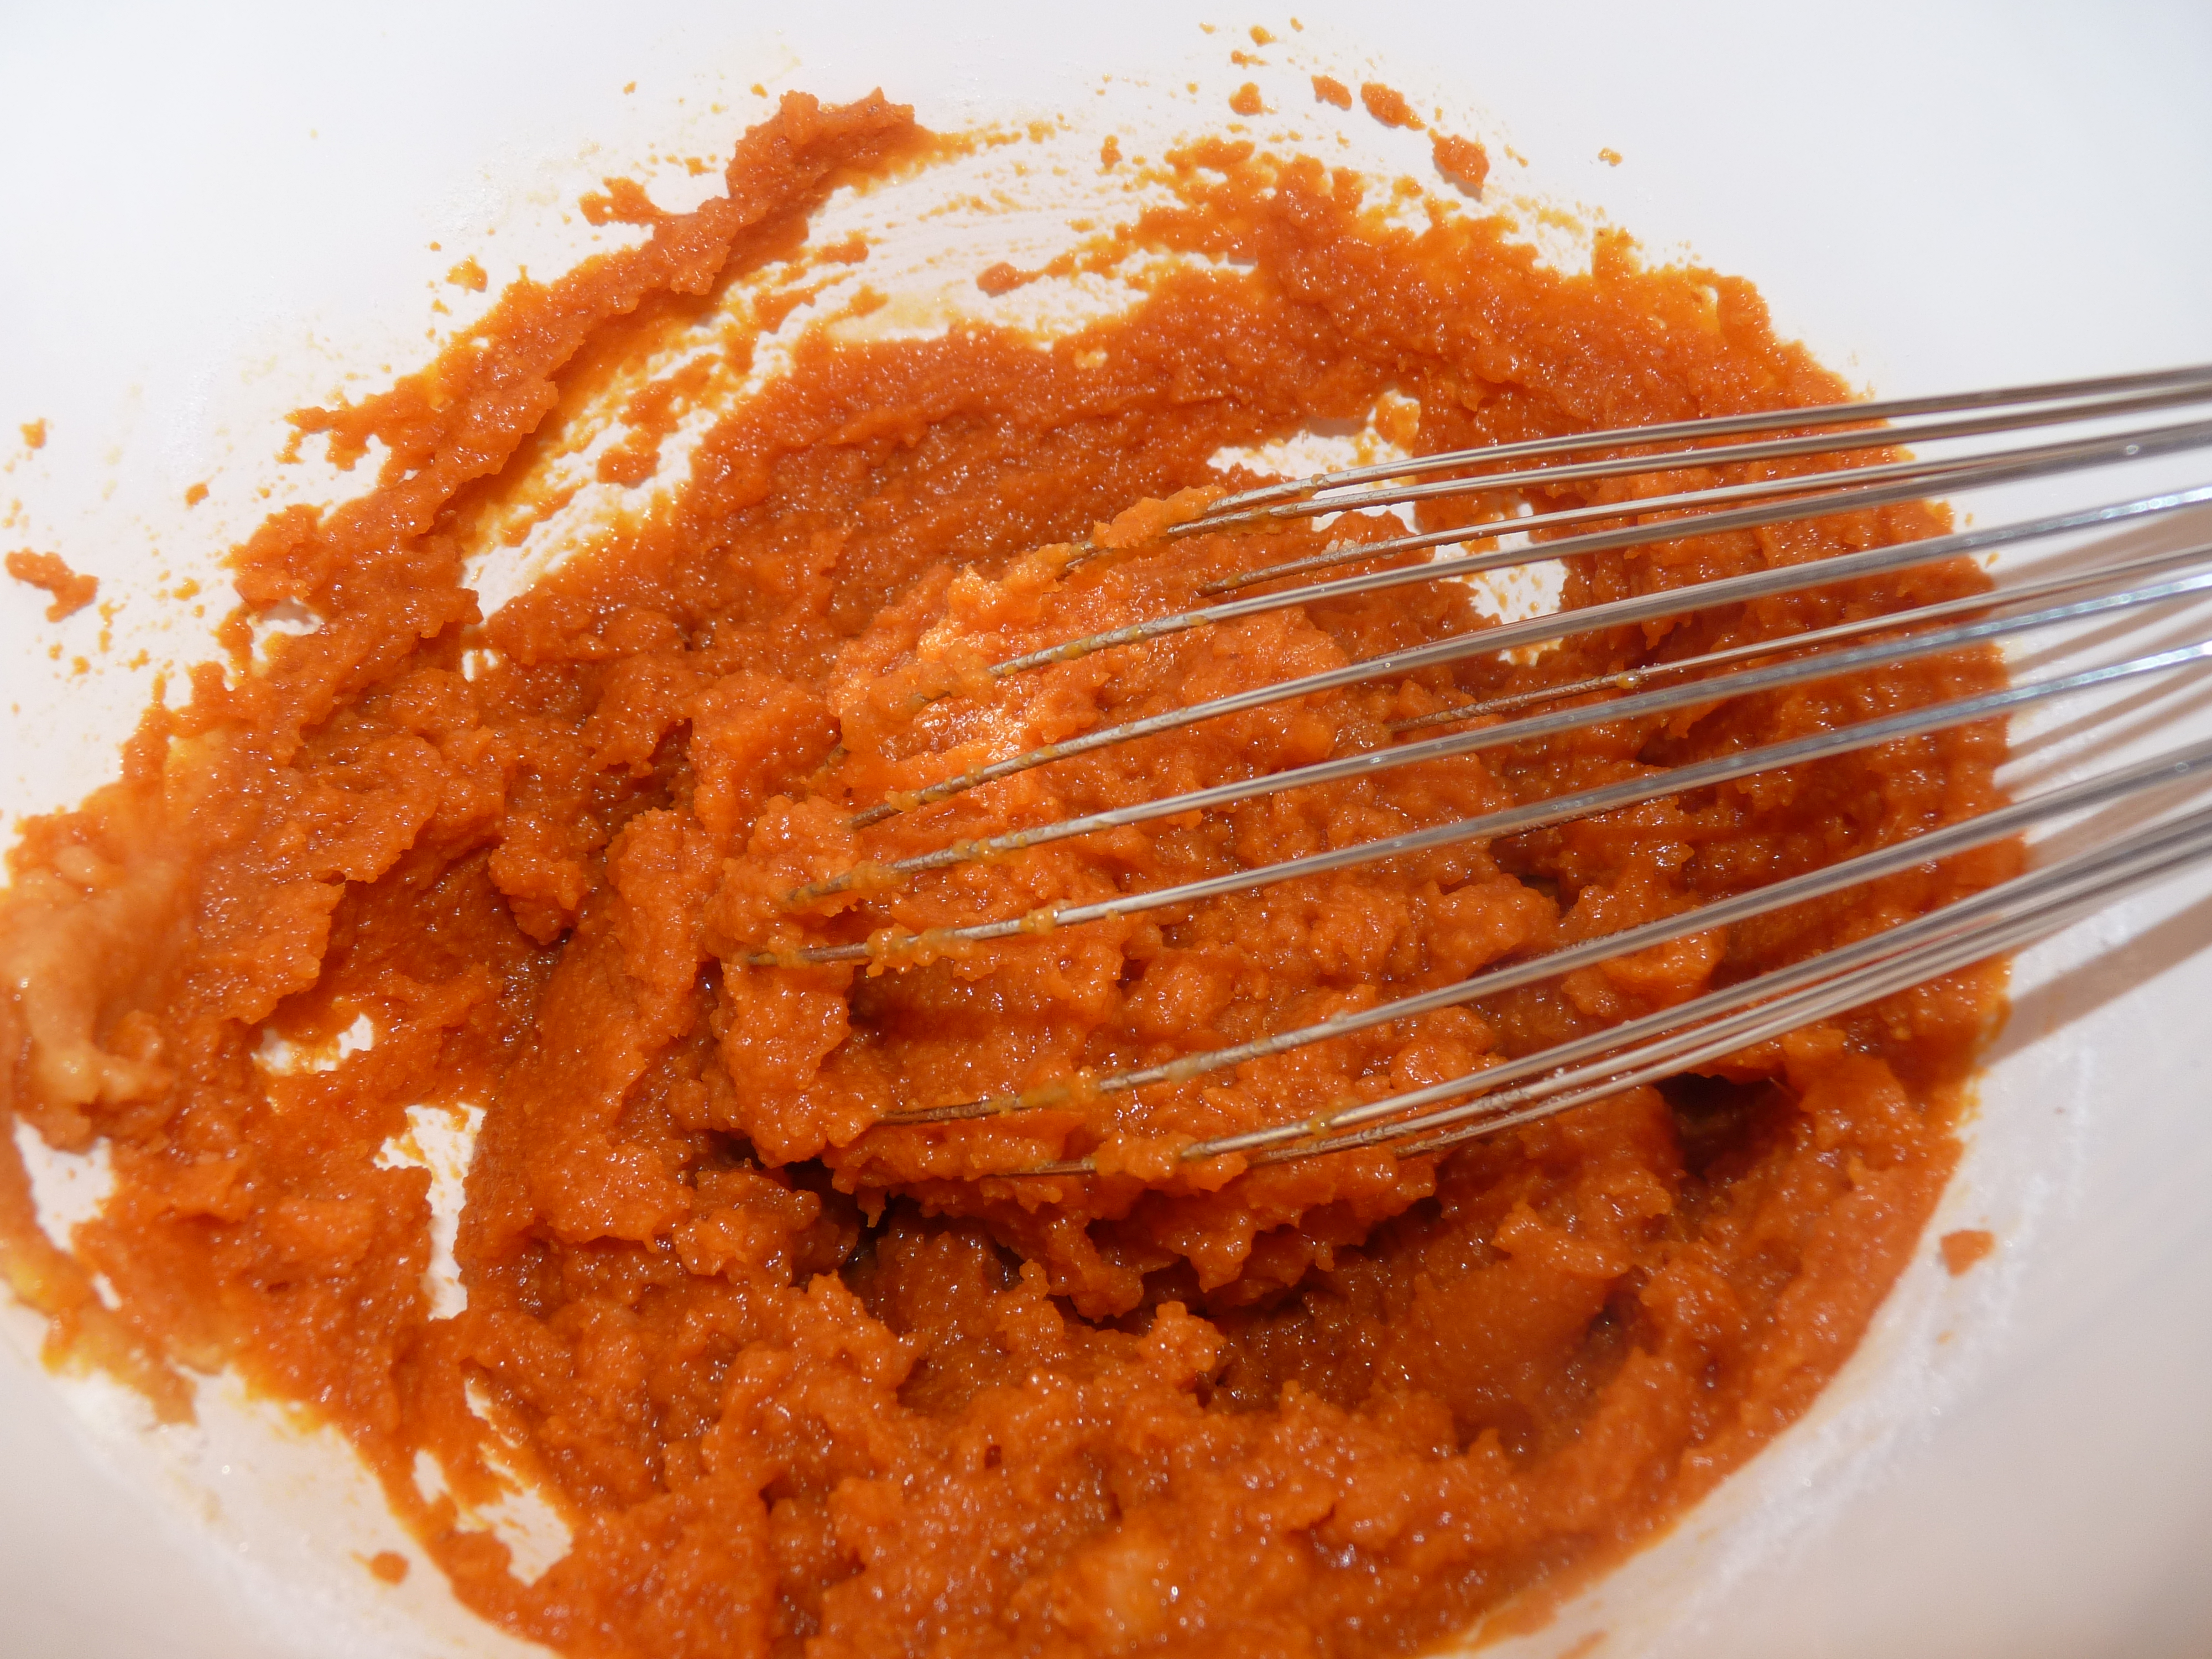
In a stand mixer cream butter, cream cheese, and sugar for 1-2 minutes. Add eggs one at a time and beat on low for 20 seconds after each addition. Whisk flour and salt, then add to creamed mixture. Beat on low until just incorporated, making sure not to over beat.
4. Prepare the cream cheese layer
In a small bowl whip together cream cheese and granulated sugar until creamed, add egg and vanilla extract.
5. Pour cake batter evenly divided into prepared pans and then top with a layer of the cream cheese mixture.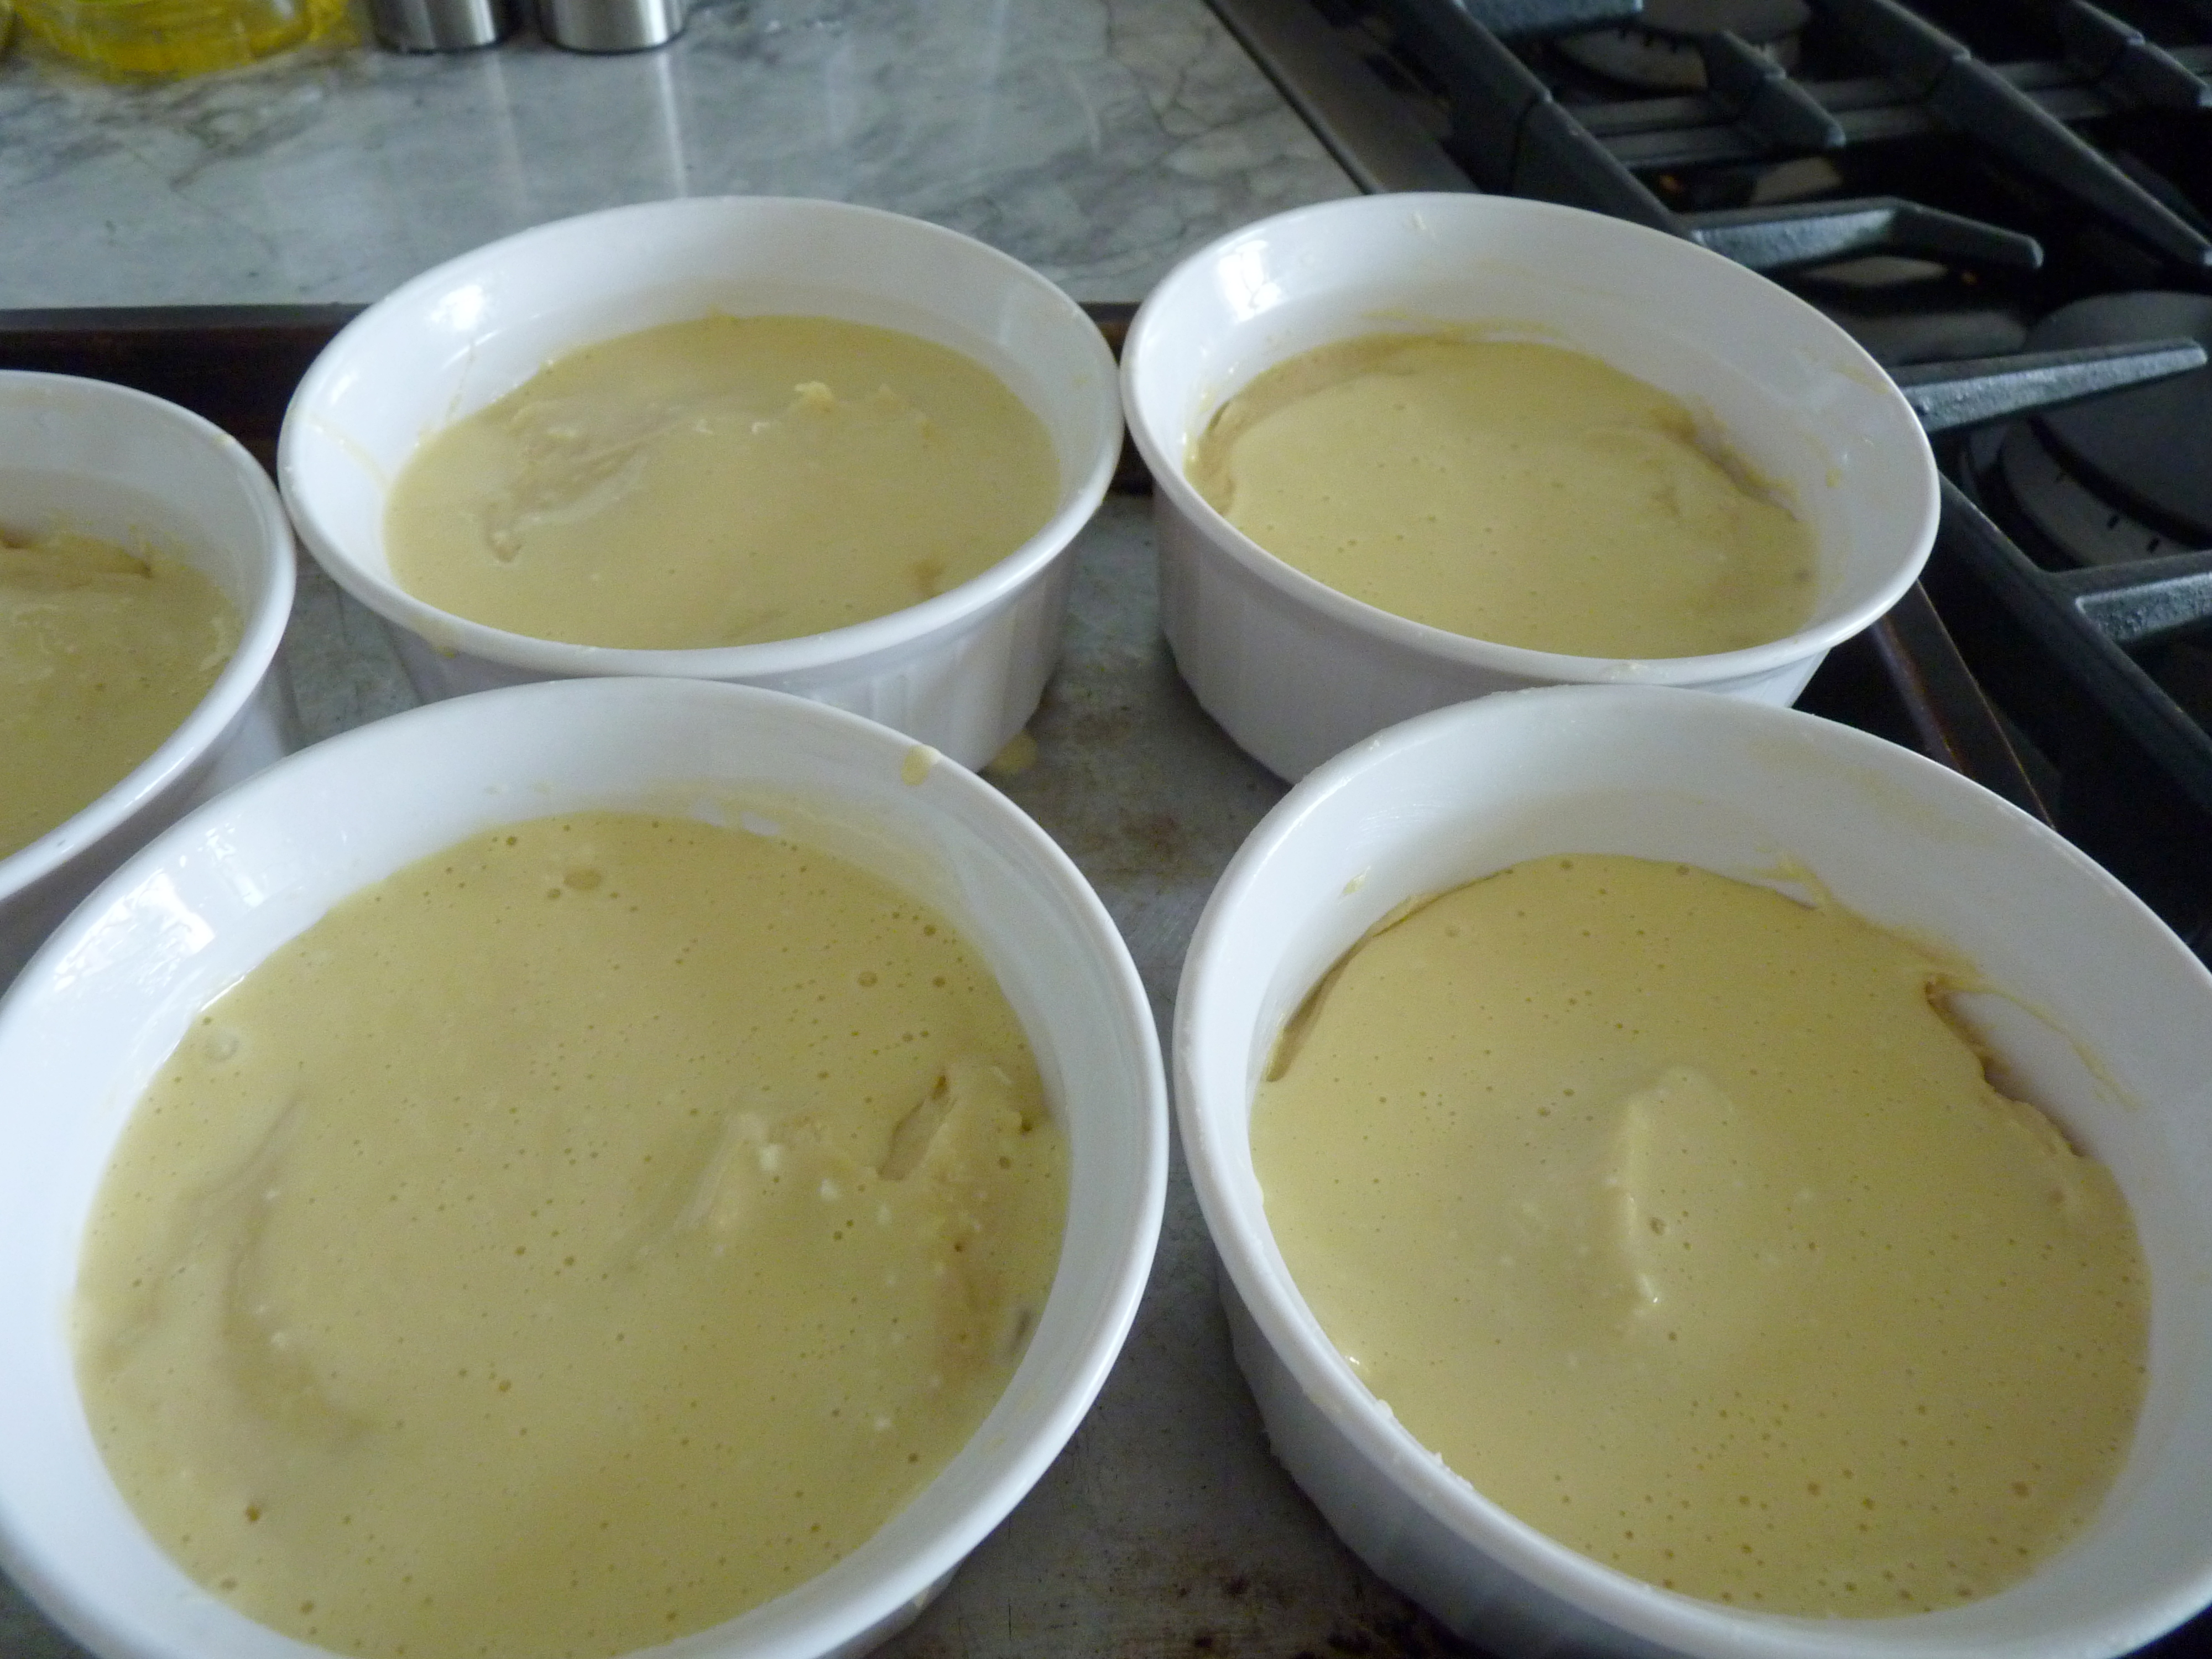
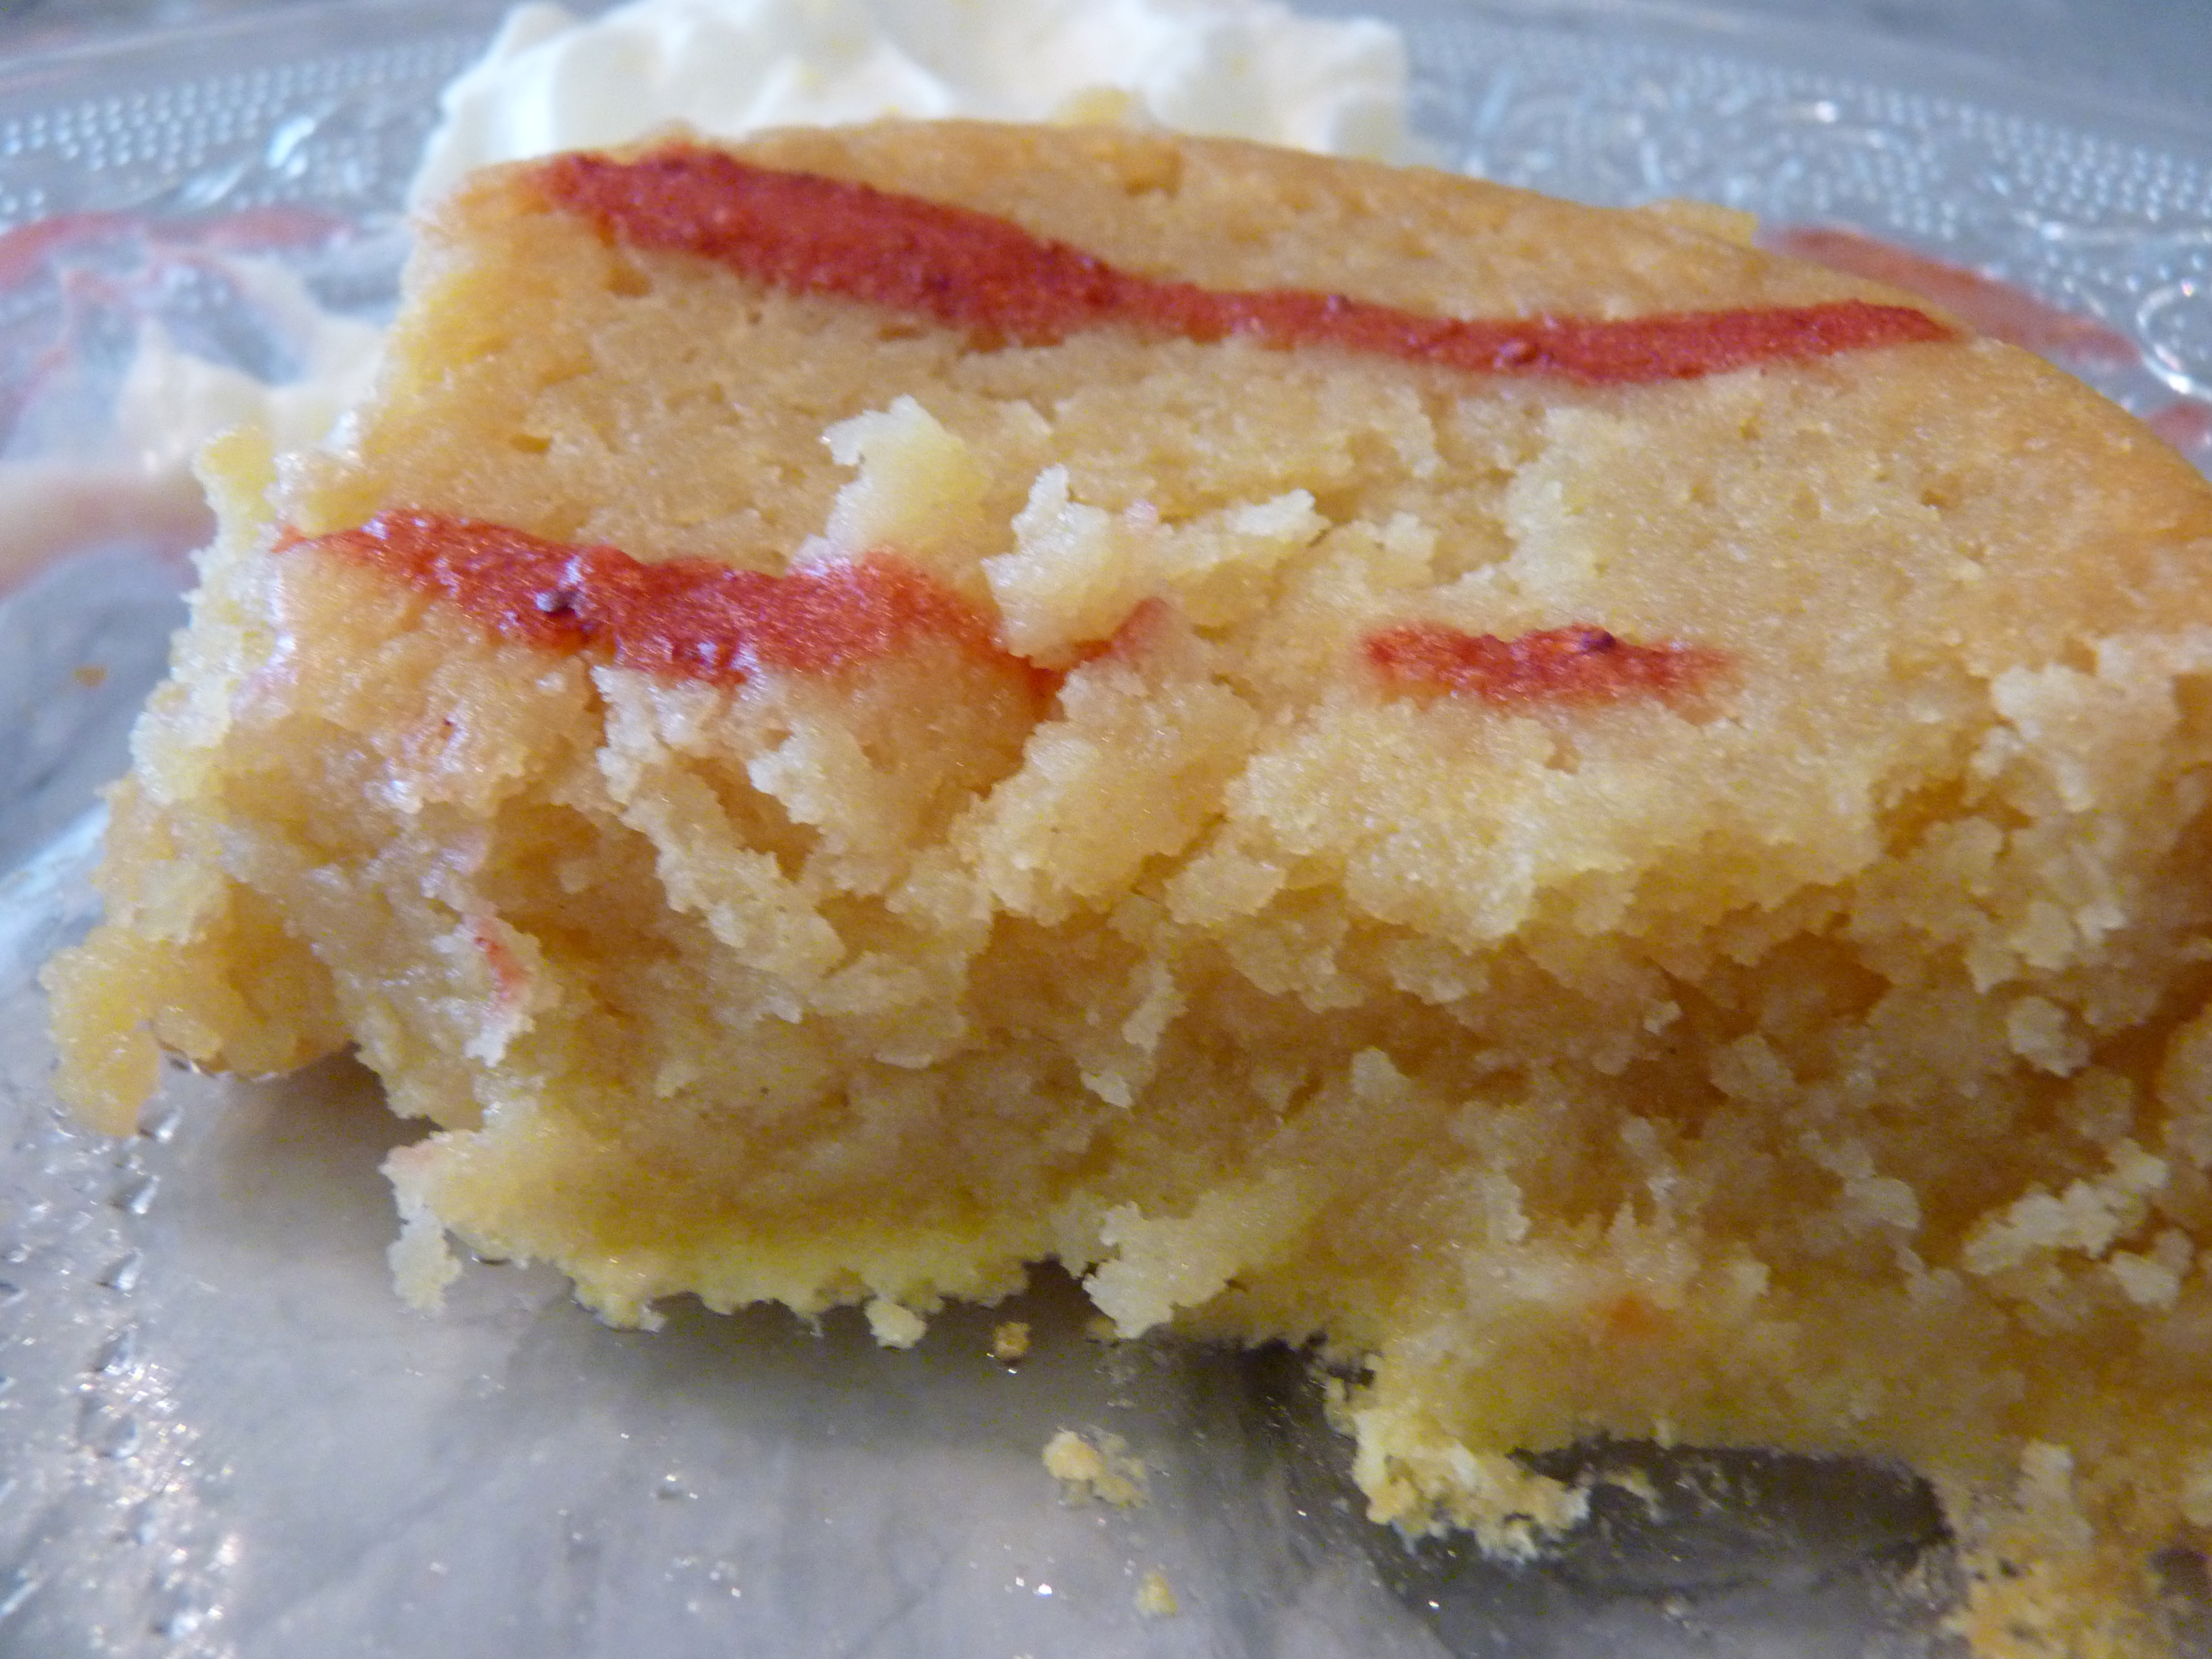
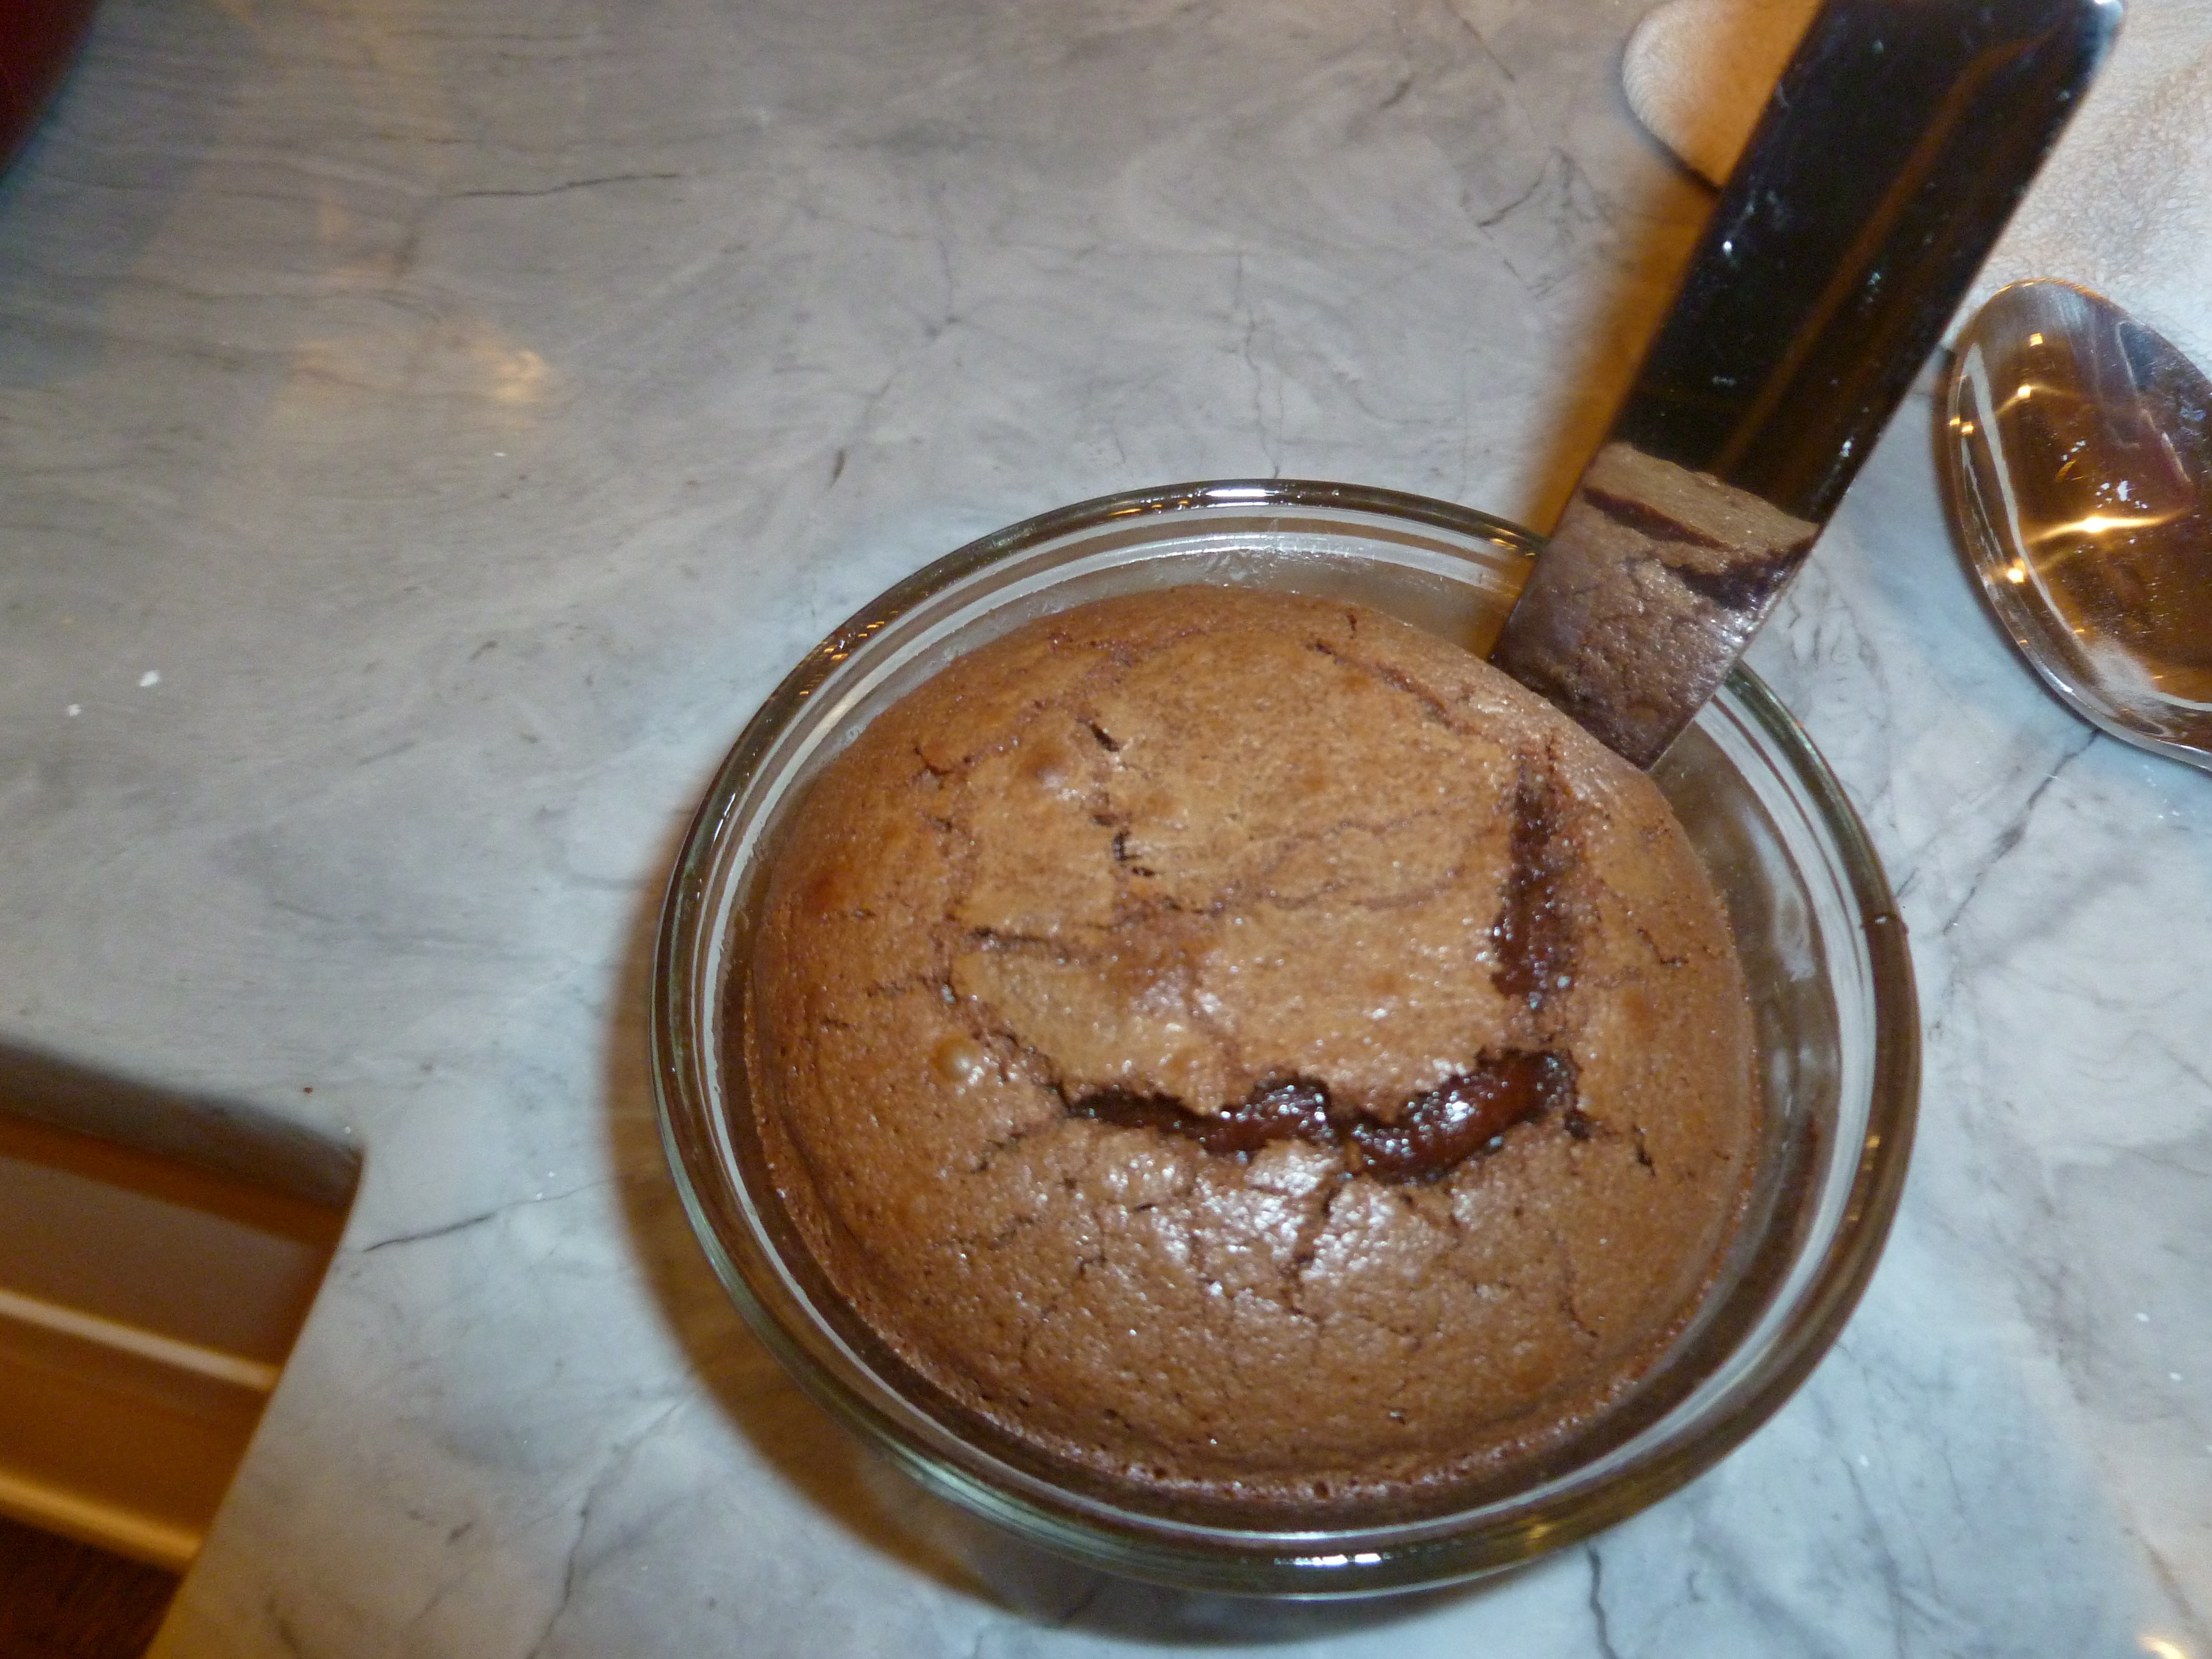
6. Bake for 60 – 75 minutes, or until tops are golden brown and a toothpick comes out clean when inserted into the center of the cakes. Do not overcook though.
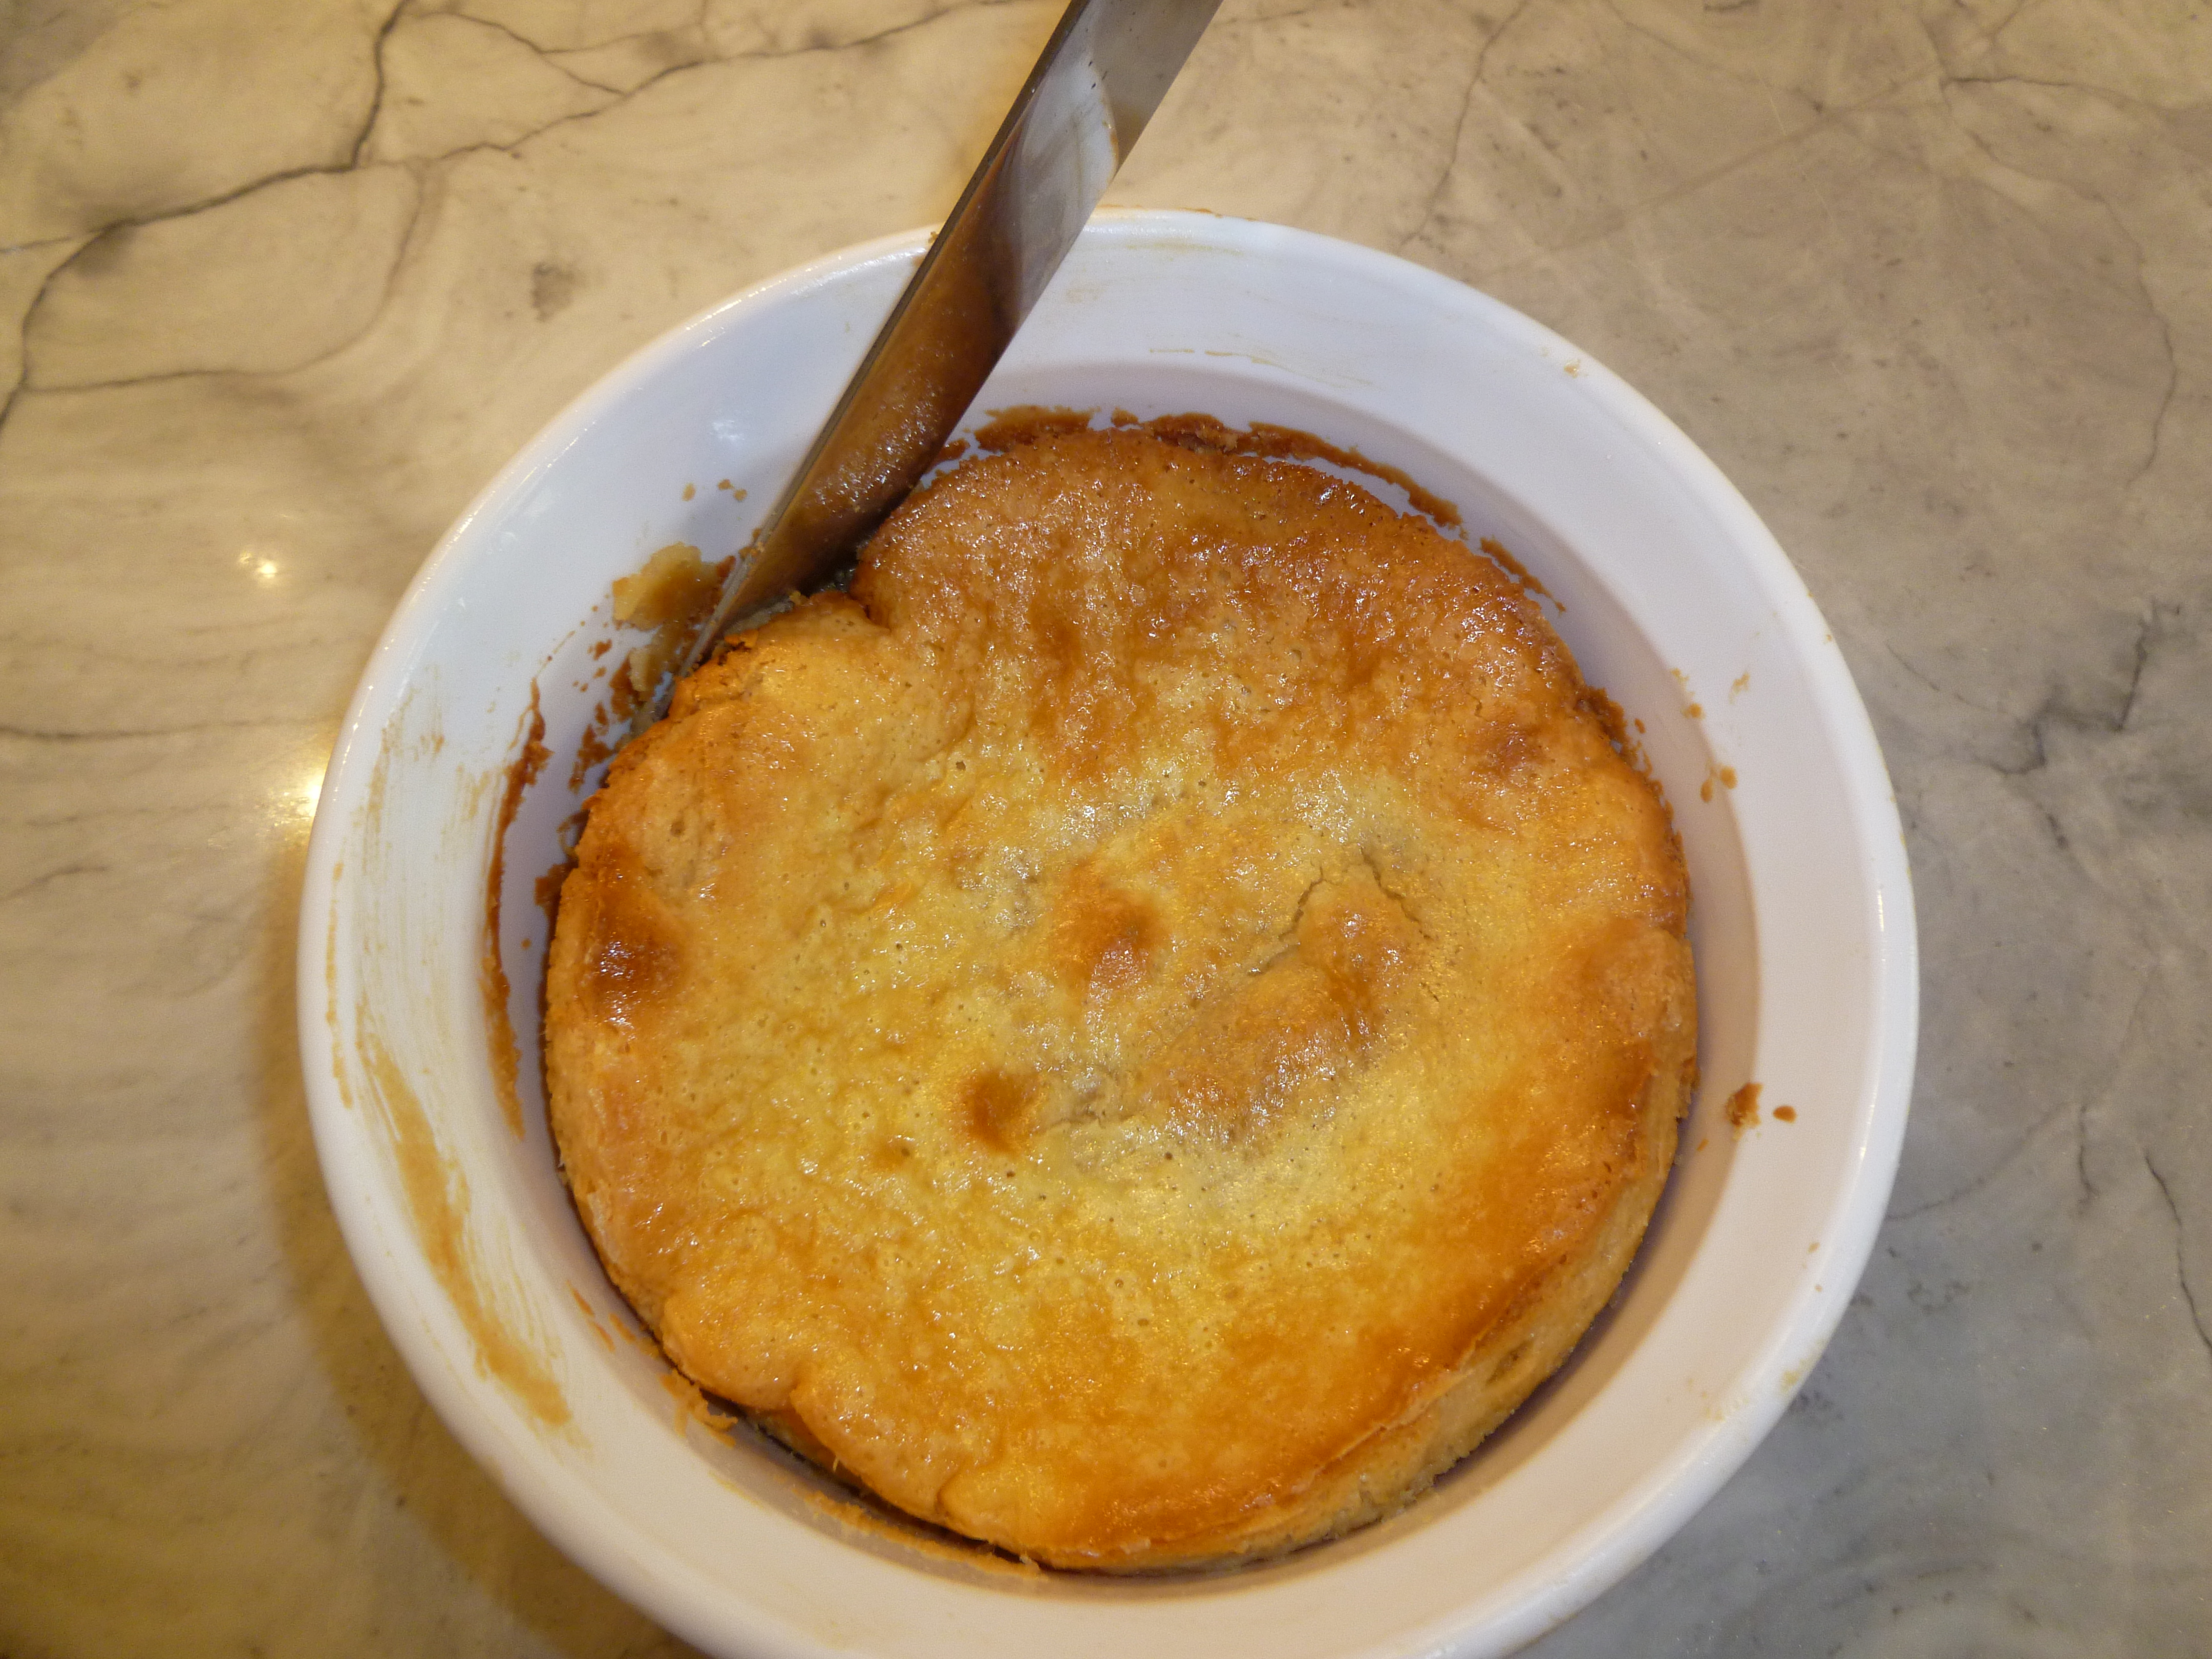
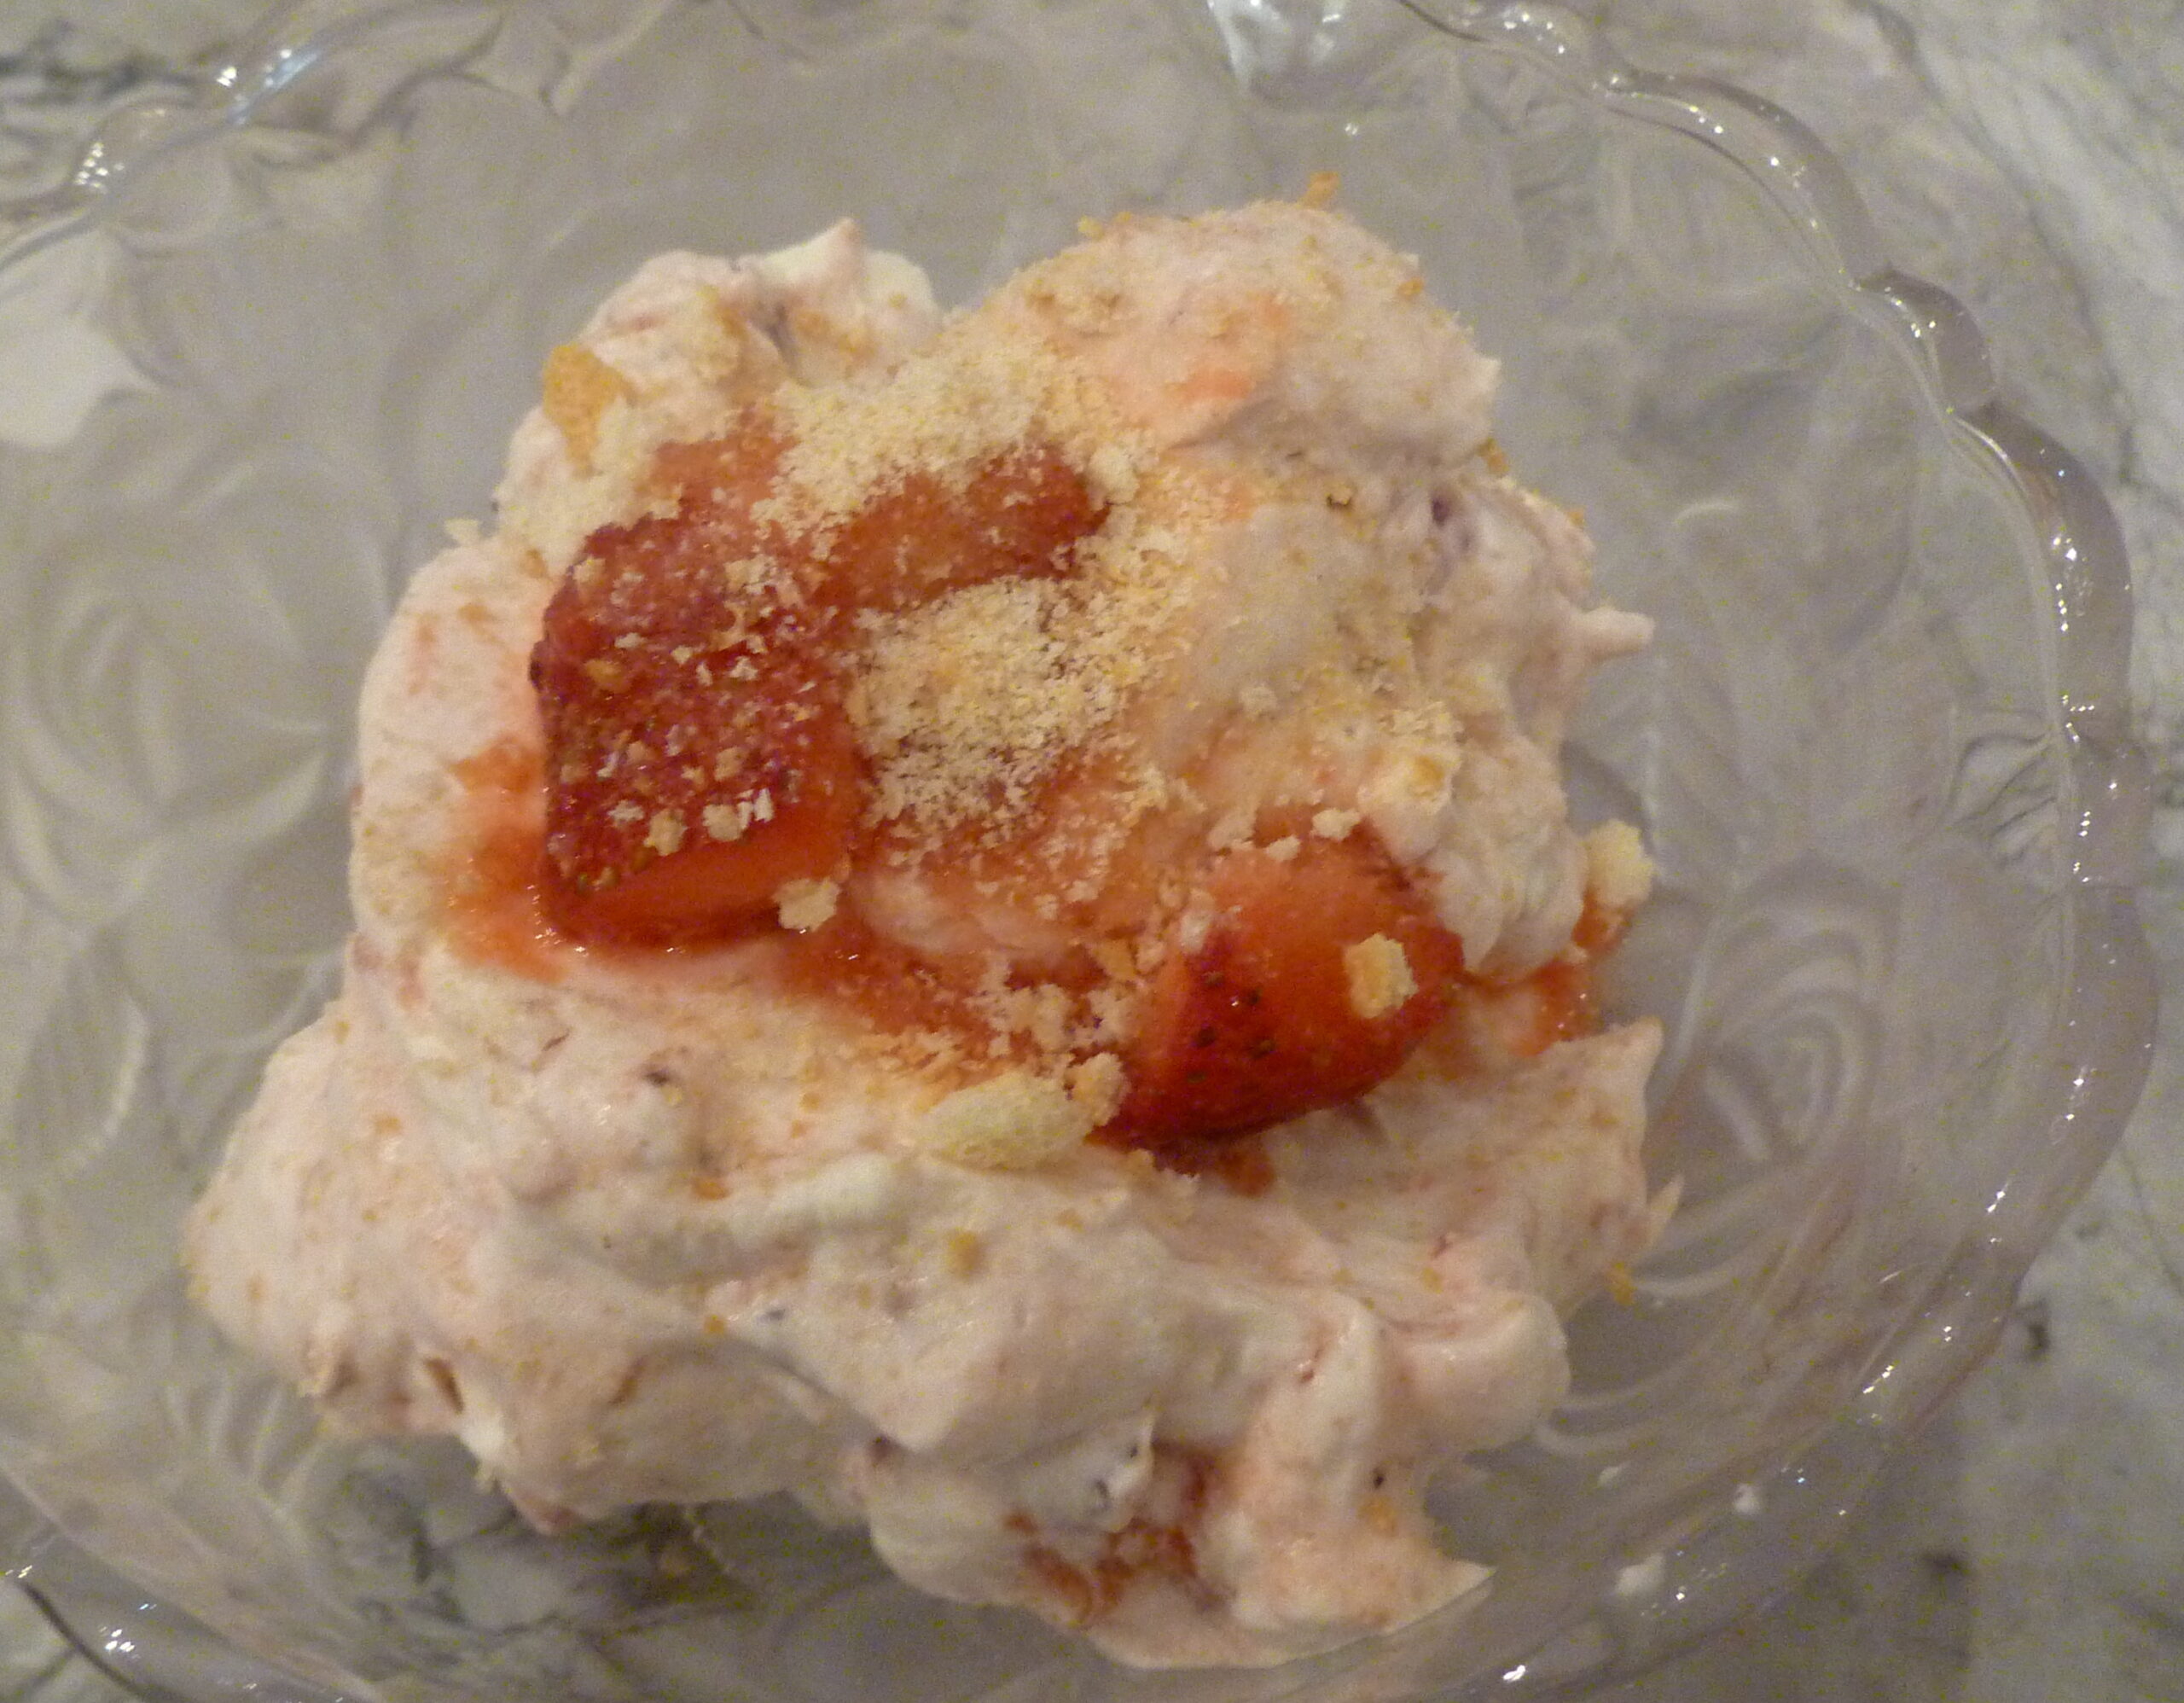
I let them sit for about 10 minutes, as I was serving them right then. I then used a knife to slightly loosen around the edges. Then take a plate or saucer, center on the ramekin and invert. The cakes came easily out of the pans. You can make the cakes a day ahead. When ready to serve microwave until hot approx 30-40 seconds on 80% power. If you like, you can use a kitchen blow torch to brûlée the top and sides of the cake to caramelize the sugar crystals. Mastro’s drizzles with a raspberry coulis and a scoop of vanilla ice cream (and a bowl of whipped cream on the side), garnished with berries. I made a simple strawberry puree and also some stabilized whipped cream.