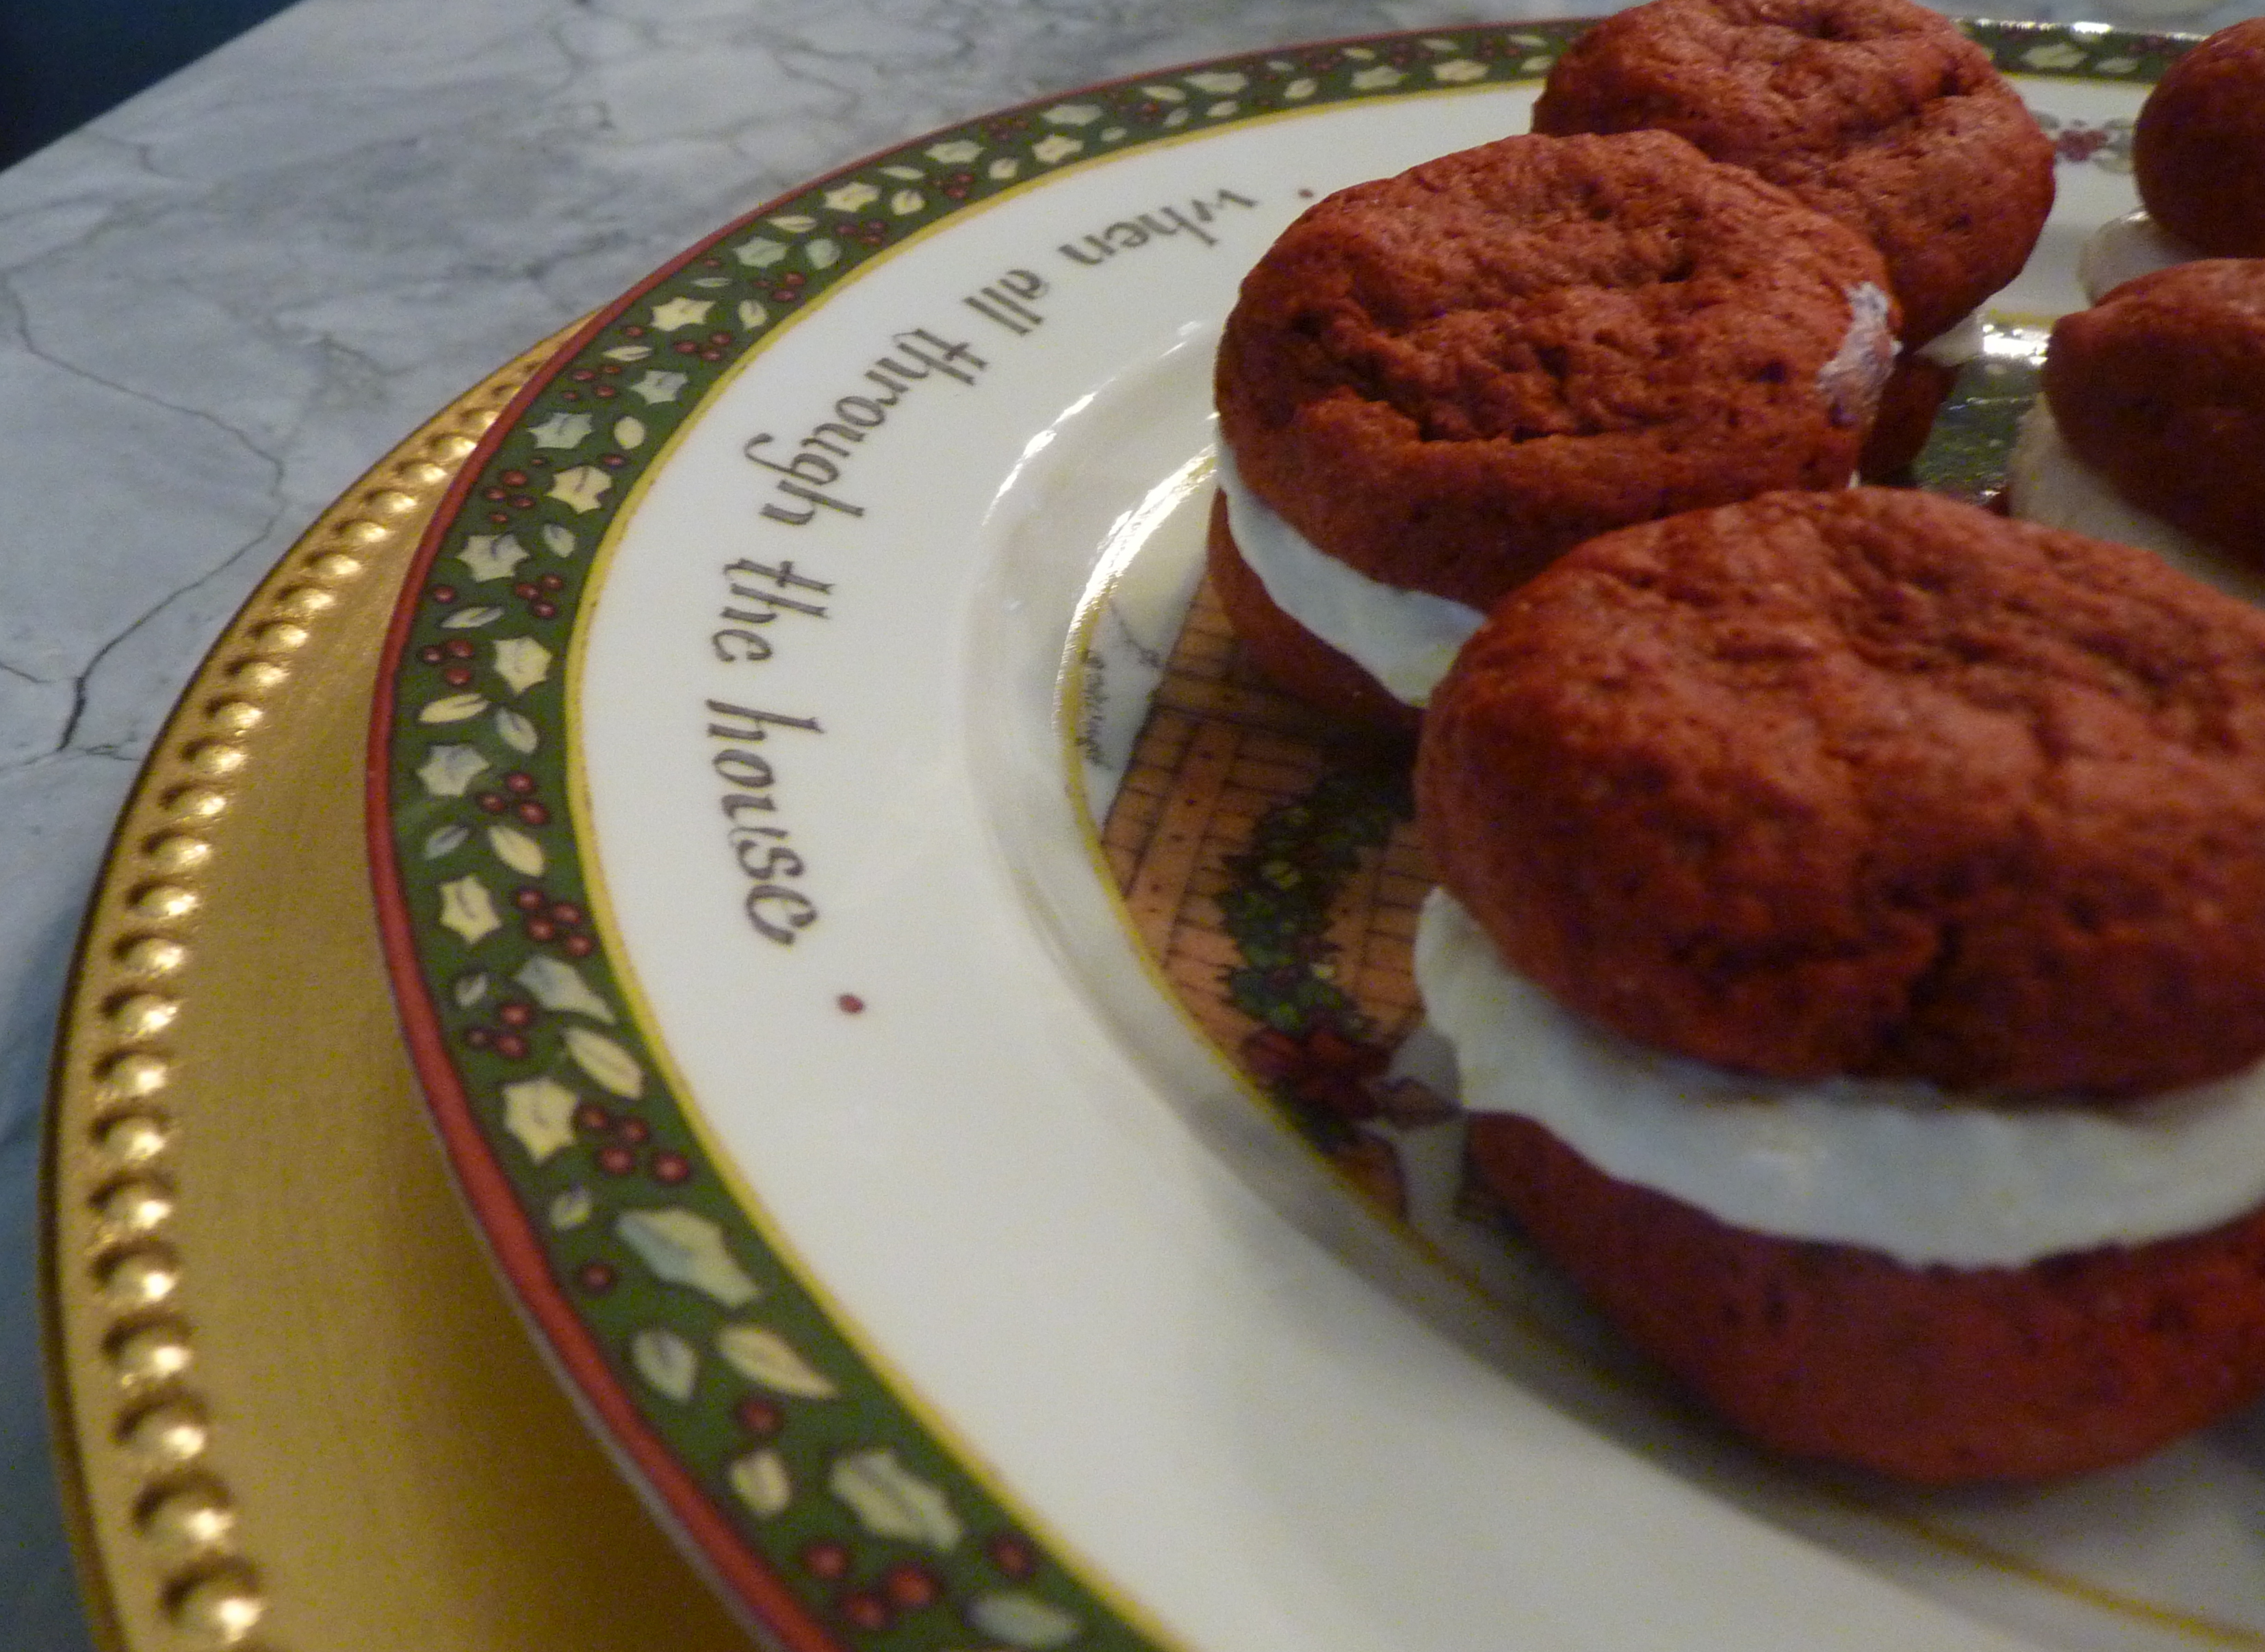
Mini Red Velvet Whoopie Pies (gluten free option
I would like to say that I have everything taken care of for Christmas…everything wrapped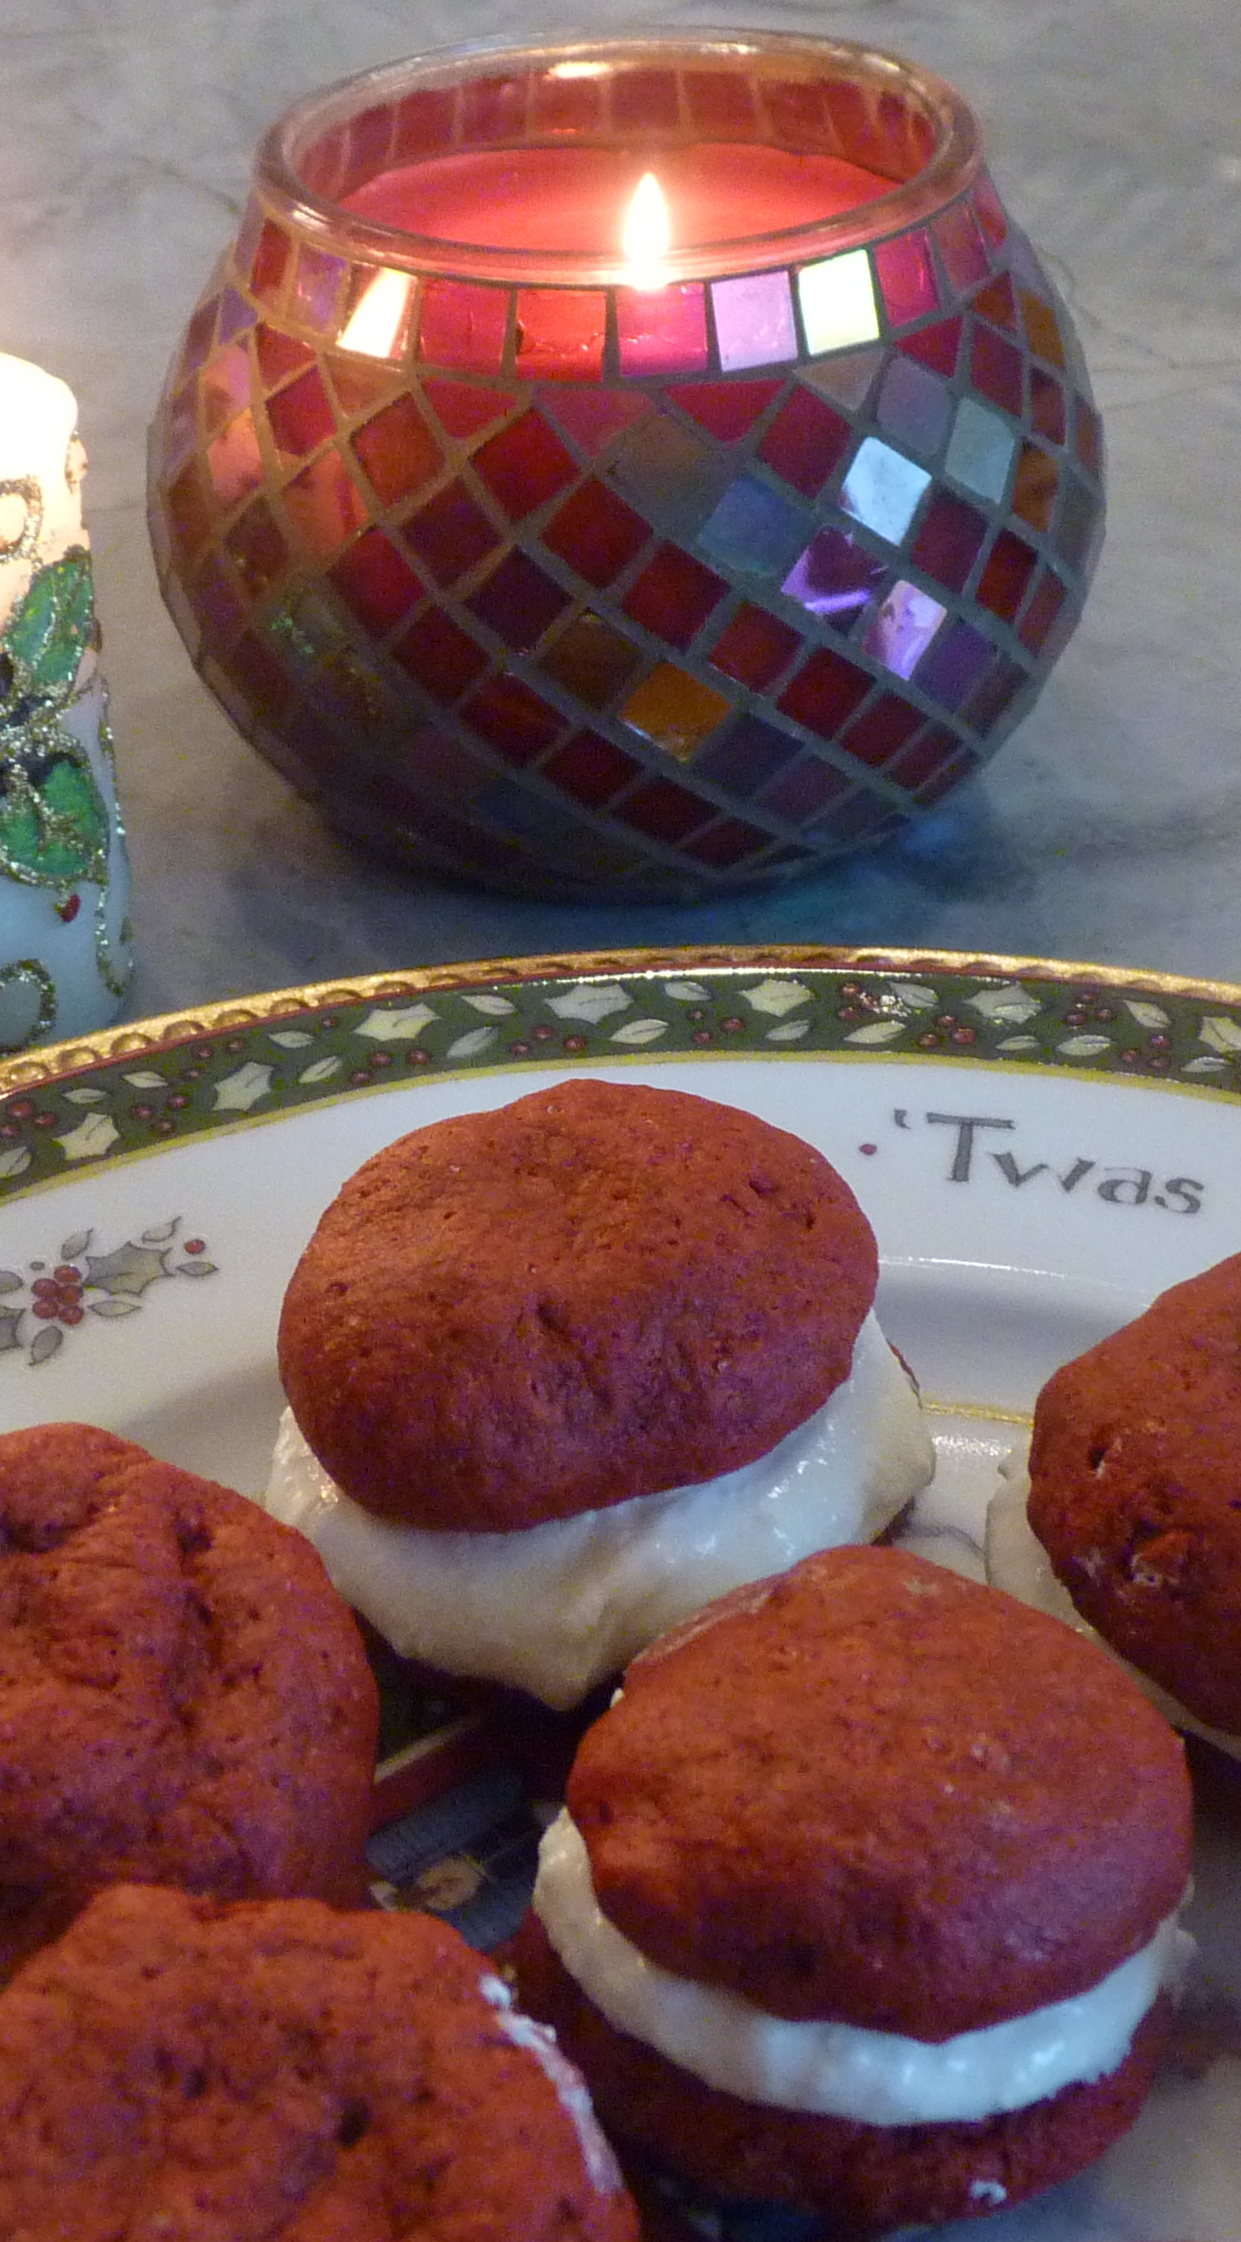 and Christmas cards sent, and menus made for everyday. However, that would not be true and the Christmas cards will probably get skipped this year, just like the last two years. I have great excuses….injuries, moves, really bad subcontractors. I feel bad about it. Maybe I will send out New Years cards. Maybe. I hope you have all your stuff done, though, and can just sit back and enjoy.
Tomorrow I will pull recipes for seven days while I am with all my children and grandchildren. I am so very thankful that I will be with all of my children for Christmas this year. I know that will not always happen.
A couple of nights ago I went to my first bunco group in years. I only knew two of the ladies. That was the reason I asked one of them to get a group together, so that I could meet some people in my new home. They seem like a great group of ladies and we should have some jolly fun. We all brought a little something to munch on. I tried to stay in a Christmas theme – red and white, plus a twist on a great Southern dessert (red velvet cake). Yummy!
MINI RED VELVET WHOOPIE PIES
For the cookies:
2 cups gluten-free flour ( or all-purpose) I use Namaste and won’t vouch for any other brand turning out perfectly
2-1/2 Tbsp cocoa powder
1/2 tsp baking soda
1/4 teaspoon salt
1/2 cup unsalted butter, at room temperature
1-1/4 cup firmly packed, light brown sugar
1 egg
1 teaspoons vanilla extract
1/2 cup buttermilk
1 oz bottle red food coloring
For the filling:
4 ounces cream cheese, at room temperature
4 tablespoons unsalted butter, at room temperature
7 oz jar marshmallow cream
DIRECTIONS:
1. Position a rack in the center of the oven and preheat the oven to 375 degrees F. Line two baking sheets with parchment paper; set aside.
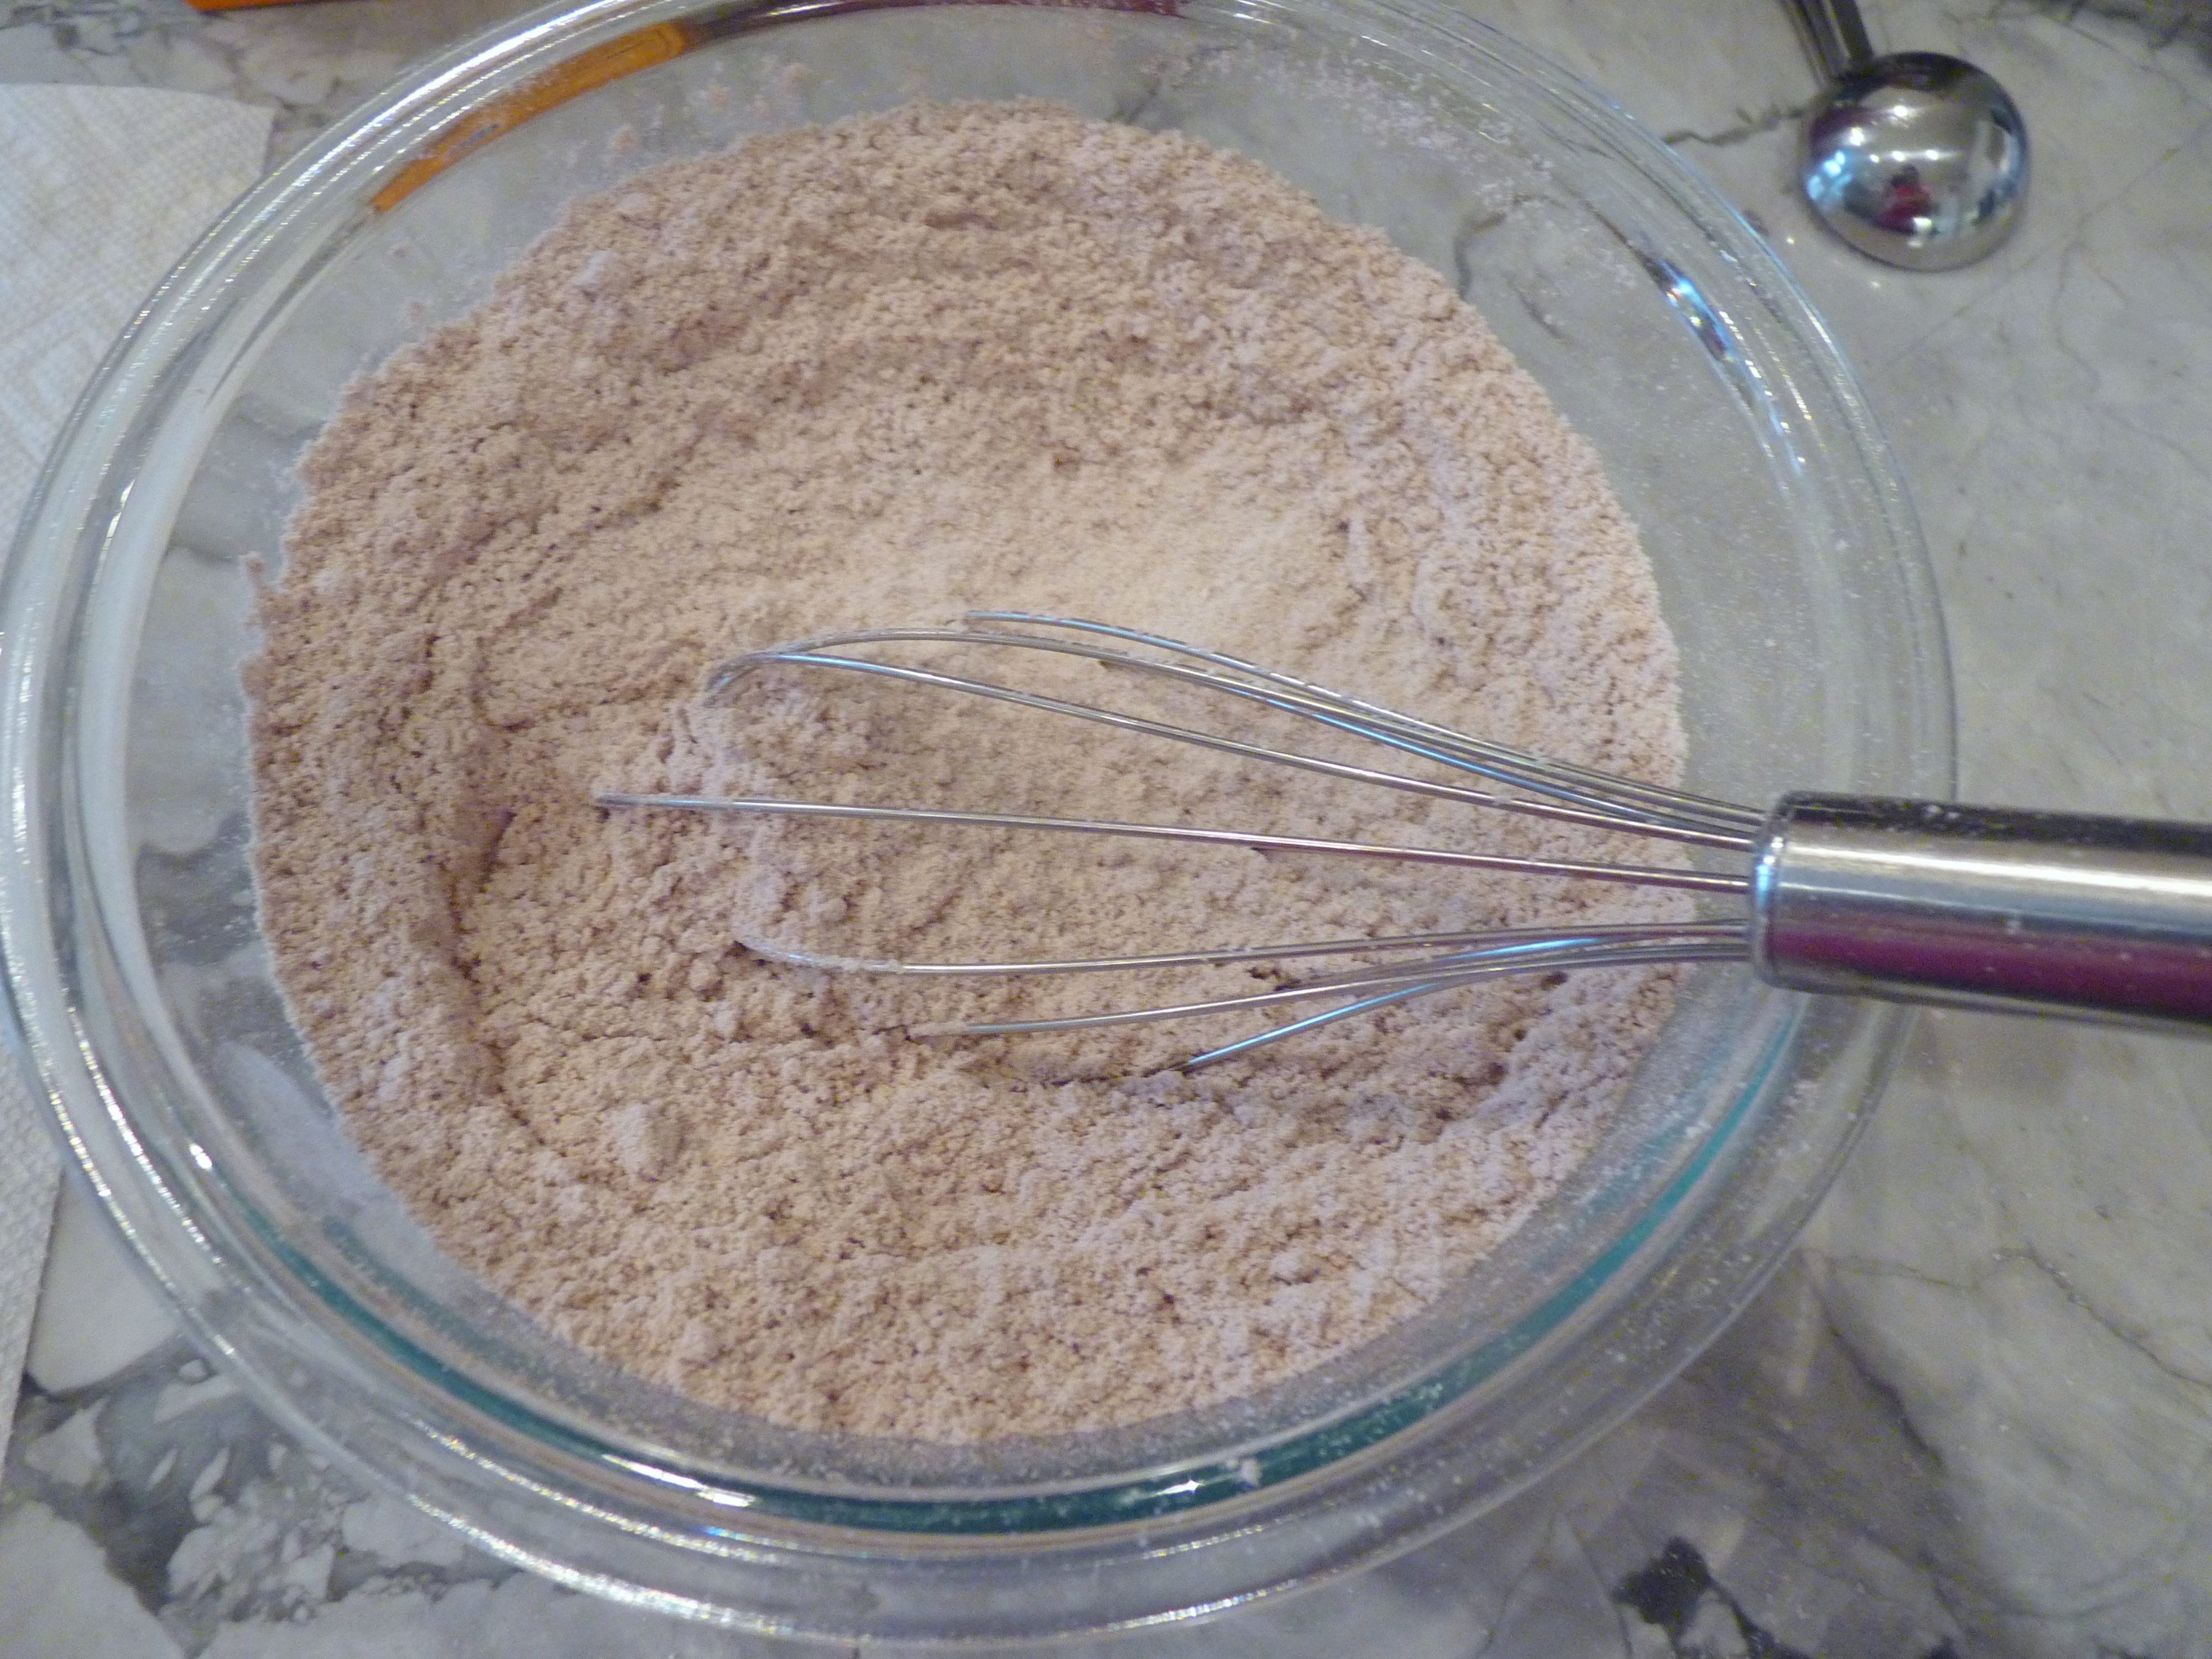
2. Whisk together the flour, cocoa powder, baking soda, and salt in a medium bowl; set aside.
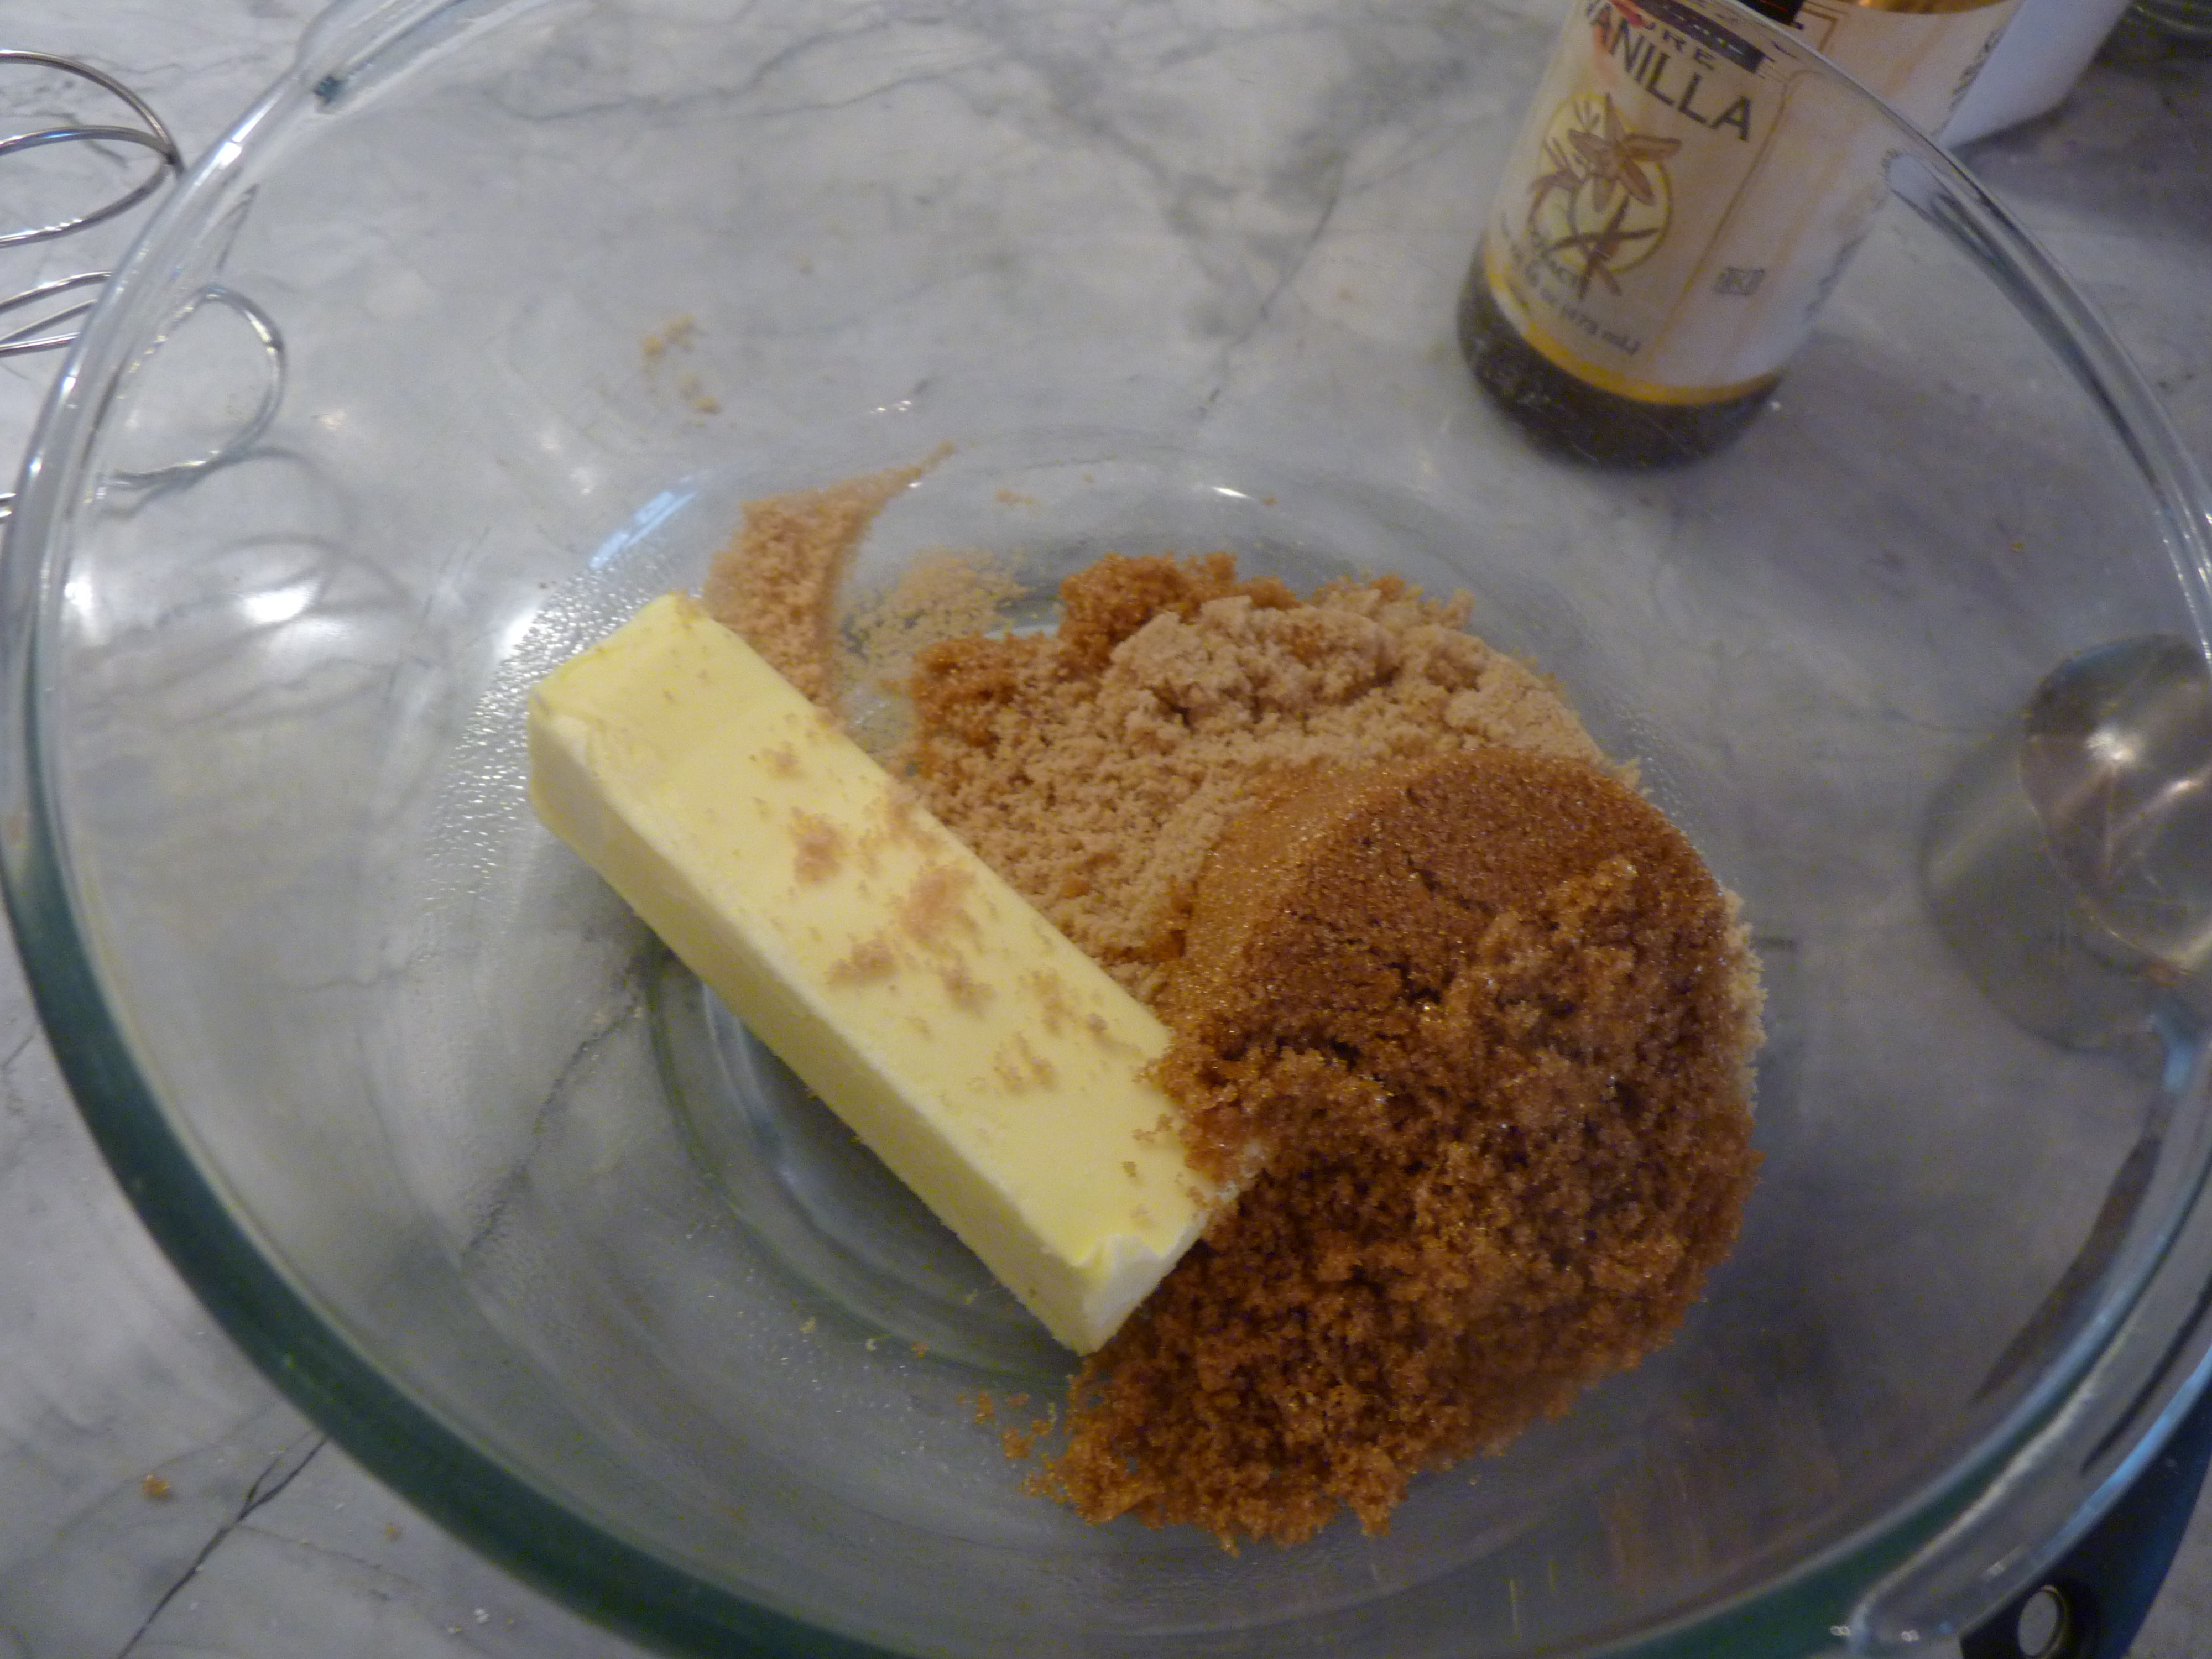
3. In a large bowl, beat together the butter and sugar on low speed until just combined. Increase the speed to medium and beat until fluffy and smooth, about 5 minutes.
4. Add the egg and vanilla, beating well and then add the food coloring and mix well.
4. Mix half of the flour mixture and half of the buttermilk, beatt on low until just incorporated. Scrape down the sides of the bowl. Add the remaining flour mixture and remaining buttermilk and beat until completely combined.
5. Grease your hands with a bit of oil, form teaspoon-sized balls and gently flatten down to form a disk onto the prepared cookie sheets. Try to be as uniform as you can so you will having matching cookies at the end.
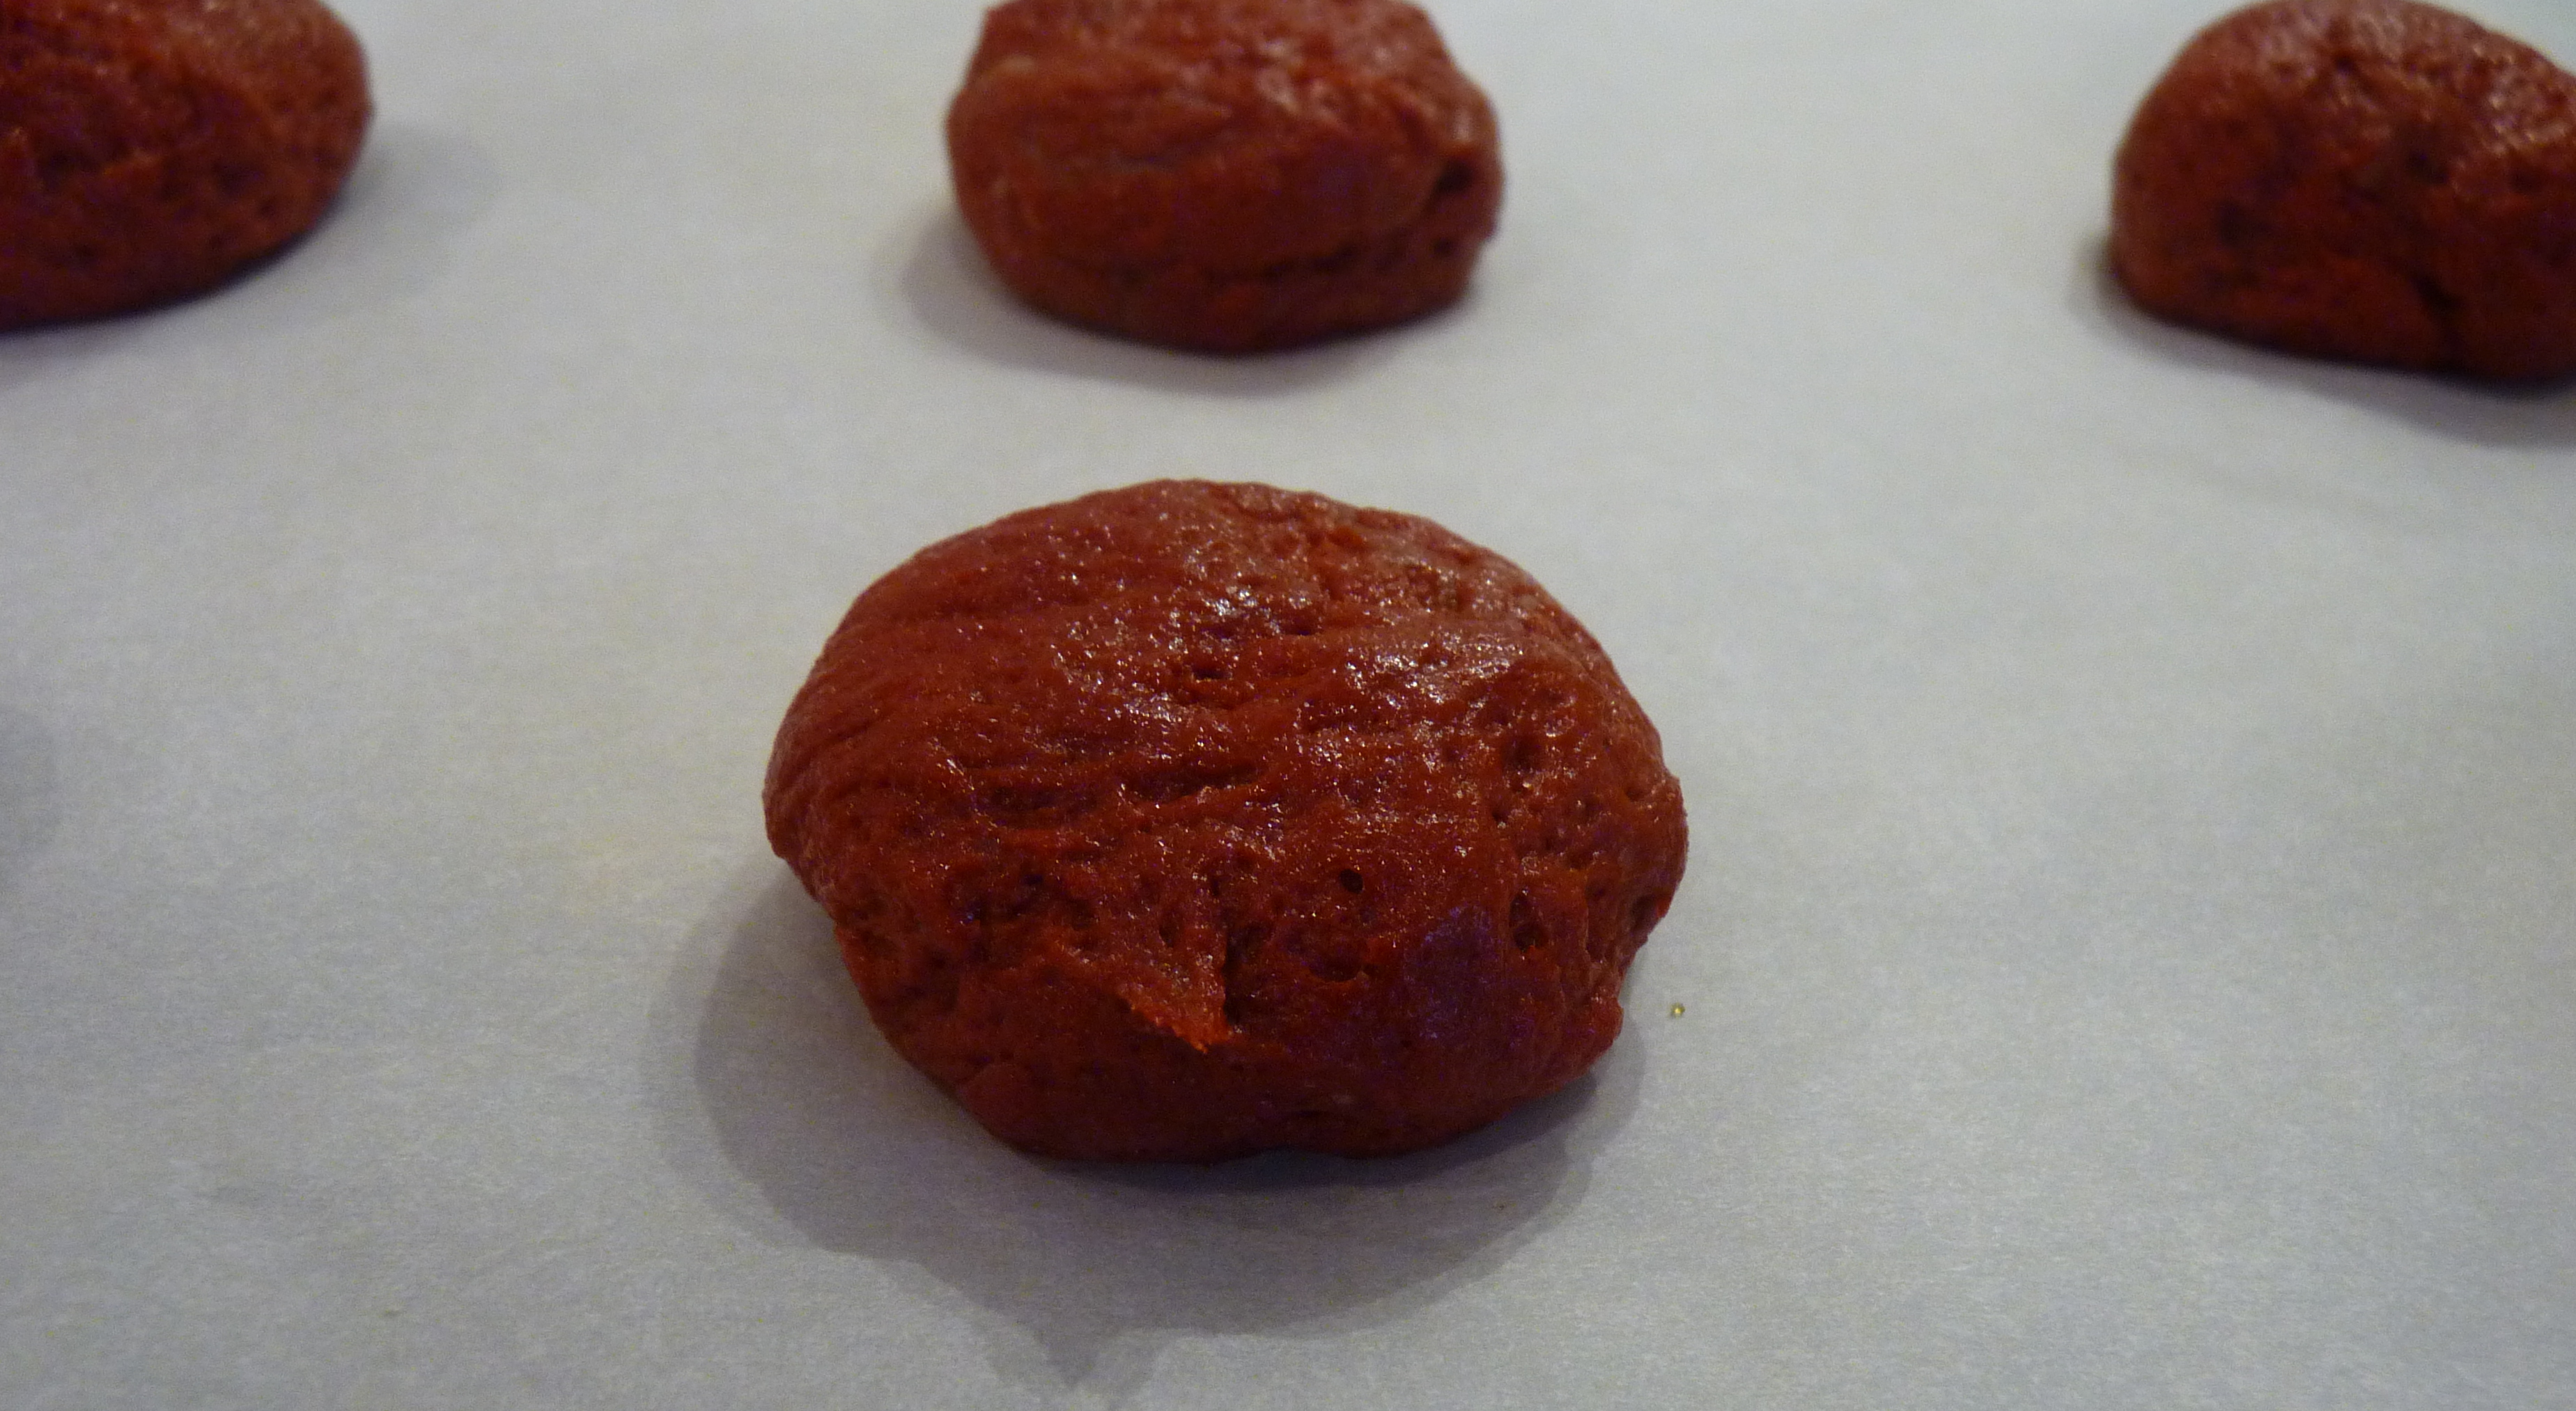 These are not very forgiving, so the smoother the balls the smoother the cookie.spacing them at least 2 inches apart. Bake one sheet at a time for about 7-9 minutes each, or until the cakes spring back when pressed gently. Remove the baking sheet from the oven and let the cakes cool on the sheet for about 3-5 minutes before transferring them to a rack to cool completely.
While the cakes are cooling, prepare the filling…
1. In a medium bowl, beat together the cream cheese and butter on medium speed.
2. Add the marshmallow creme and fold into the creamed mixture.
3. To assemble: Spread or pipe the creme filling onto the flat side of one cake using a knife of spoon, or you can use a pastry bag with a round tip (I used a #12 Wilton tip) to pipe the filling onto the cookie. Top it with another cake, flat-side down. Repeat with the rest of the cakes and filling.
You might also like
-
Shaking but not Moving https://maribickmoredesign.com/wp-content/uploads/2024/02/gresham-10-1024x683.jpeg 1024 683 Mari Bickmore https://secure.gravatar.com/avatar/4ae72bed0458df2e9a2f237ec7c0f536?s=96&d=mm&r=g

-
A Perfect Day in L.A. https://maribickmoredesign.com/wp-content/uploads/2017/04/img_8152-1024x768.jpg 1024 768 Mari Bickmore https://secure.gravatar.com/avatar/4ae72bed0458df2e9a2f237ec7c0f536?s=96&d=mm&r=g
-
Winter Wonderland https://maribickmoredesign.com/wp-content/uploads/2017/01/img_7190-1024x768.jpg 1024 768 Mari Bickmore https://secure.gravatar.com/avatar/4ae72bed0458df2e9a2f237ec7c0f536?s=96&d=mm&r=g

Leave a Reply